Travelio App
One Flutter app for Android & iOS — customer, agent, tour guide and staff in a single build
Developed By: BugBuild Labs
Overview
The Travelio App is a native Flutter app for Android and iOS. It is one app, not several: after sign-in it reads the account's role and opens the matching experience — customer, agent, tour guide or staff. There is one codebase to configure, one package ID to set, one binary to sign and one listing to publish.
| Role | What the app opens |
|---|---|
| Customer | Browse tour packages, search flights, hotels and transport, apply for visas, register for Hajj & Umrah, track bookings and pay from the wallet. See Customer Role. |
| Agent | Own production only — bookings made, customers brought in, commission earned, wallet balance and invoices. See Agent Role. |
| Tour guide | Assigned tours with start / complete actions. |
| Staff | Signs in with the same build; the panel remains the main workspace. |
The app runs against the same backend and database as the admin panel, so anything done in the app appears instantly in the panel and vice-versa.
Setup is shared. Requirements, source layout, API host, branding and release build are identical for every role, so they are documented once under Getting Started below. Only the screens differ per role.
Role scoping is enforced on the server, not in the app. An agent cannot reach another agent's bookings or customers even by crafting a request.
Requirements
| Tool | Version |
|---|---|
| Flutter SDK | 3.x (Dart SDK 3.12+) |
| Android Studio / VS Code | Latest, with the Flutter and Dart plugins |
| Android SDK | API 24+ (Android 7.0 and above) |
| Xcode (iOS builds only) | 15+ on macOS |
| A running Travelio backend | Installed and reachable over the network |
Verify your toolchain before opening the project:
flutter --version
flutter doctor
Package & Source Code
Try it before you build. One APK is linked from the item description on CodeCanyon — there is a single build, so install it once and sign in with either account to see both experiences:
[email protected] / 12345678 → the customer
experience
[email protected] / 12345678 → the agent
dashboard
Sign out and back in with the other account to switch. The APK points at our demo server, so it needs no setup of yours.
The Flutter source is in AppSourceCode/ inside
Main_Files.zip — one project, covering every role. There is no second
project and no second APK: an account with the Agent role simply lands on the agent
dashboard instead of the customer home screen. Open the folder and pull the dependencies:
cd AppSourceCode
flutter pub get
flutter run
The layout that matters:
lib/
├─ main.dart              App entry point
├─ screens/               Every screen (customer + agent/)
├─ controllers/           GetX controllers — one per feature
├─ services/urls.dart     API base URL and every endpoint   <-- configure this
├─ models/                Response models
├─ widgets/               Shared UI components
└─ utils/                 Theme, colours, helpers
assets/images/            App images
assets/fonts/             Kumbh Sans font family
App Configuration (API URL)
The app talks to your Laravel backend over /api/v1. You do not edit Dart code
to set it — the host lives in an environment file, so the same source builds against a
local server or a live one:
env/
├─ dev.json     <-- your machine while developing
├─ prod.json    <-- your live server; edit this before building for the stores
└─ README.md
Each file holds one value:
// env/prod.json
{
  "API_HOST": "https://yourdomain.com"
}
Pass the file to Flutter when you run or build:
flutter run --dart-define-from-file=env/dev.json

flutter build apk       --release --dart-define-from-file=env/prod.json
flutter build appbundle --release --dart-define-from-file=env/prod.json
flutter build ipa       --release --dart-define-from-file=env/prod.json
--dart-define-from-file is built into Flutter — there is no package to install, and the value is compiled in rather than shipped as a readable file inside the APK. A single --dart-define=API_HOST=https://yourdomain.com still works if you prefer it.
Do not include /api/v1 in the value; the app appends it.
| Where you run it | Host to use |
|---|---|
| Live server | https://yourdomain.com |
| Physical Android phone on your LAN | http://<your-computer-ip>:8000 — and start Laravel with php artisan serve --host=0.0.0.0 |
| Android emulator | http://10.0.2.2:8000 |
| iOS simulator / desktop | http://127.0.0.1:8000 |
127.0.0.1 inside an Android emulator means the emulated phone itself, not your computer — that is why every list comes back empty if you leave it as the default. Use 10.0.2.2 on the emulator and your LAN IP on a real device.
On a live server always use https. Plain http to a public domain is blocked by default on both Android and iOS unless you weaken the platform network settings — do not.
App Name, Package ID & Icon
App name — Android: android/app/src/main/AndroidManifest.xml →
android:label="Travelio". iOS: ios/Runner/Info.plist →
CFBundleDisplayName.
The logo comes from the website, not the app. Whatever you upload under Settings → General → Logos & Favicon in the admin panel is what the app shows — on the splash screen, the onboarding slides and every sign-in screen. One brand, one place to change it, and no rebuild needed.
Two backgrounds, two files. The app draws its logo on white screens (splash, onboarding, OTP) and on the coloured sign-in header. A dark wordmark on that header is unreadable, so upload a white or light version for the dark slot and your normal full-colour one for the light slot. The app never substitutes one for the other — a wrong-contrast logo looks broken, so it shows your agency name instead.
Want different artwork in the app than on the website? Settings → General → App Branding has two optional slots — App Logo (light backgrounds) and App Logo (coloured header). Fill either and the app uses it; leave them empty and the app falls back to the website Light and Dark logos, so there is nothing to configure unless you want app-specific branding.
The app ships no logo of its own. There is no image file in the package to replace and nothing to rebuild — every logo the app draws is fetched from your admin panel. If none has been uploaded, the sign-in header falls back to your agency name as text and the splash screen stays blank until one is set. That is deliberate: a missing upload should be obvious rather than silently replaced with someone else's mark. Uploading a logo is the first item on the go-live checklist.
Package / bundle ID — ships as com.bugbuild.travelio. Change it to
your own before publishing:
- Android —
applicationIdinandroid/app/build.gradle.kts. - iOS — open
ios/Runner.xcworkspacein Xcode → Runner target → Signing & Capabilities → Bundle Identifier.
App icon — replace the icon sets:
- Android —
android/app/src/main/res/mipmap-*/(one image per density). - iOS —
ios/Runner/Assets.xcassets/AppIcon.appiconset/.
Colours and fonts — the theme lives in lib/utils/; the bundled font
family is Kumbh Sans, declared at the bottom of pubspec.yaml.
Change the package ID before your first Play Store or App Store upload. It cannot be changed after the app is published.
Want a separate listing for agents? It is not required — one listing serves every role, and that is how Travelio is meant to ship. If your business really needs a second store entry, use Flutter build flavors rather than copying the project: one codebase, a second applicationId, two listings. Two builds installed on one device must have different package IDs, or one overwrites the other.
Build & Release
Debug builds need no setup at all — plug in a device and run:
flutter pub get
flutter run --dart-define=API_HOST=https://yourdomain.com
Release builds
flutter build appbundle --release   # .aab — required by Google Play
flutter build apk --release        # .apk — direct install / your own site
flutter build ipa --release        # iOS — macOS with Xcode only
A release build is debug-signed until you supply your own
keystore, and Google Play rejects debug-signed uploads. Before you publish you must
create android/key.properties and change the app identifier from
com.bugbuild.travelio to your own.
The full procedure — generating the keystore with keytool, the exact contents of
key.properties, the signingConfigs block in
build.gradle.kts, verifying the signature, and the complete iOS path (certificates,
provisioning profiles, App Store Connect and TestFlight) — is documented once in
Common Setup → Release Signing & Store
Distribution. There is one build to sign and publish, so it is documented
alongside the other setup you do once, rather than repeated here.
| Before you upload | Where |
|---|---|
| Point the app at your live HTTPS API | Common Setup → API & Mobile App |
| Set your own package / bundle identifier | Common Setup → Identifiers |
| Set the app name and launcher icon | App Name, Package ID & Icon, above |
| Configure push, if you want it | Common Setup → Firebase & Push |
Bump version: in pubspec.yaml | Stores reject a build number that was used before |
| Sign with your own release key | Common Setup → Release Signing |
Customer Role
What a signed-in customer sees. Same build, same configuration as above — only the screens below are role-specific.
Onboarding, Sign Up & Login
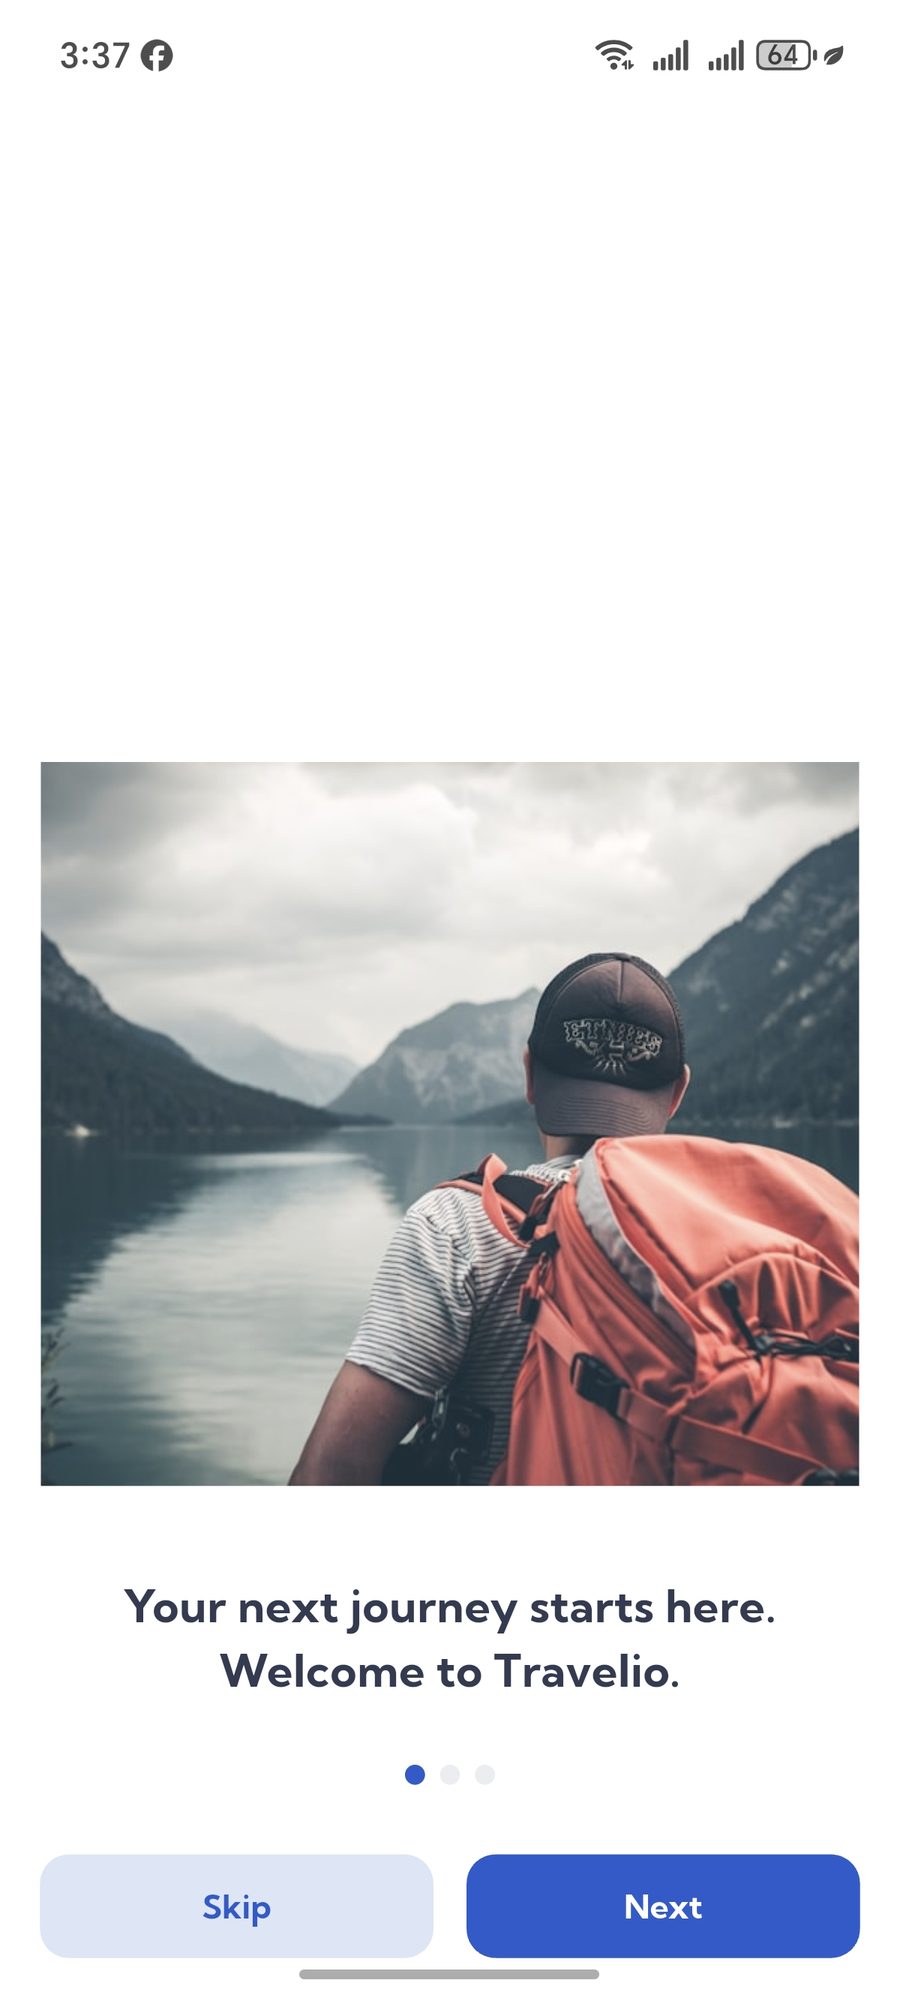
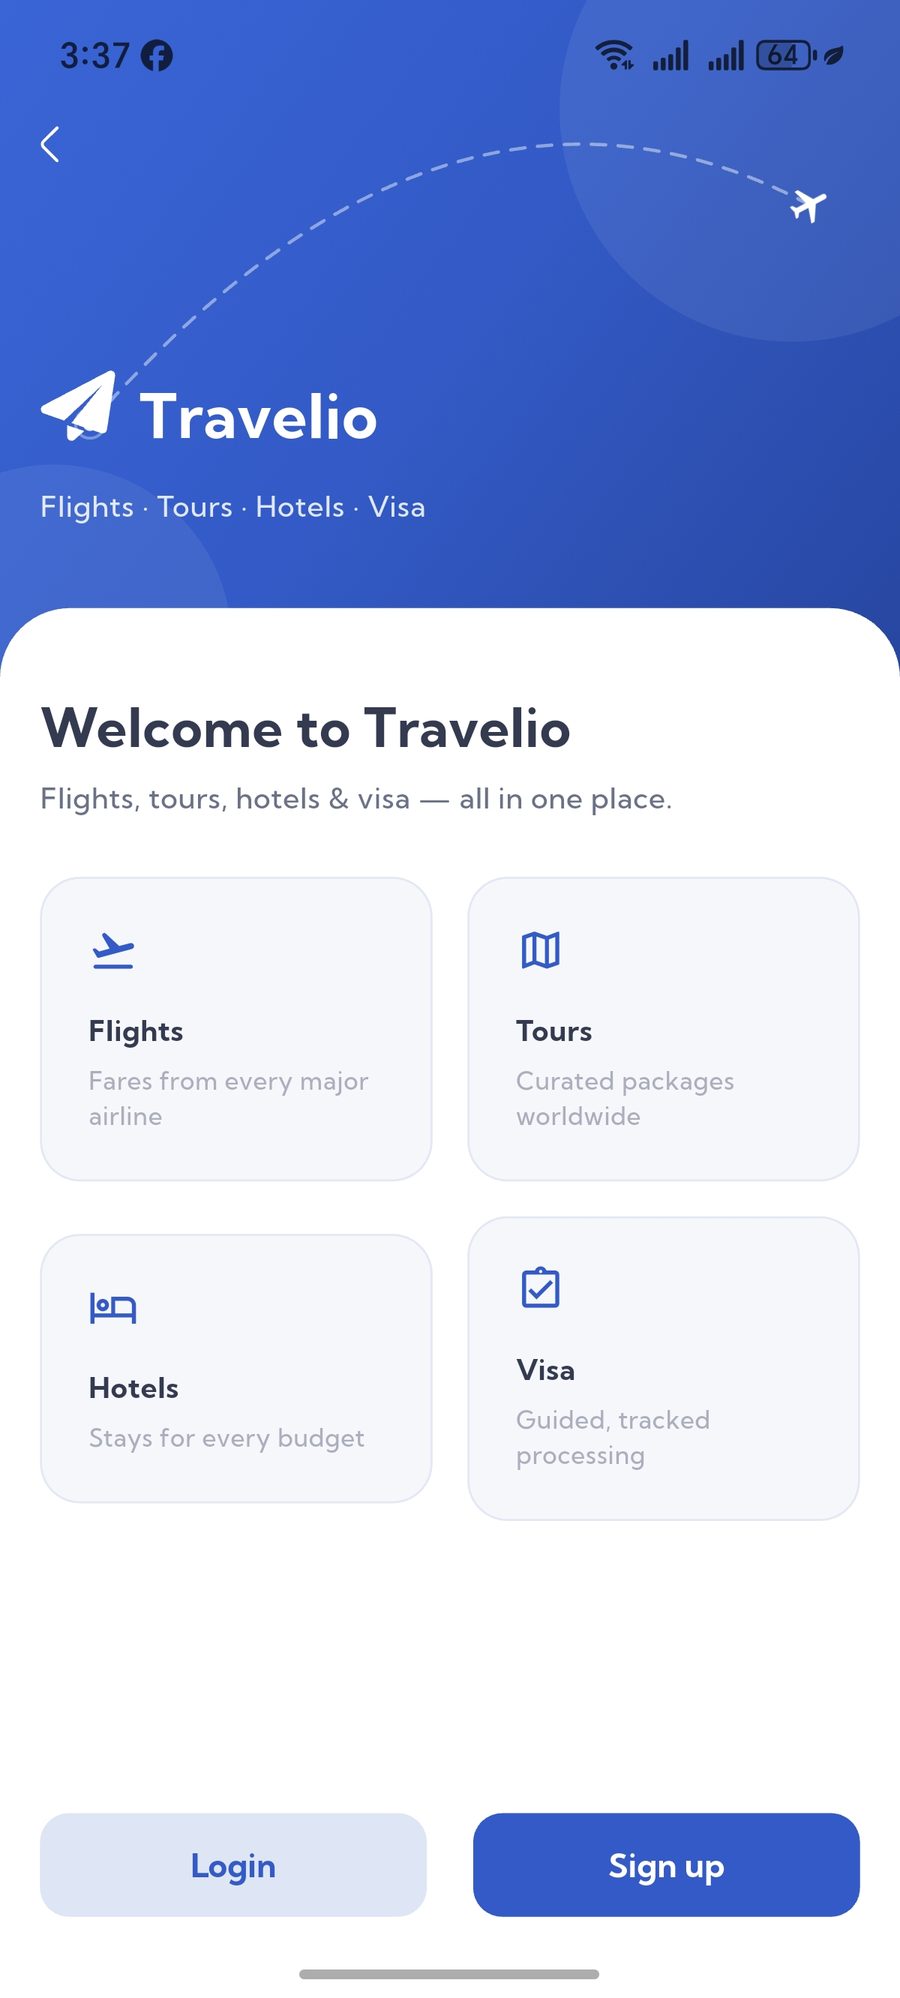
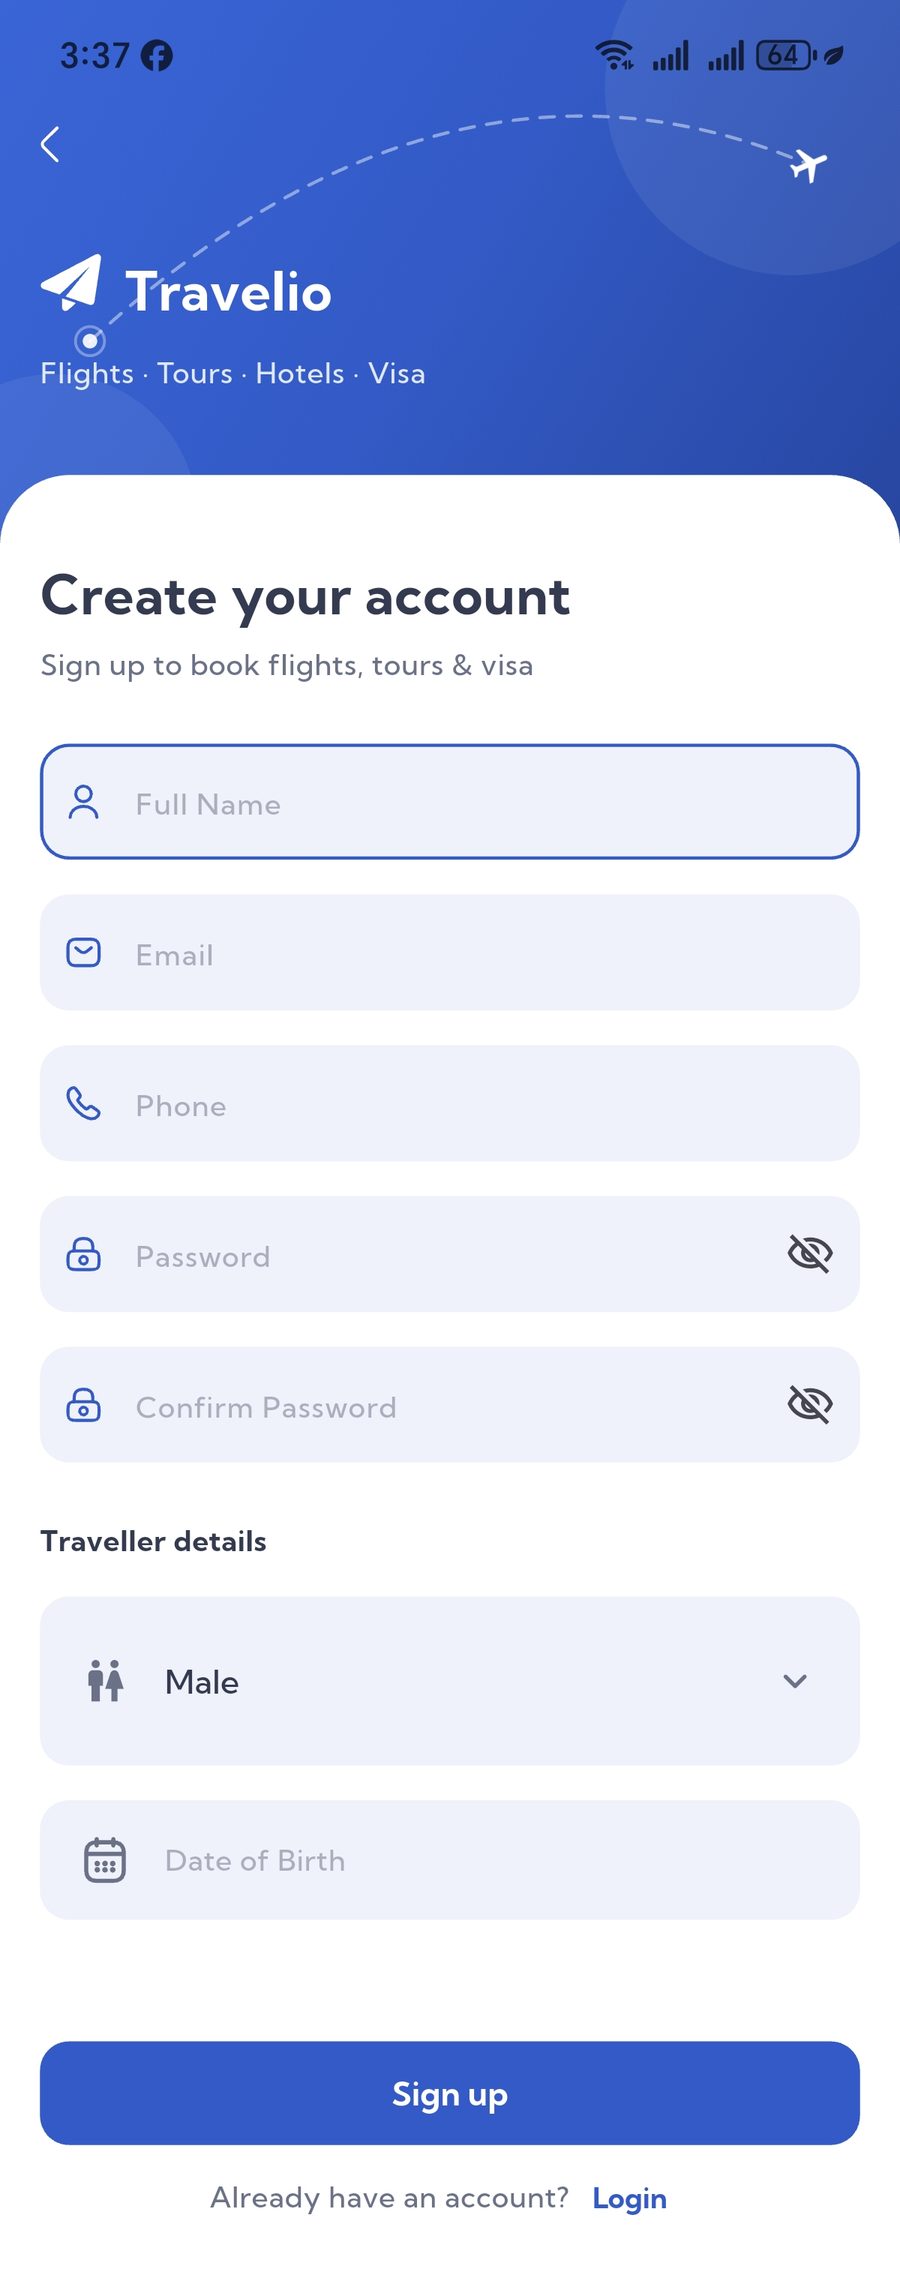
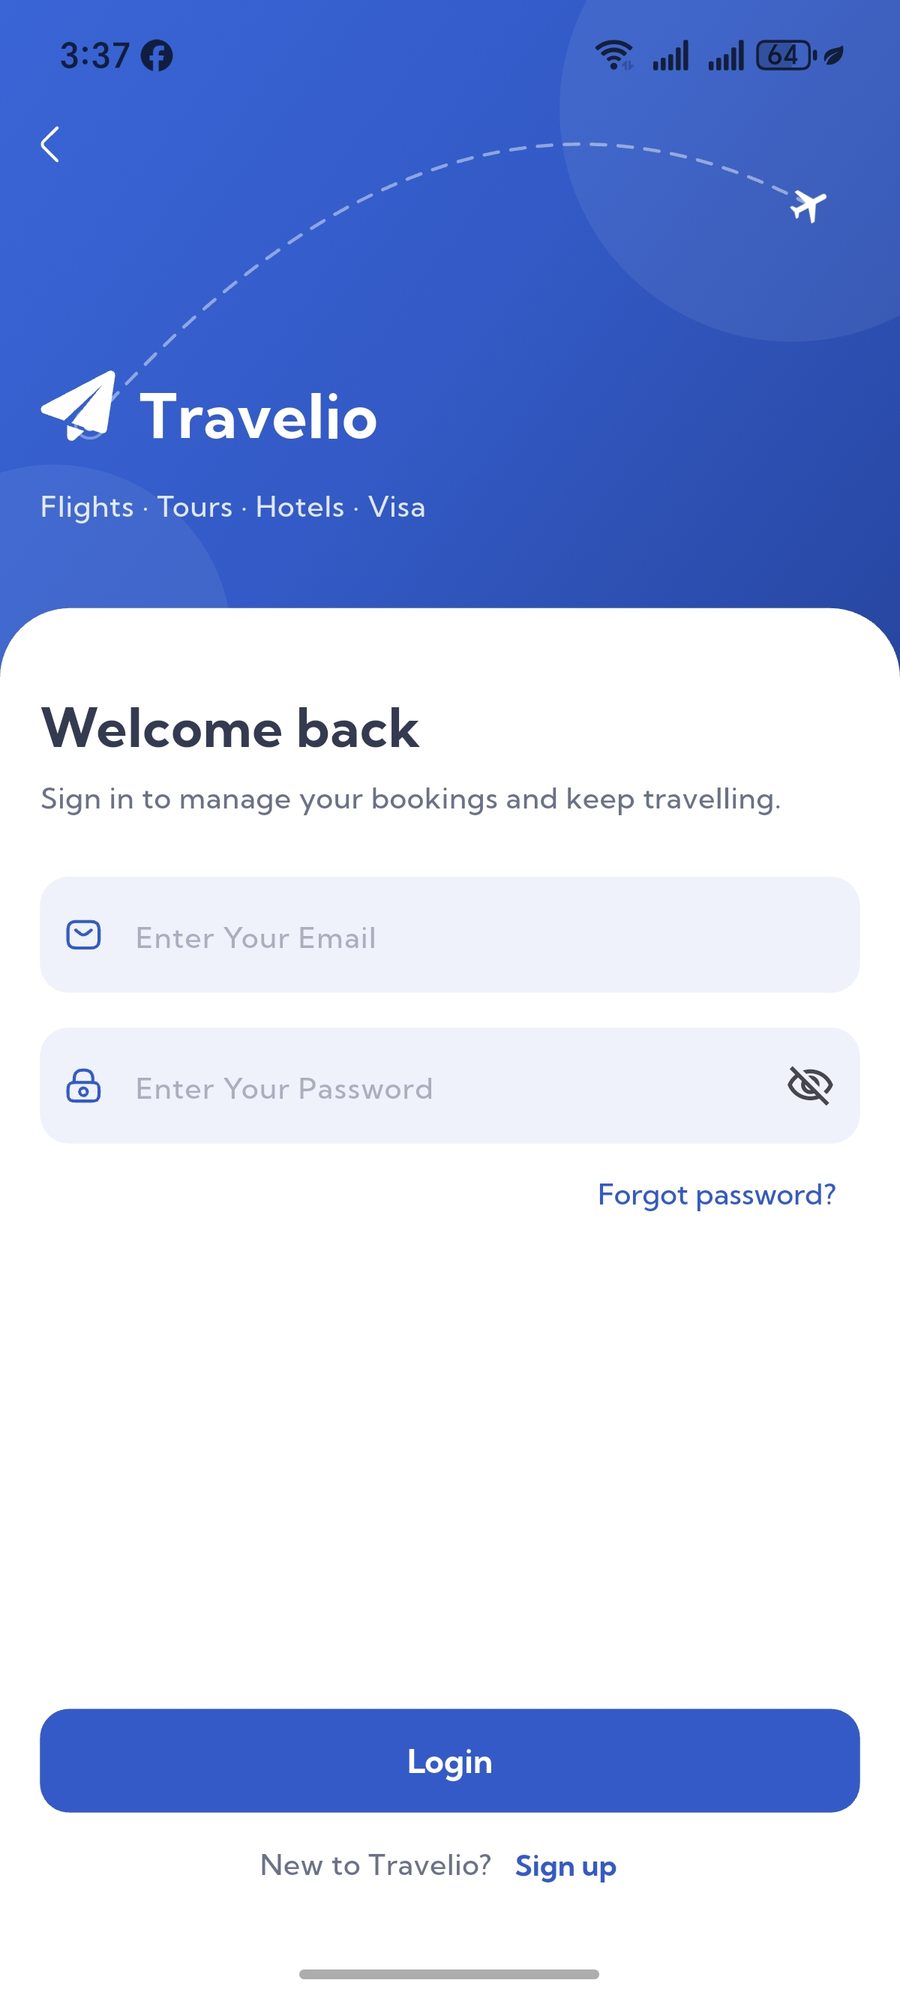
First launch shows a splash, a short onboarding carousel and a welcome screen. From there a traveller can sign up, log in, or keep browsing as a guest.
- Sign Up — name, email, phone and password; the account is created through the API and appears in the admin panel under Customers.
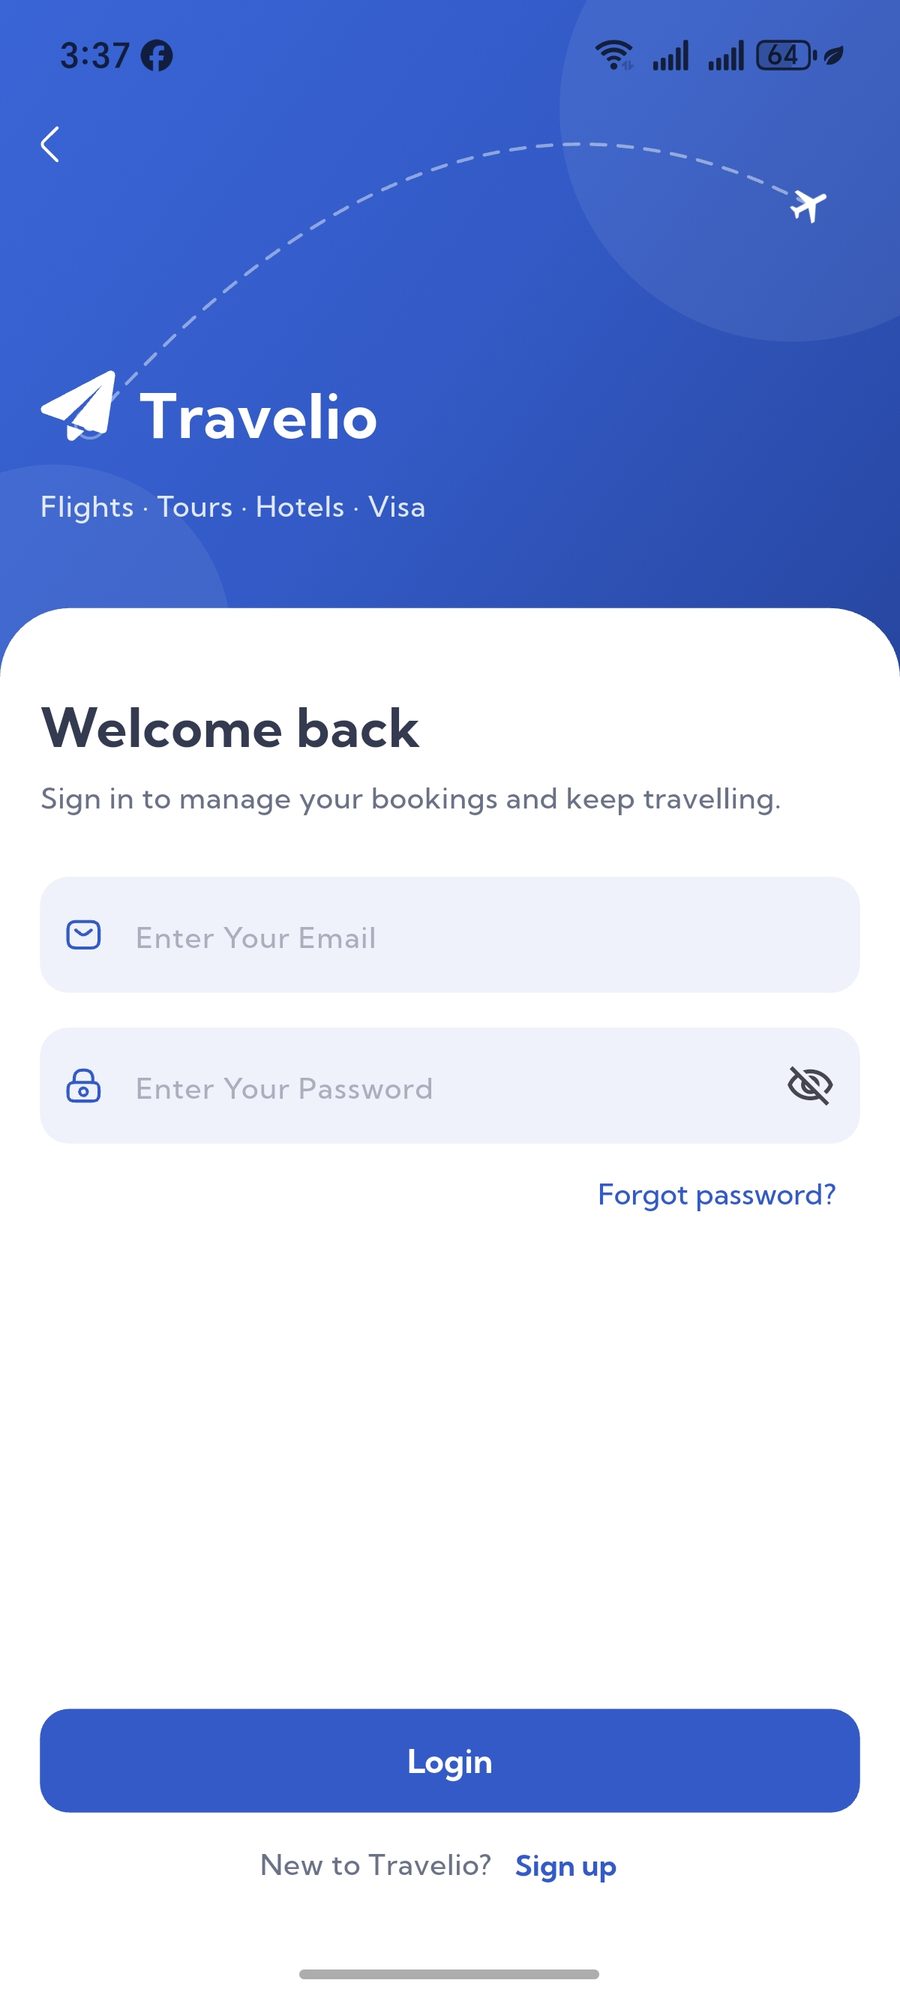
- Login — email and password; the API returns the role, which decides whether the customer or the agent experience opens.
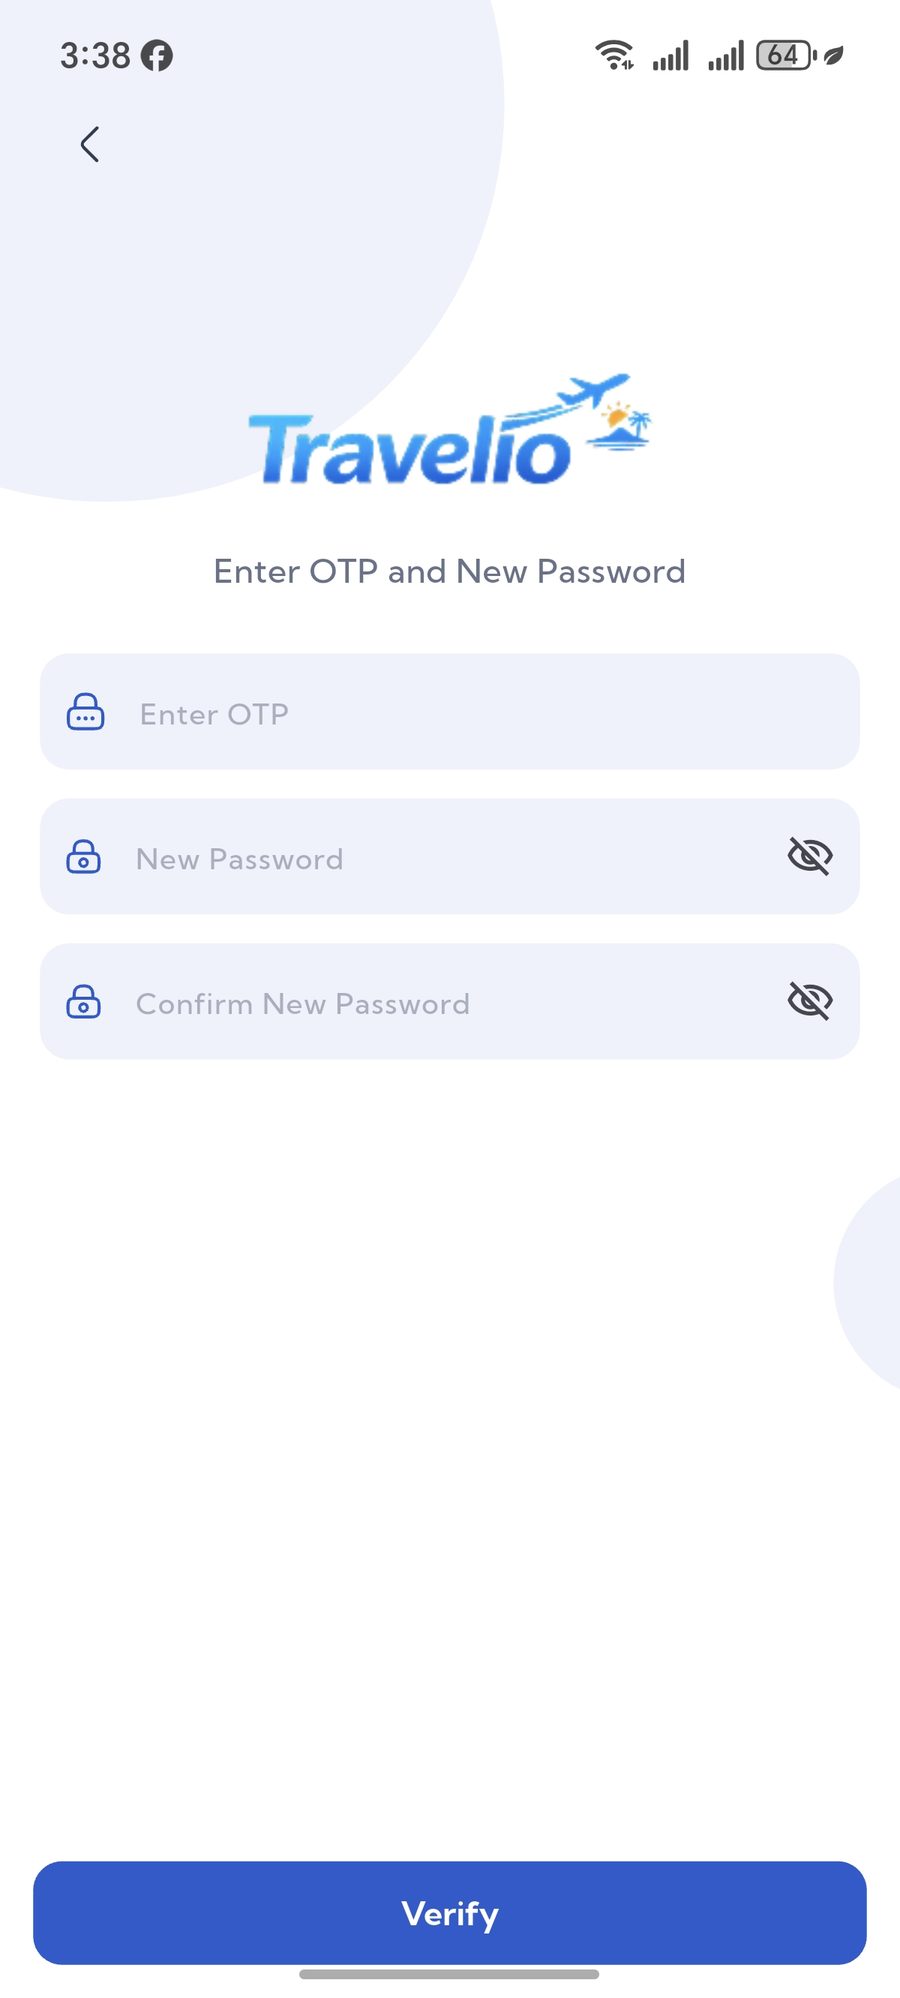
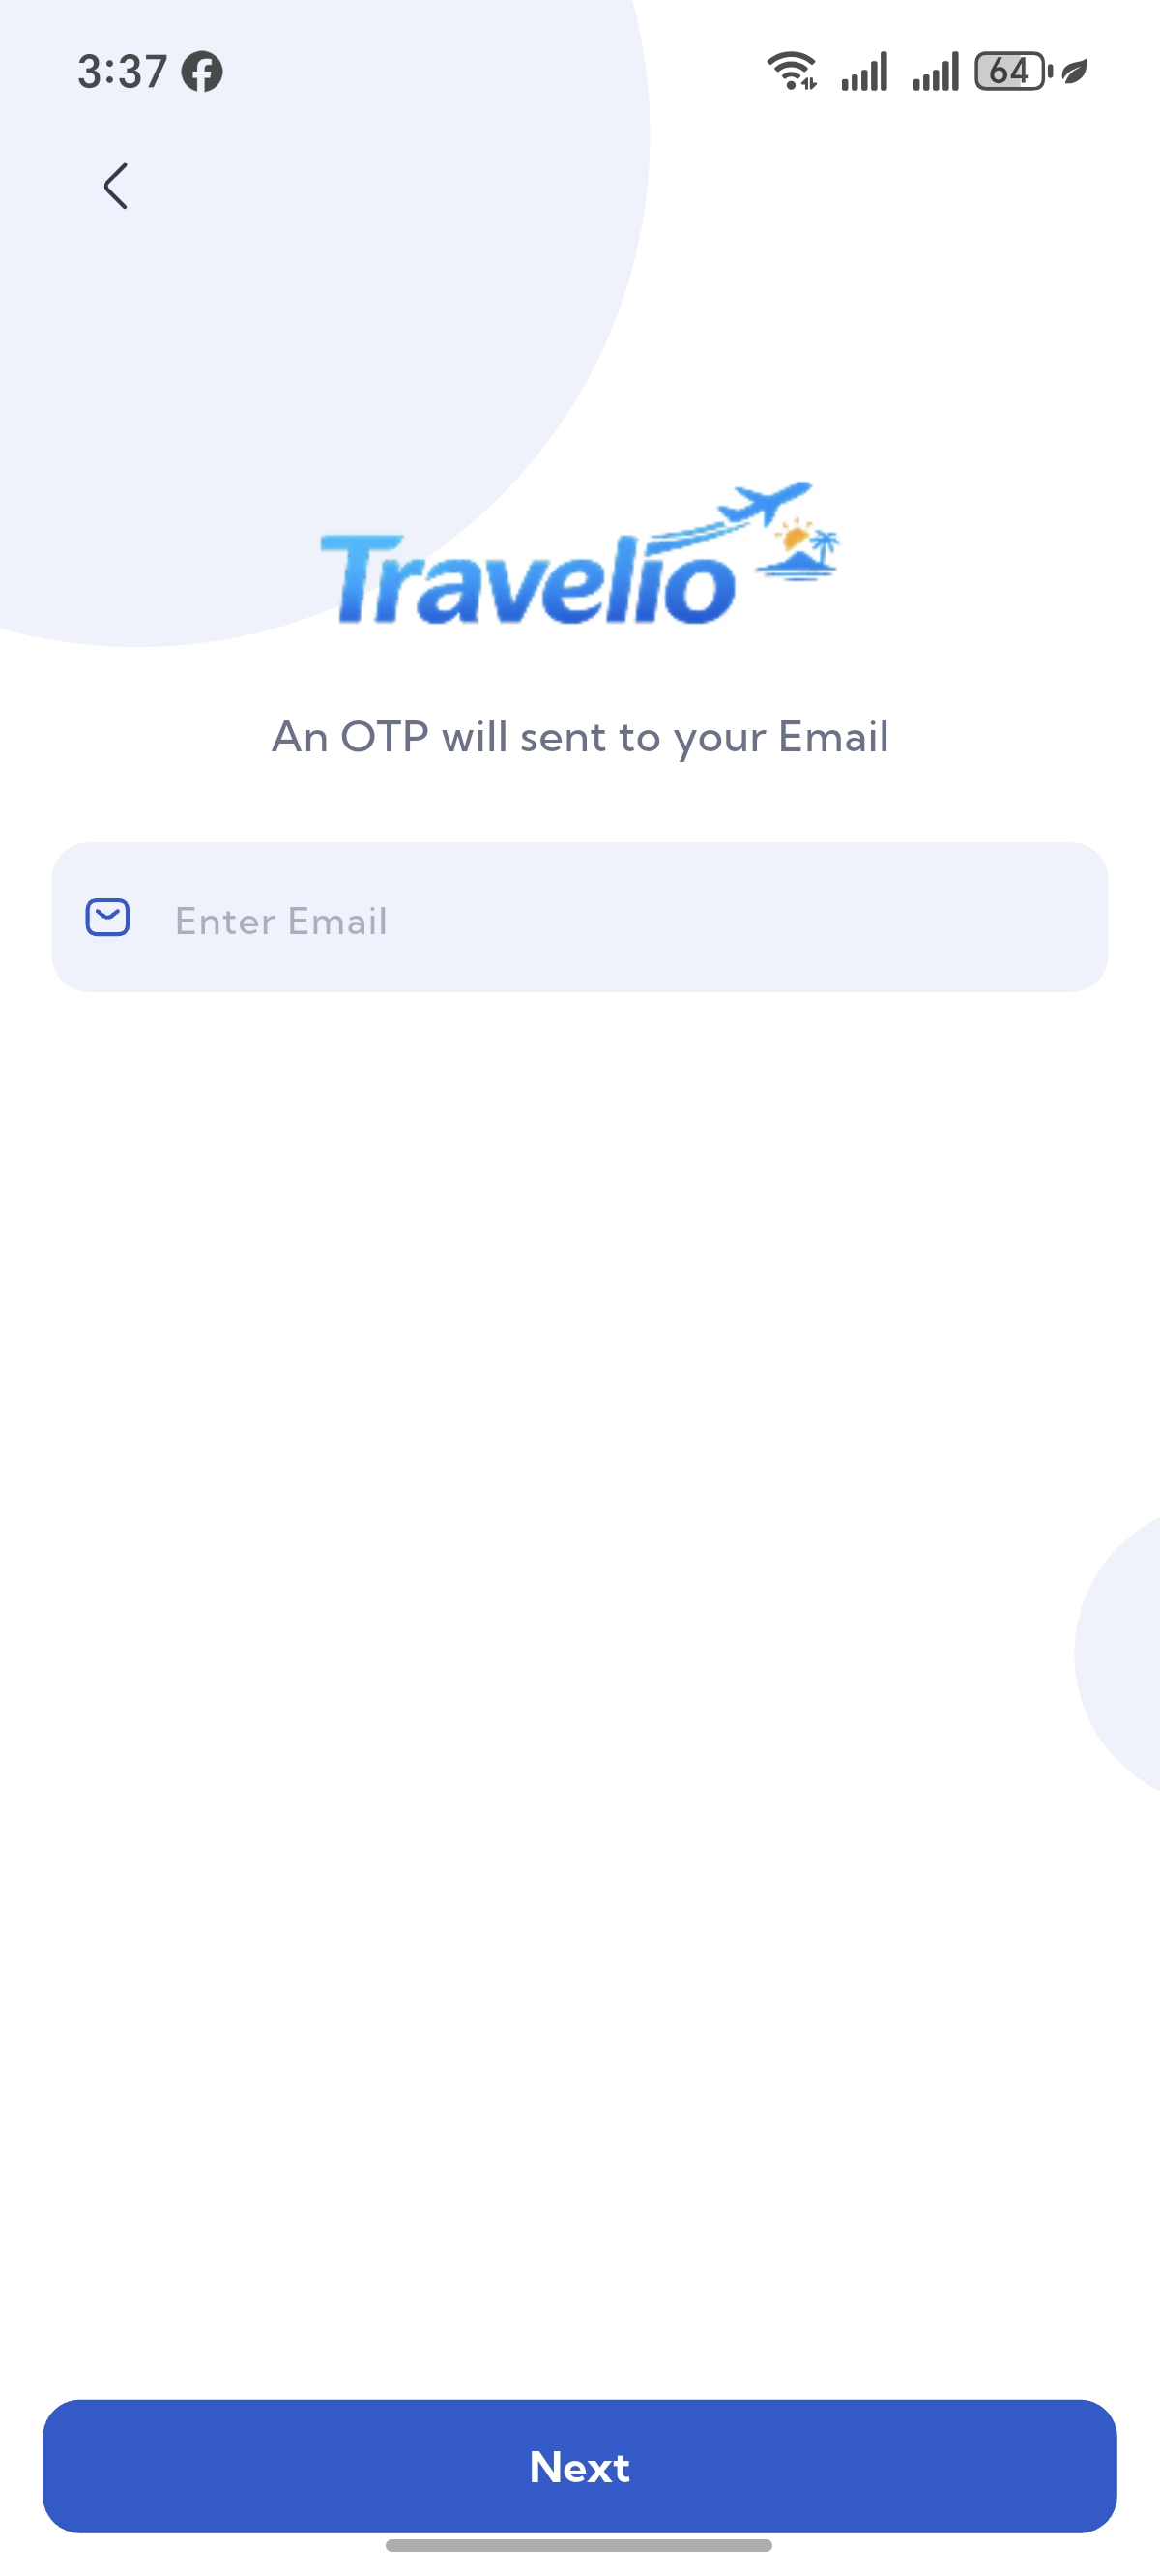
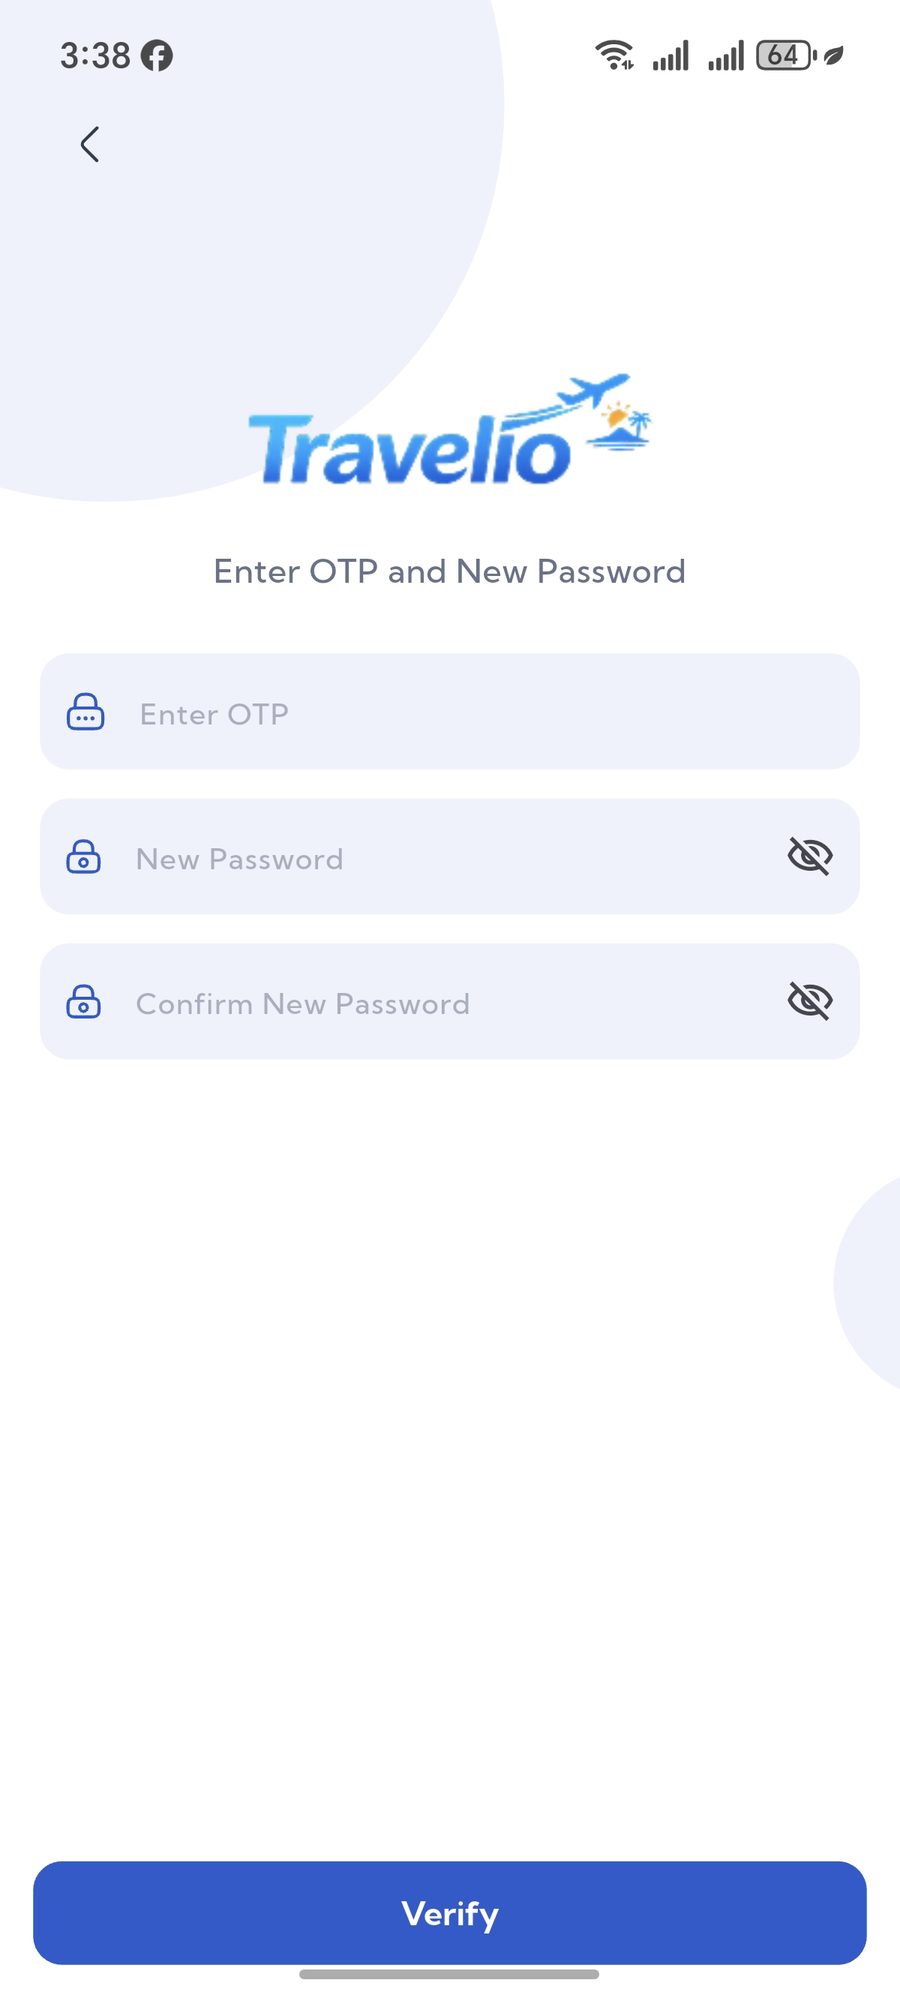
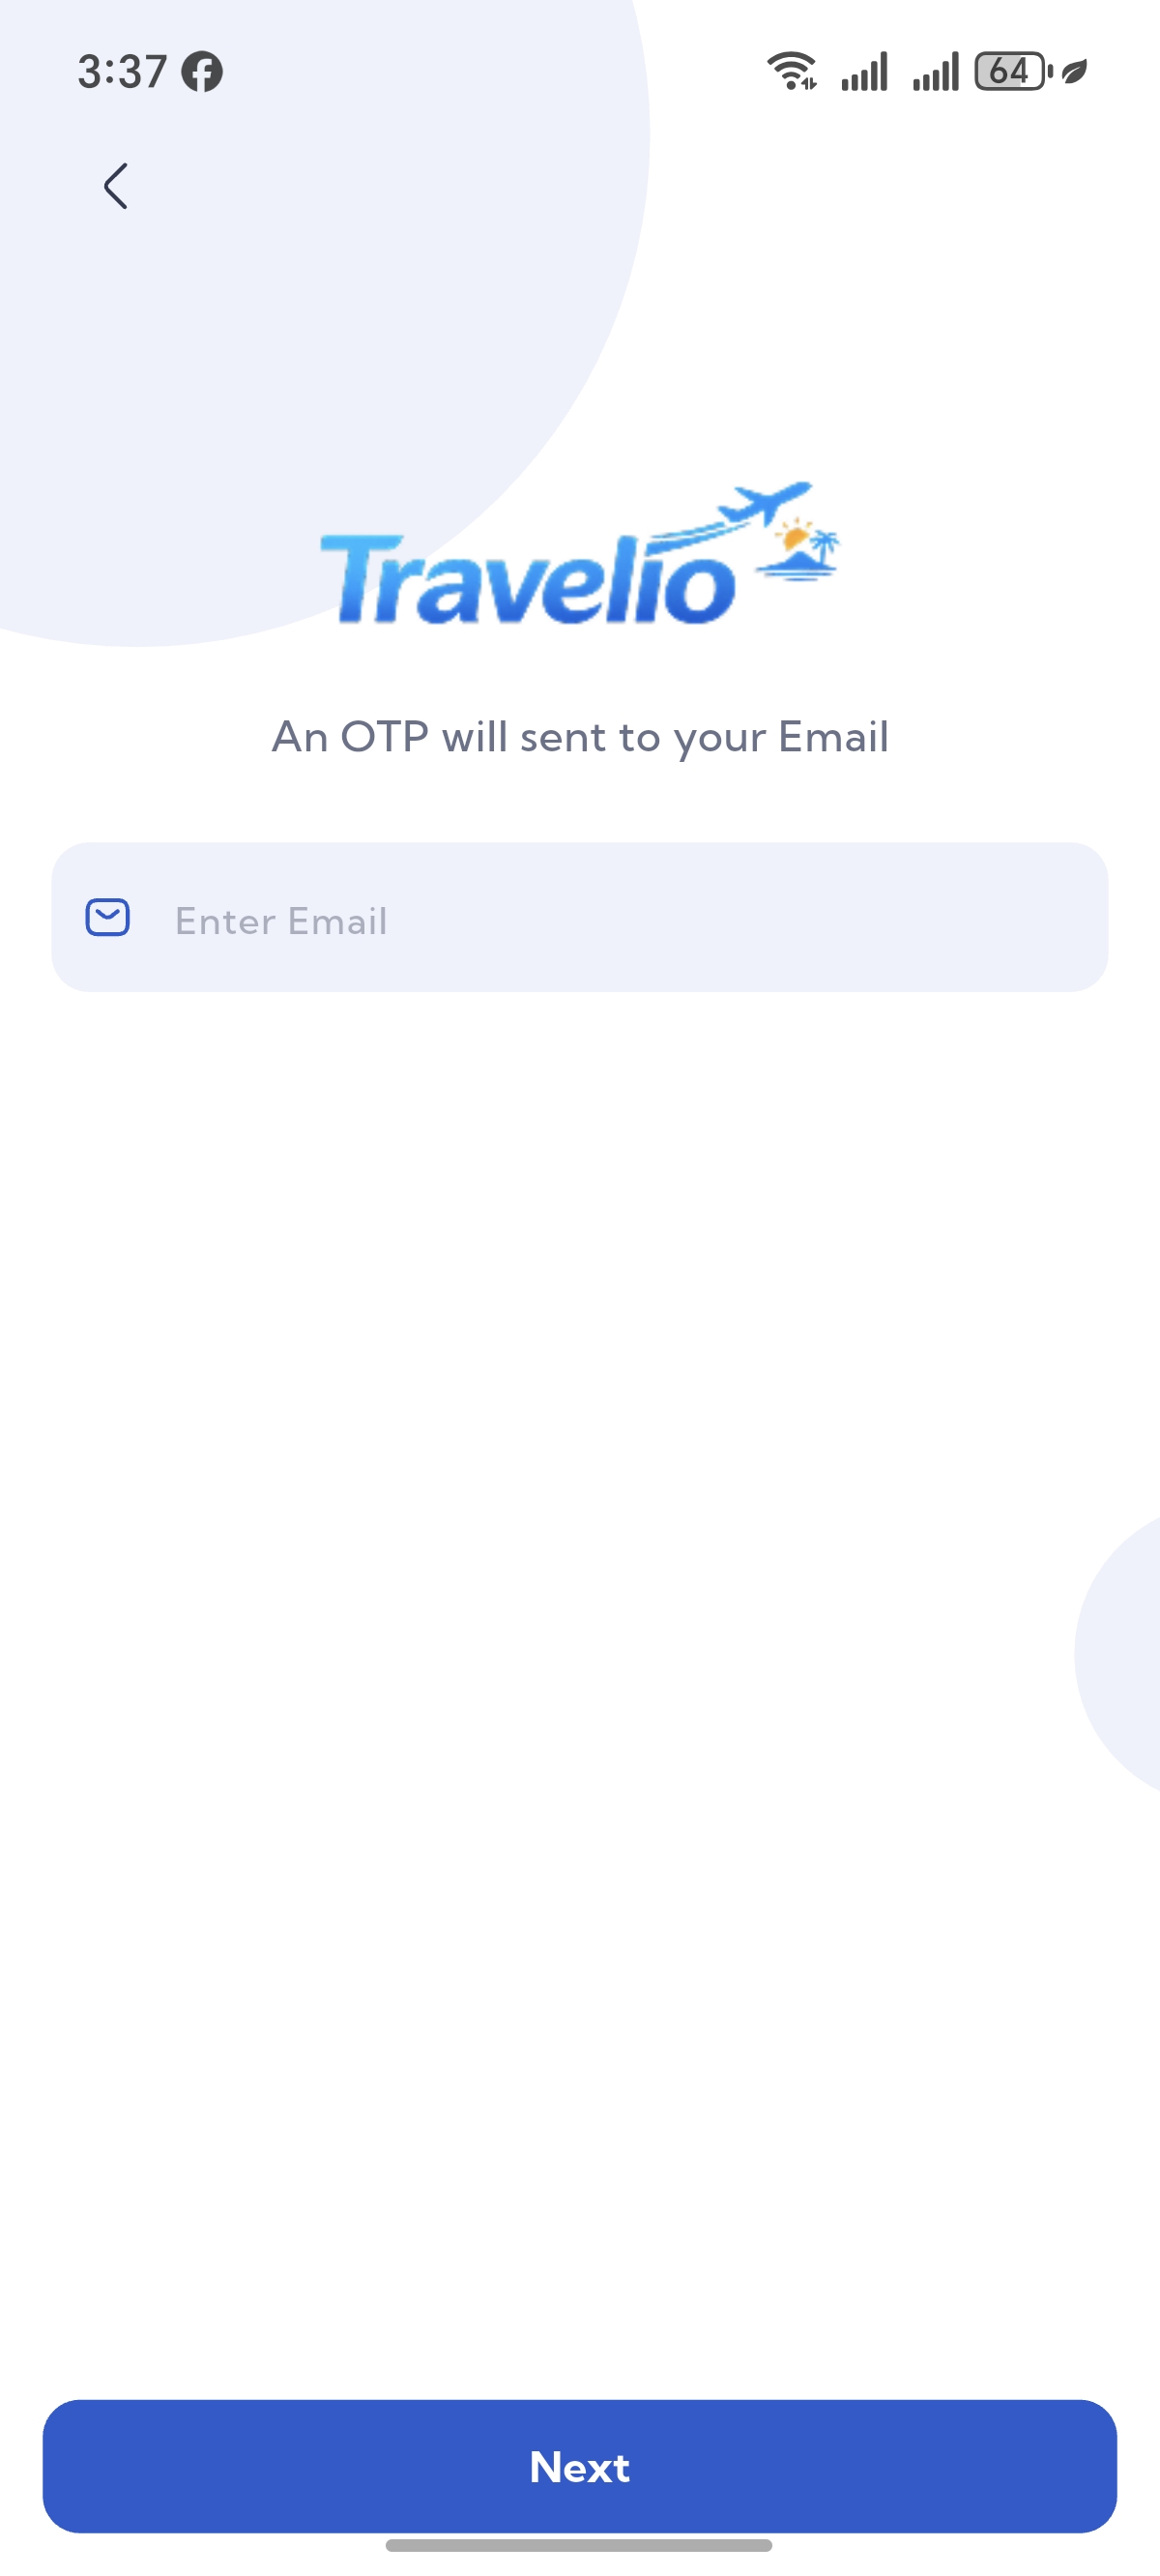
- Forgot Password — request a reset, receive a one-time code by email, verify it and set a new password.
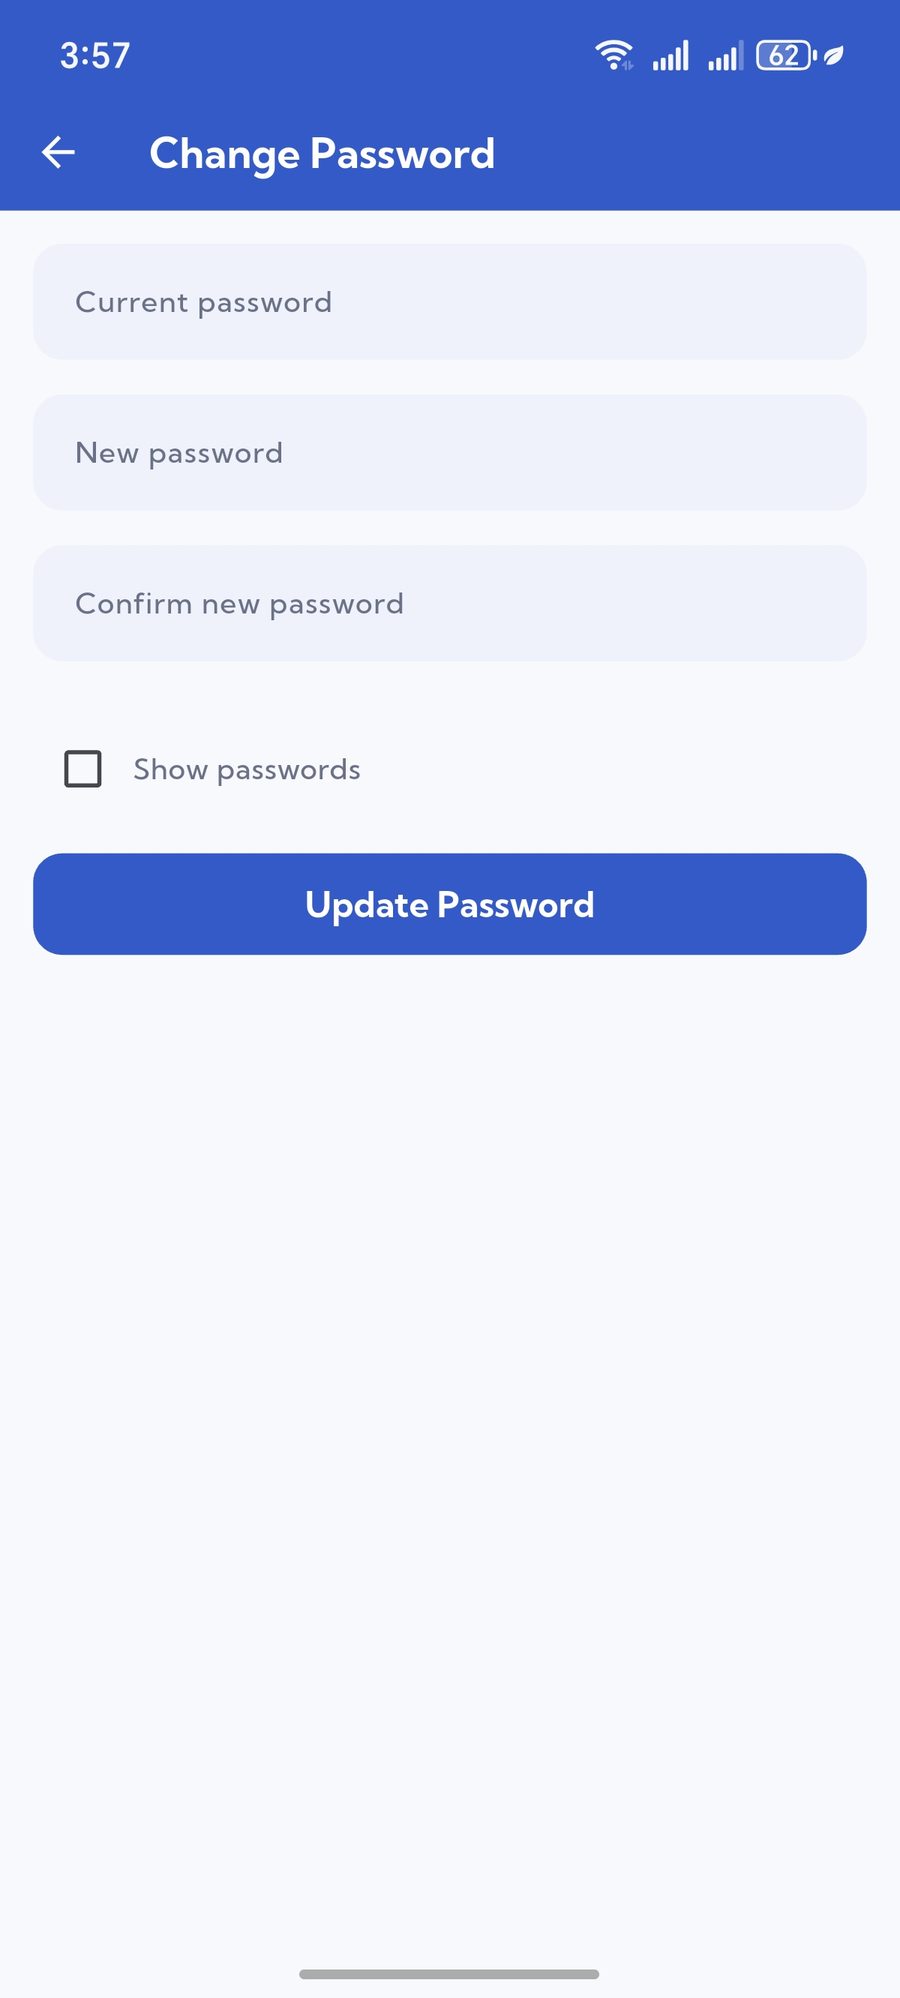
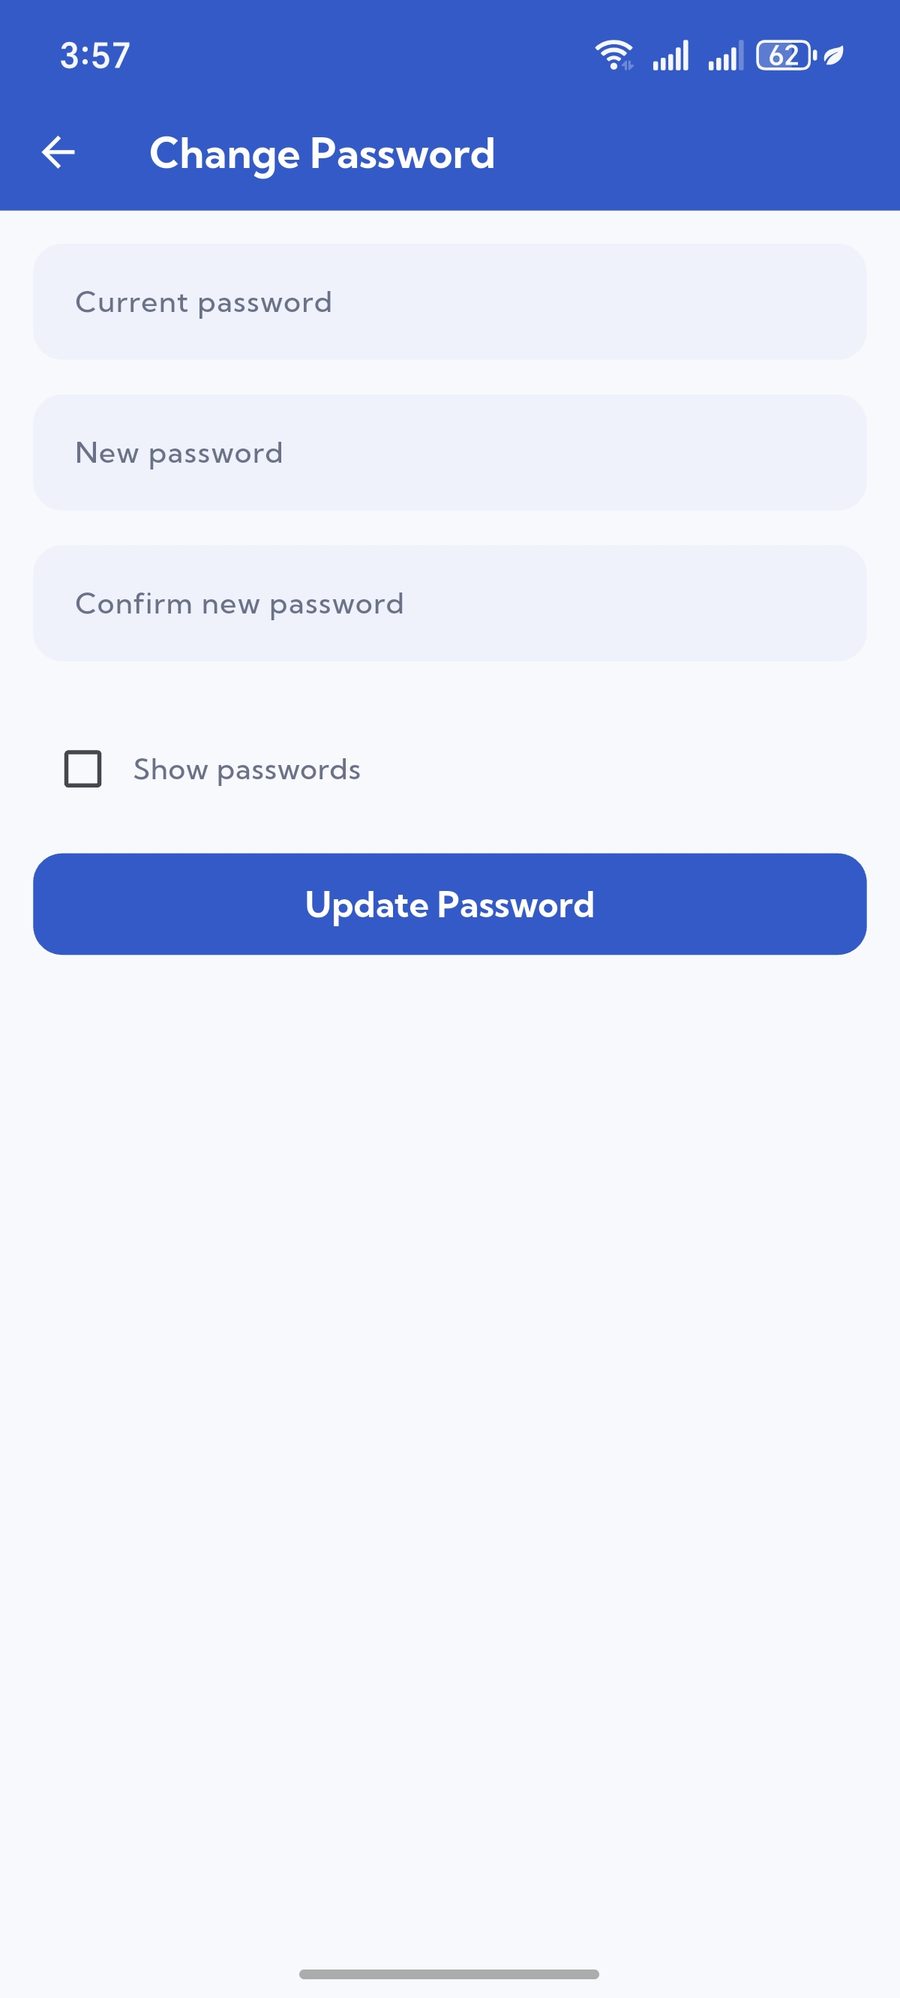
- Change Password — from inside the profile once signed in.
Password-reset emails go out through the SMTP settings you configure in the admin panel. If mail is not configured, the code never arrives.
Home, Explore & Services
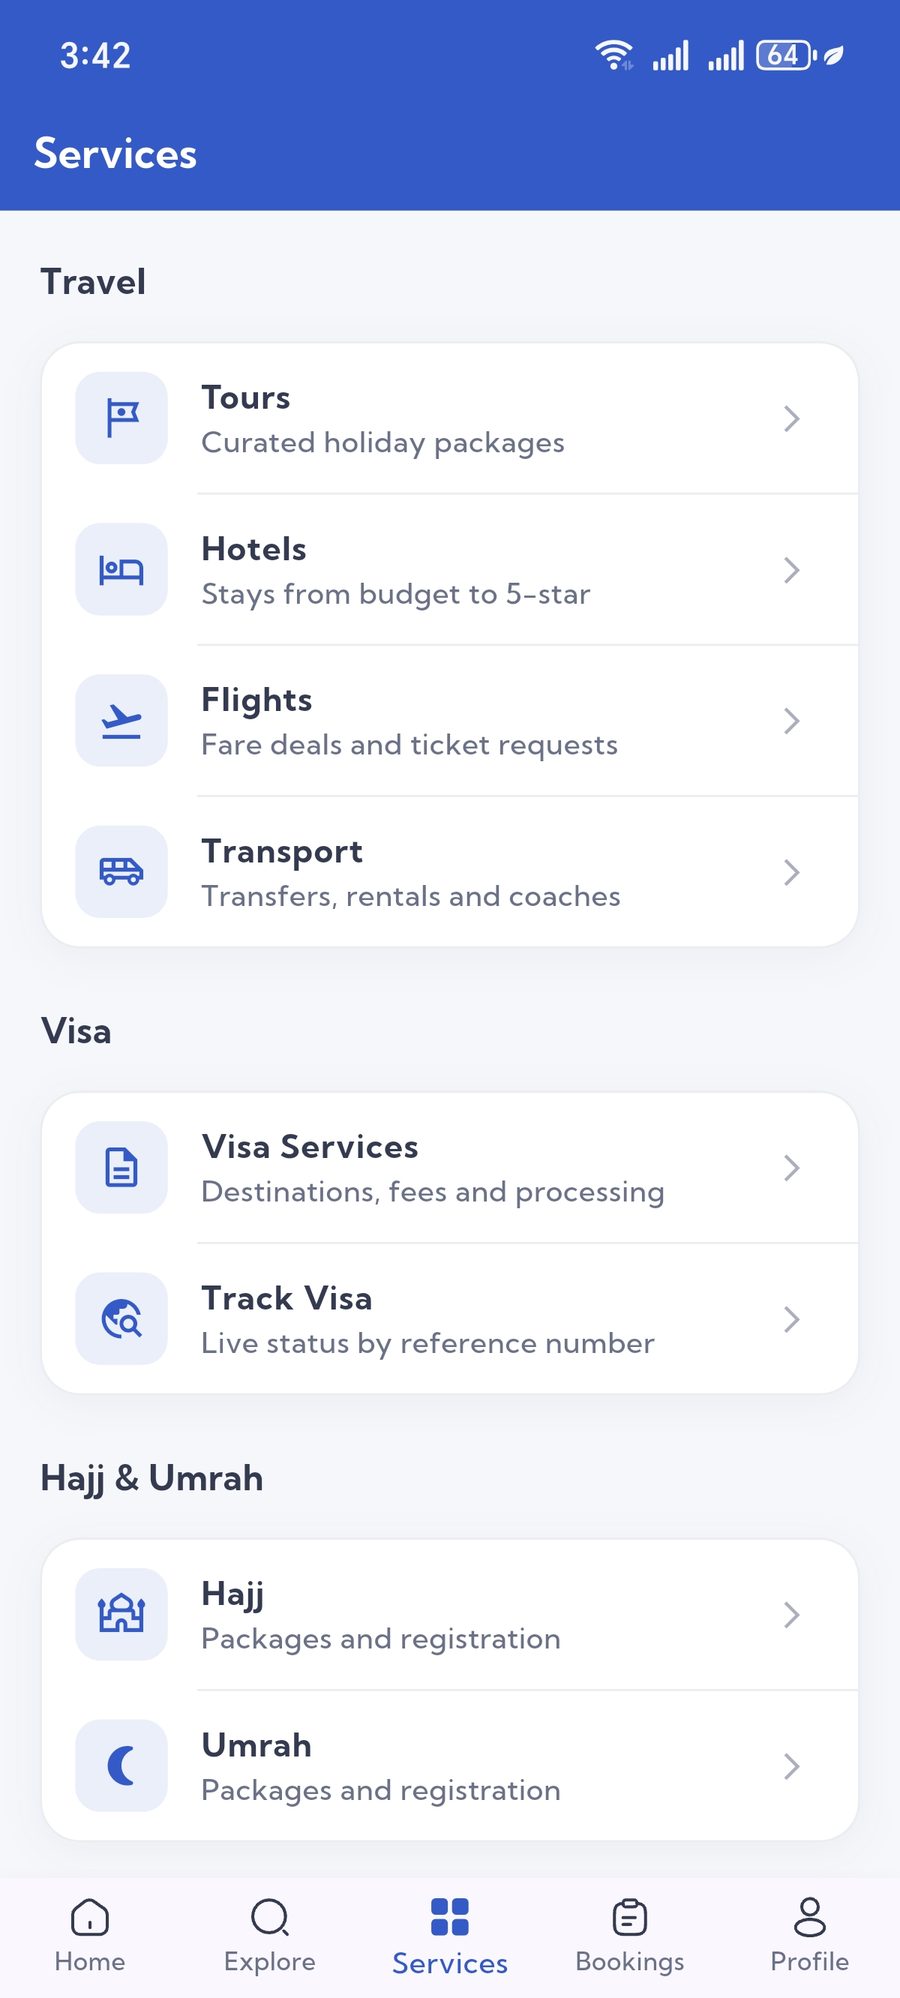
The bottom navigation carries the five main areas: Home, Explore, Bookings, Services and Profile.
- Home — hero slider, quick search, featured tour packages and current offers, all driven by what you publish in the admin panel.
- Explore — browse destinations and packages by category.
- Services — the full service menu: flights, hotels, transport, visa, Hajj & Umrah, insurance and the rest.


Tours, Flights, Hotels & Transport
Every product the agency sells is searchable and bookable from the app. The lists mirror the records you maintain in the admin panel.
- Tours — package list with price, duration and destination; the detail screen shows the itinerary, inclusions, gallery and the booking form.
- Flights — search a route and date, review the fare, request the booking.
- Hotels — properties with rating, location and room types.
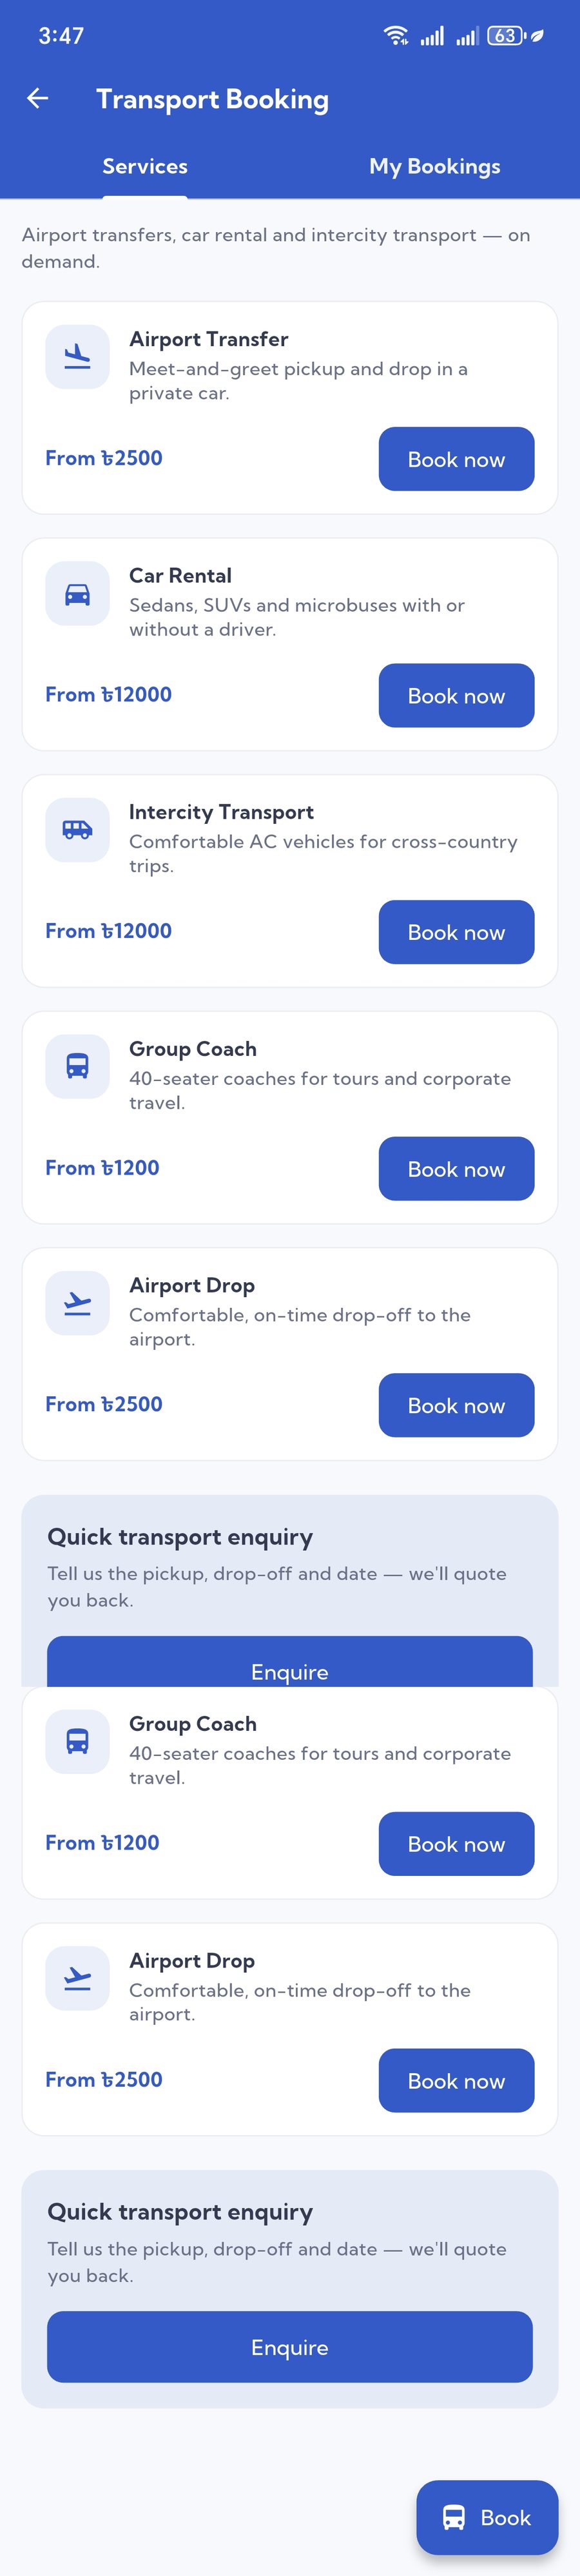
- Transport — bus, train, launch, car rental and airport transfer.
A booking made here lands in the admin panel immediately, ready for your staff to confirm.




Visa & Hajj / Umrah
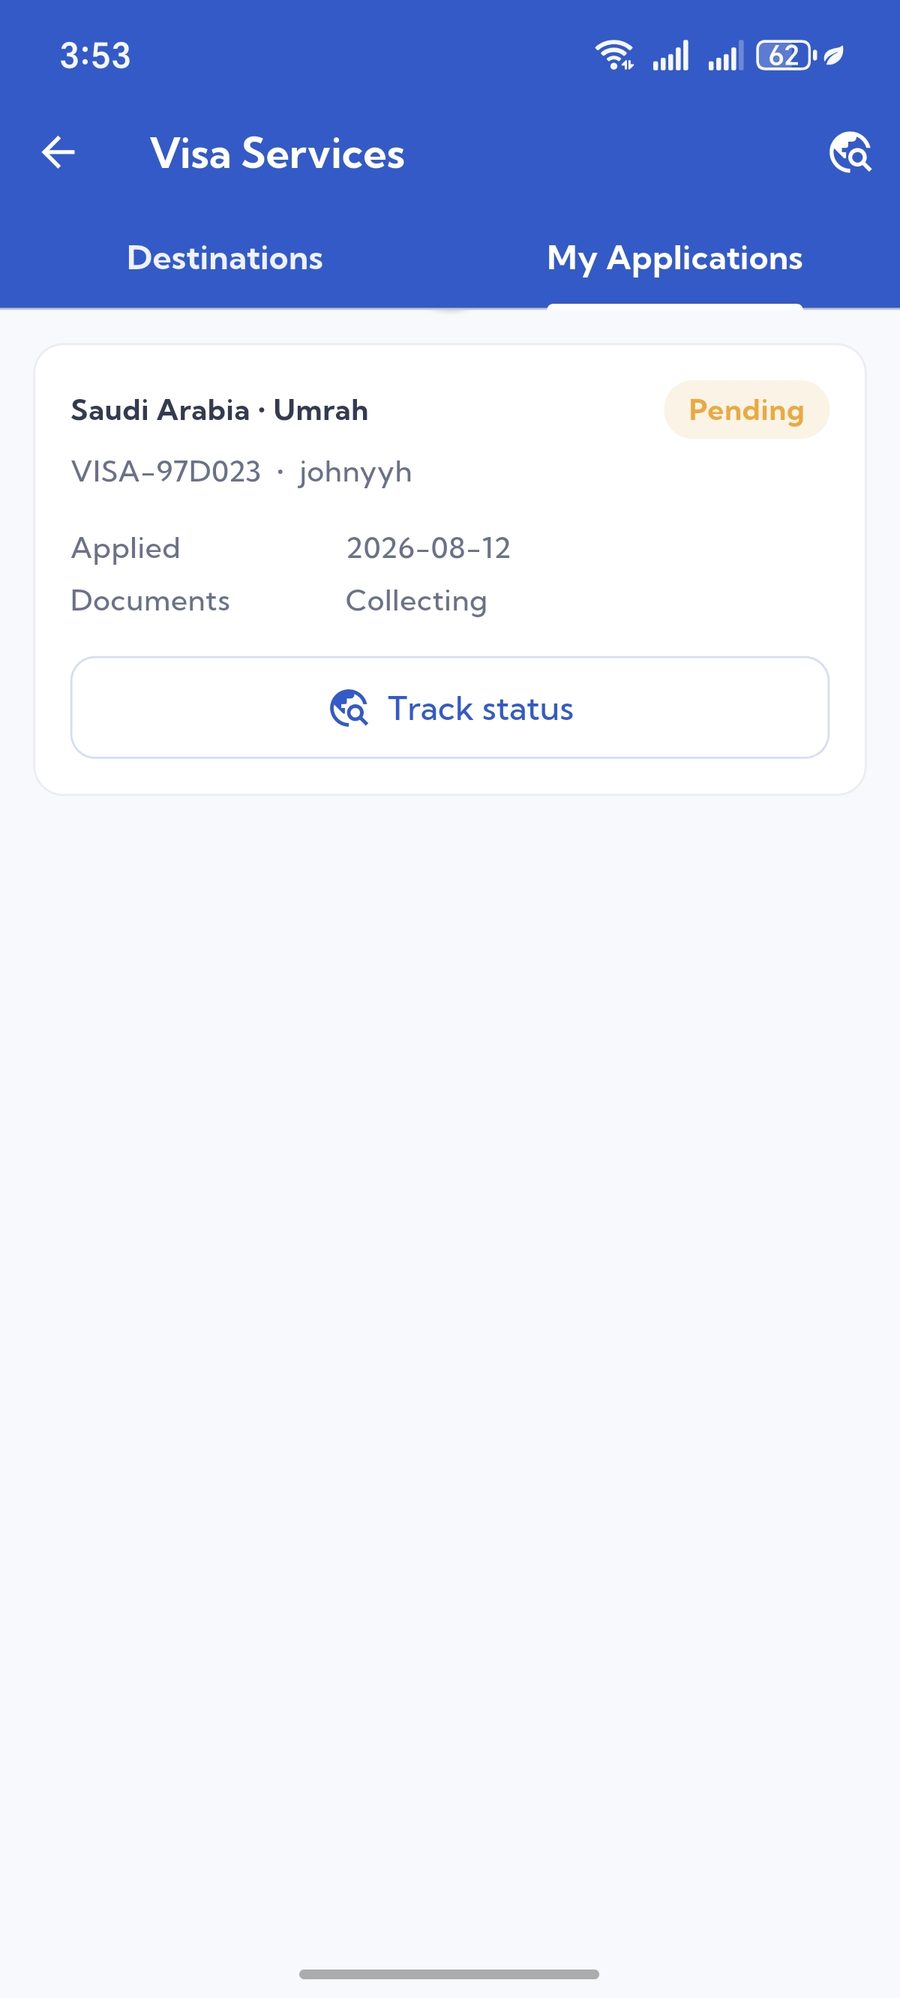
- Visa Services — the destinations you process visas for, with requirements and fees.
- Visa Applications — the customer's own applications and their current stage.
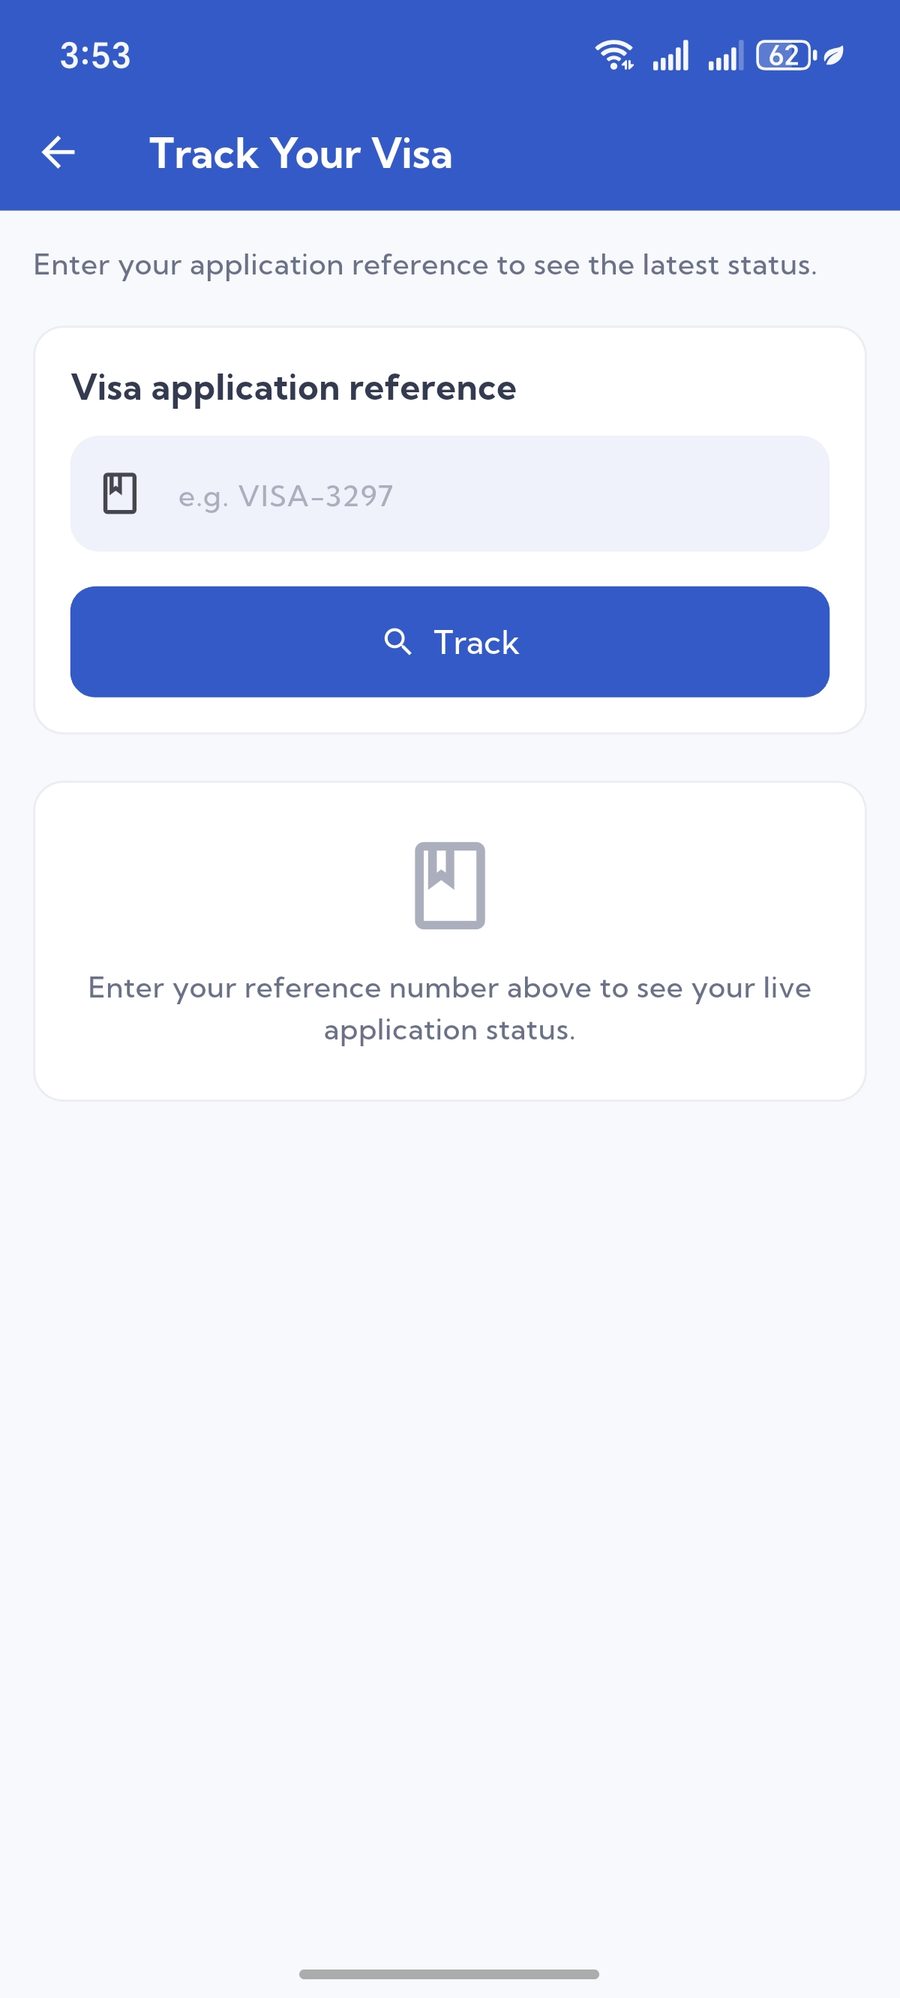
- Track Visa — follow an application by reference number, mirroring the status you set in the admin panel.
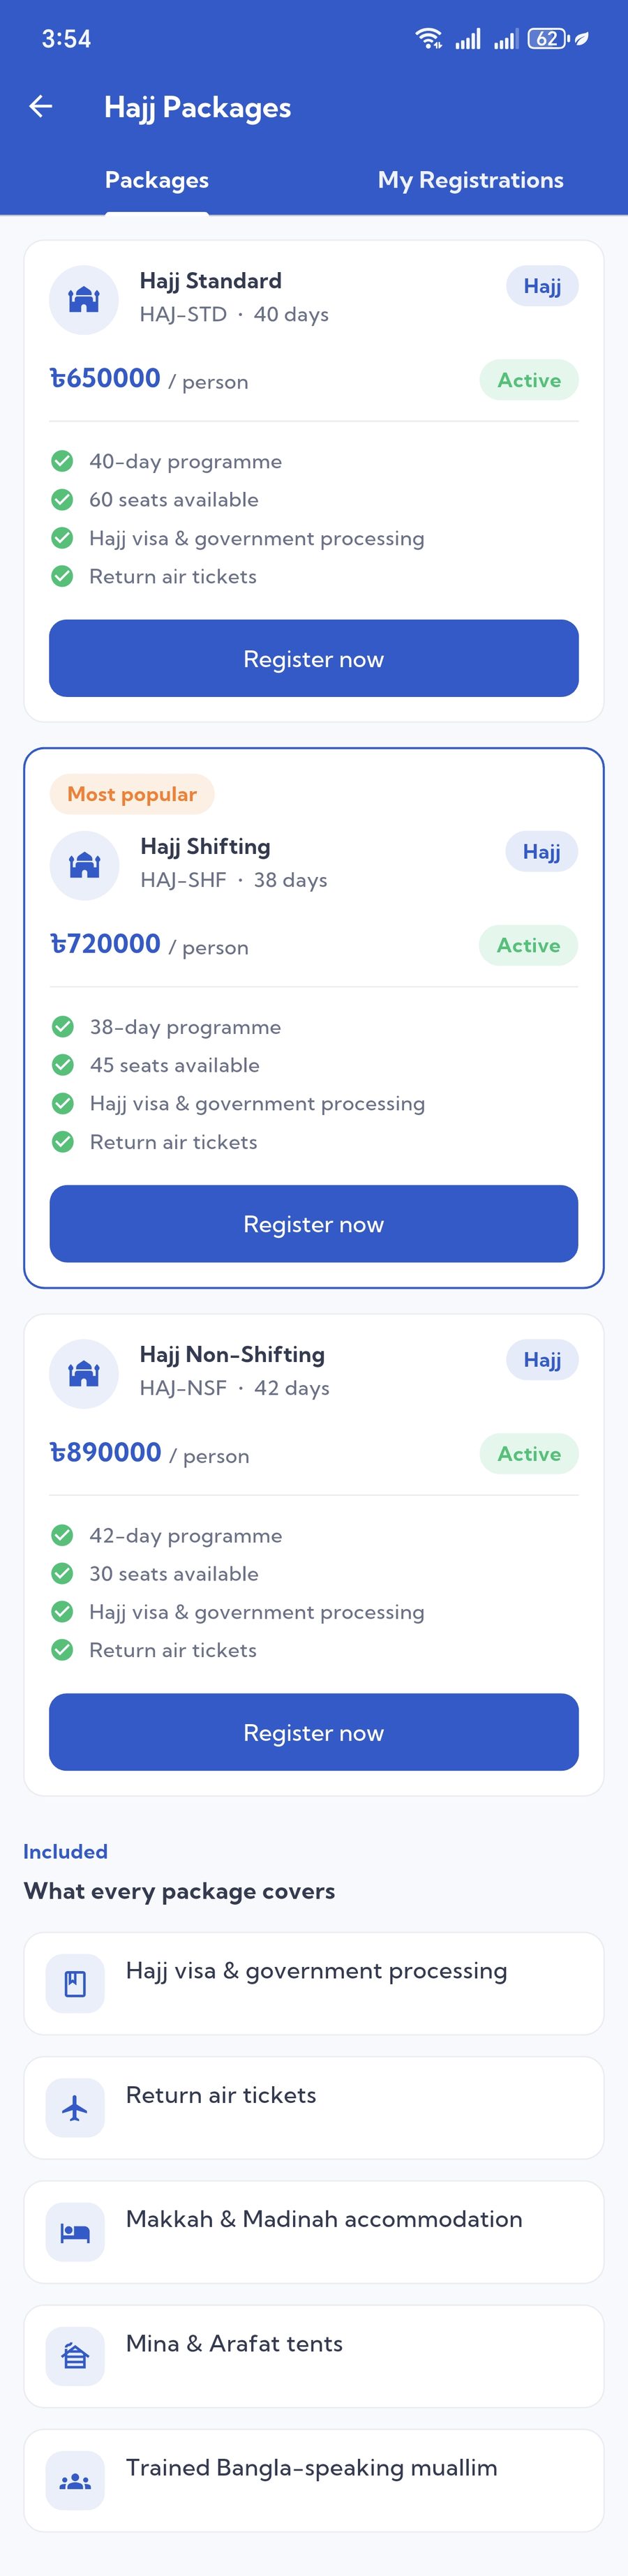
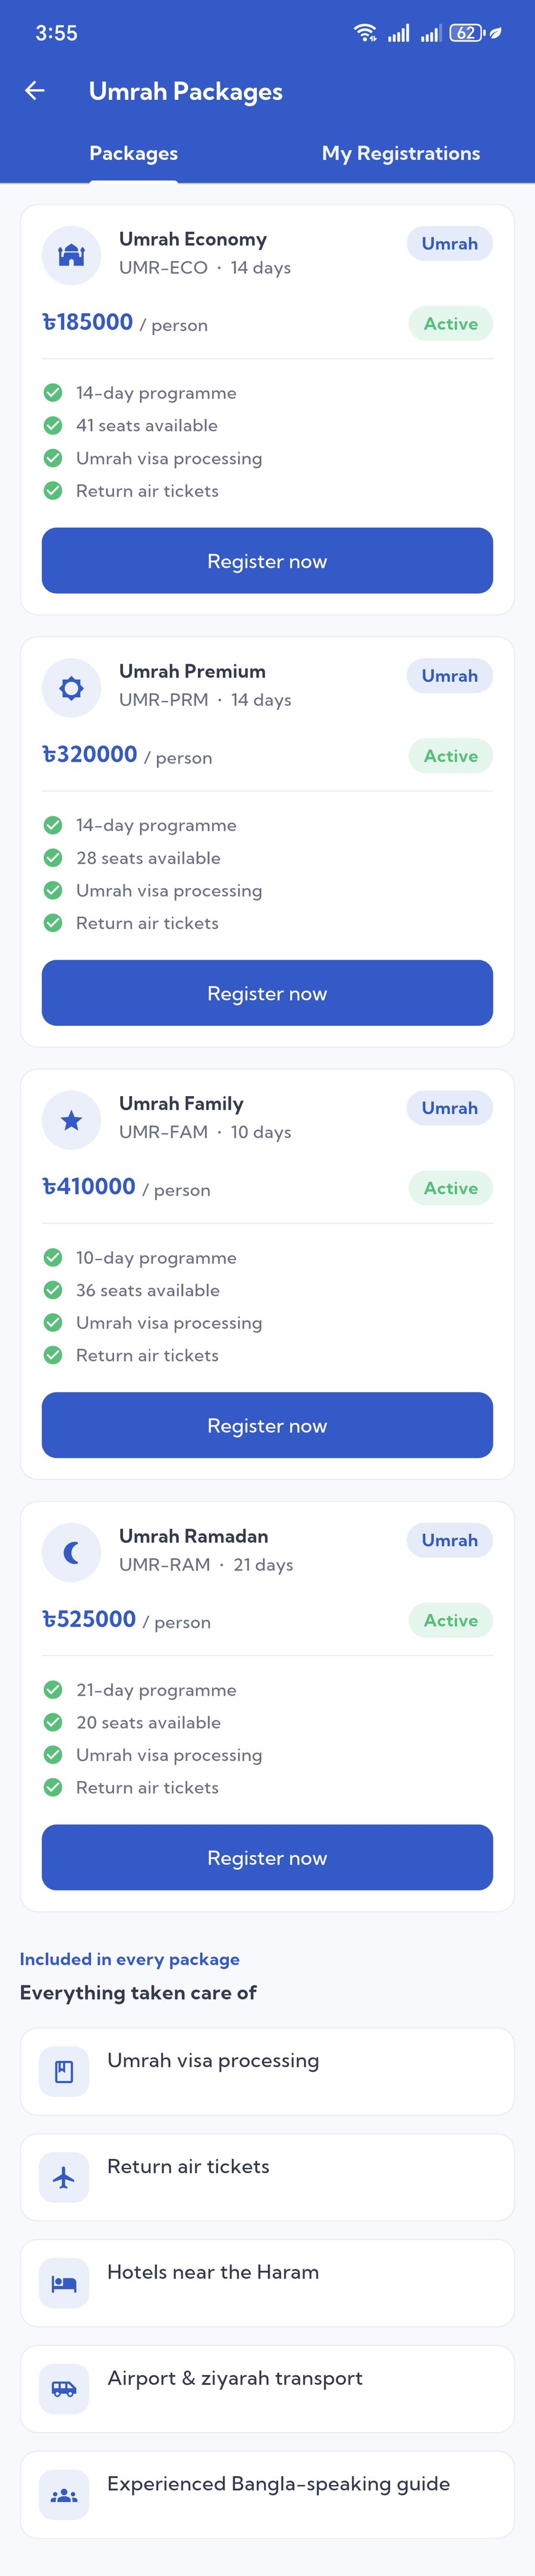
- Hajj & Umrah Packages — pilgrimage packages with full details.
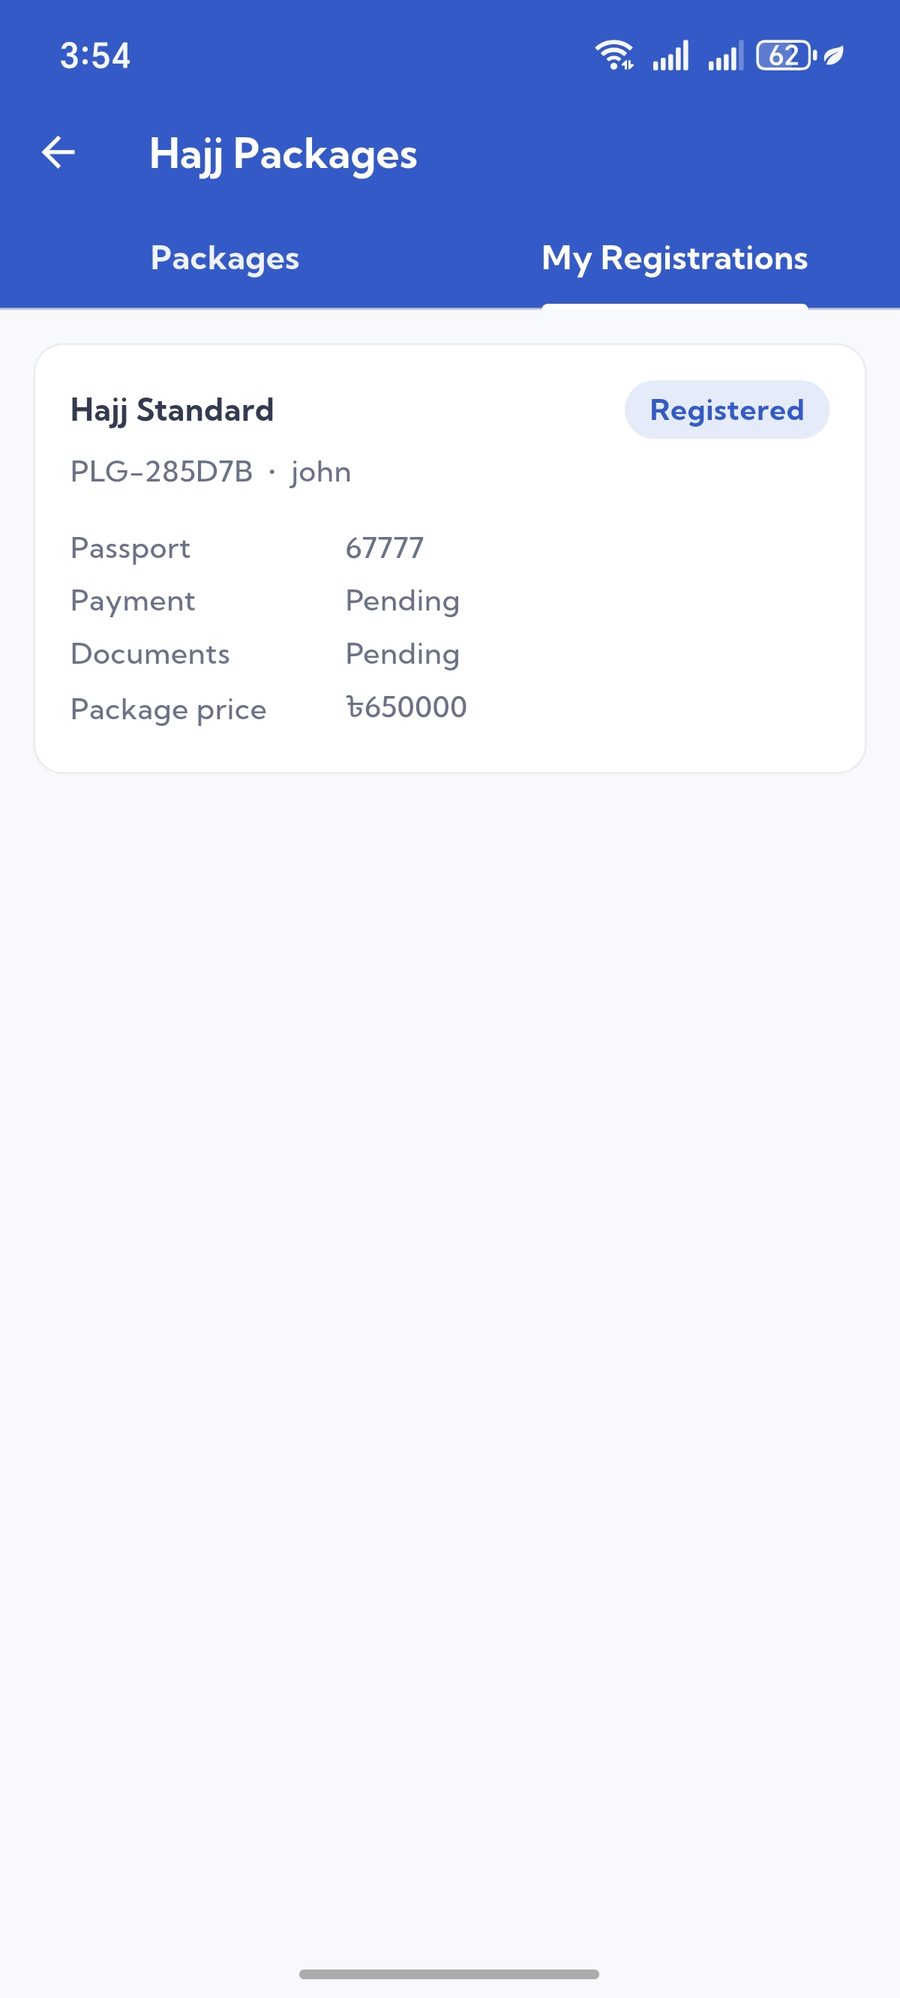
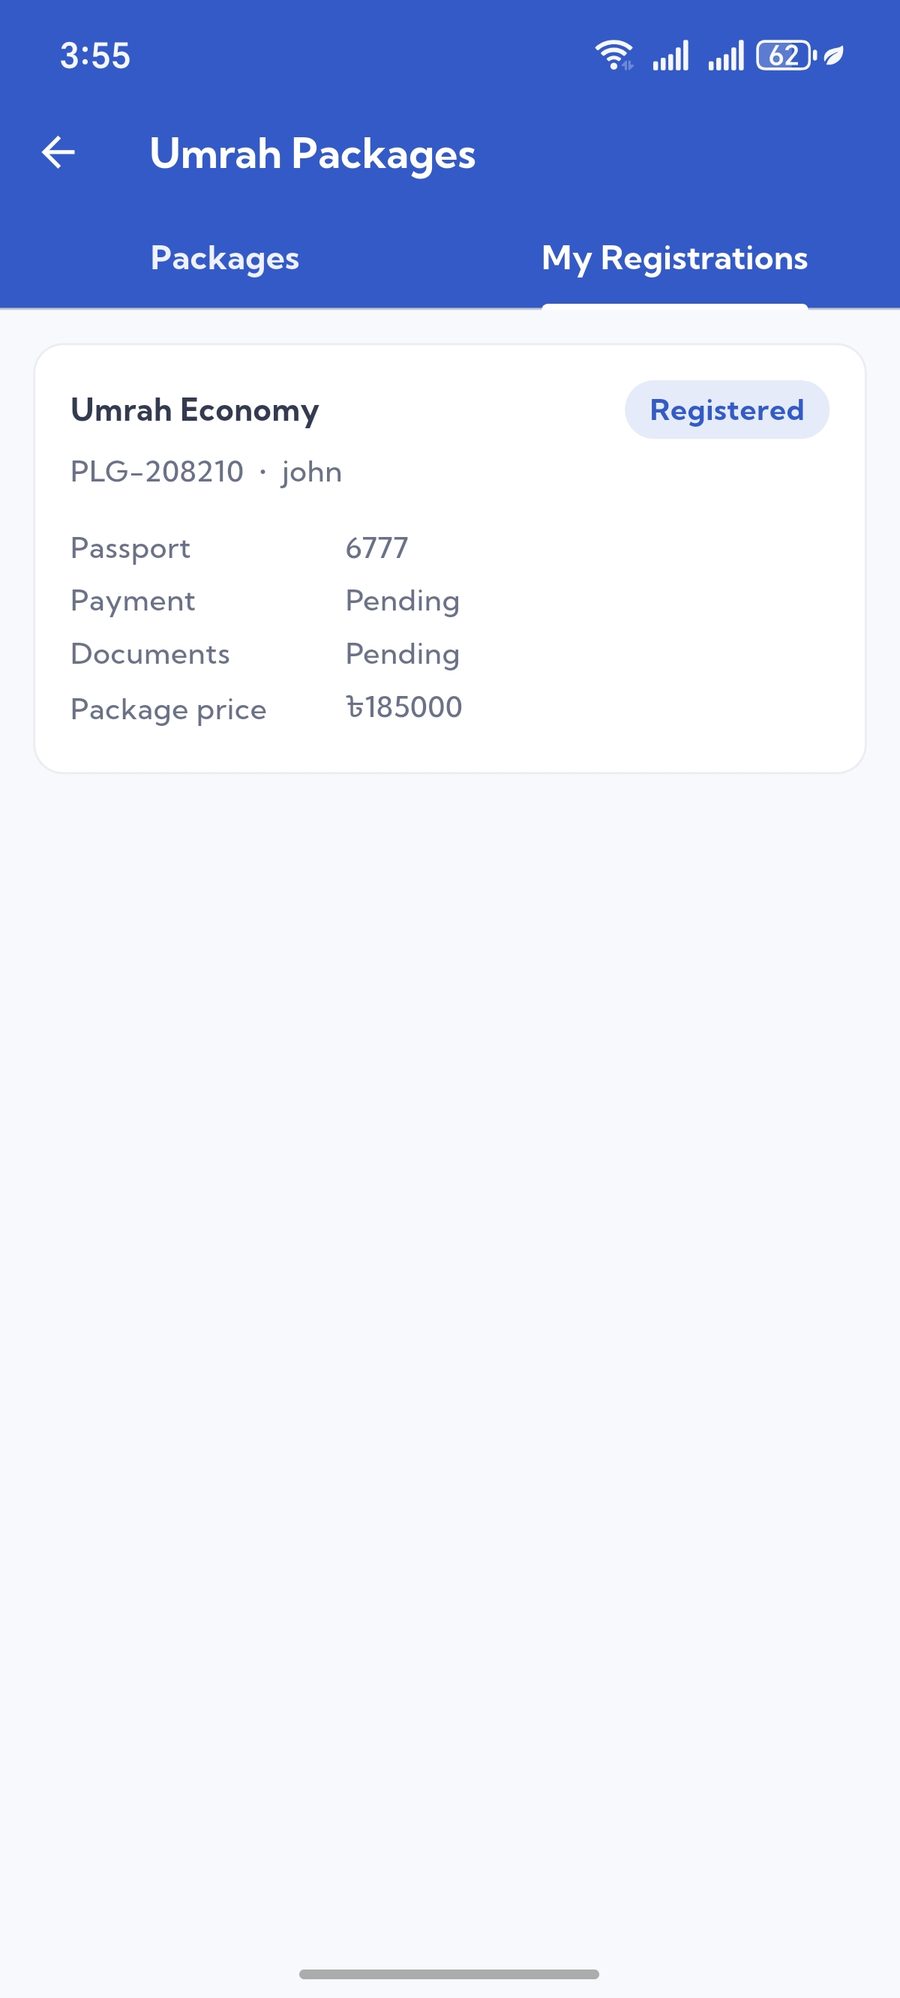
- Hajj / Umrah Registrations — the customer's registrations, documents and payment progress.

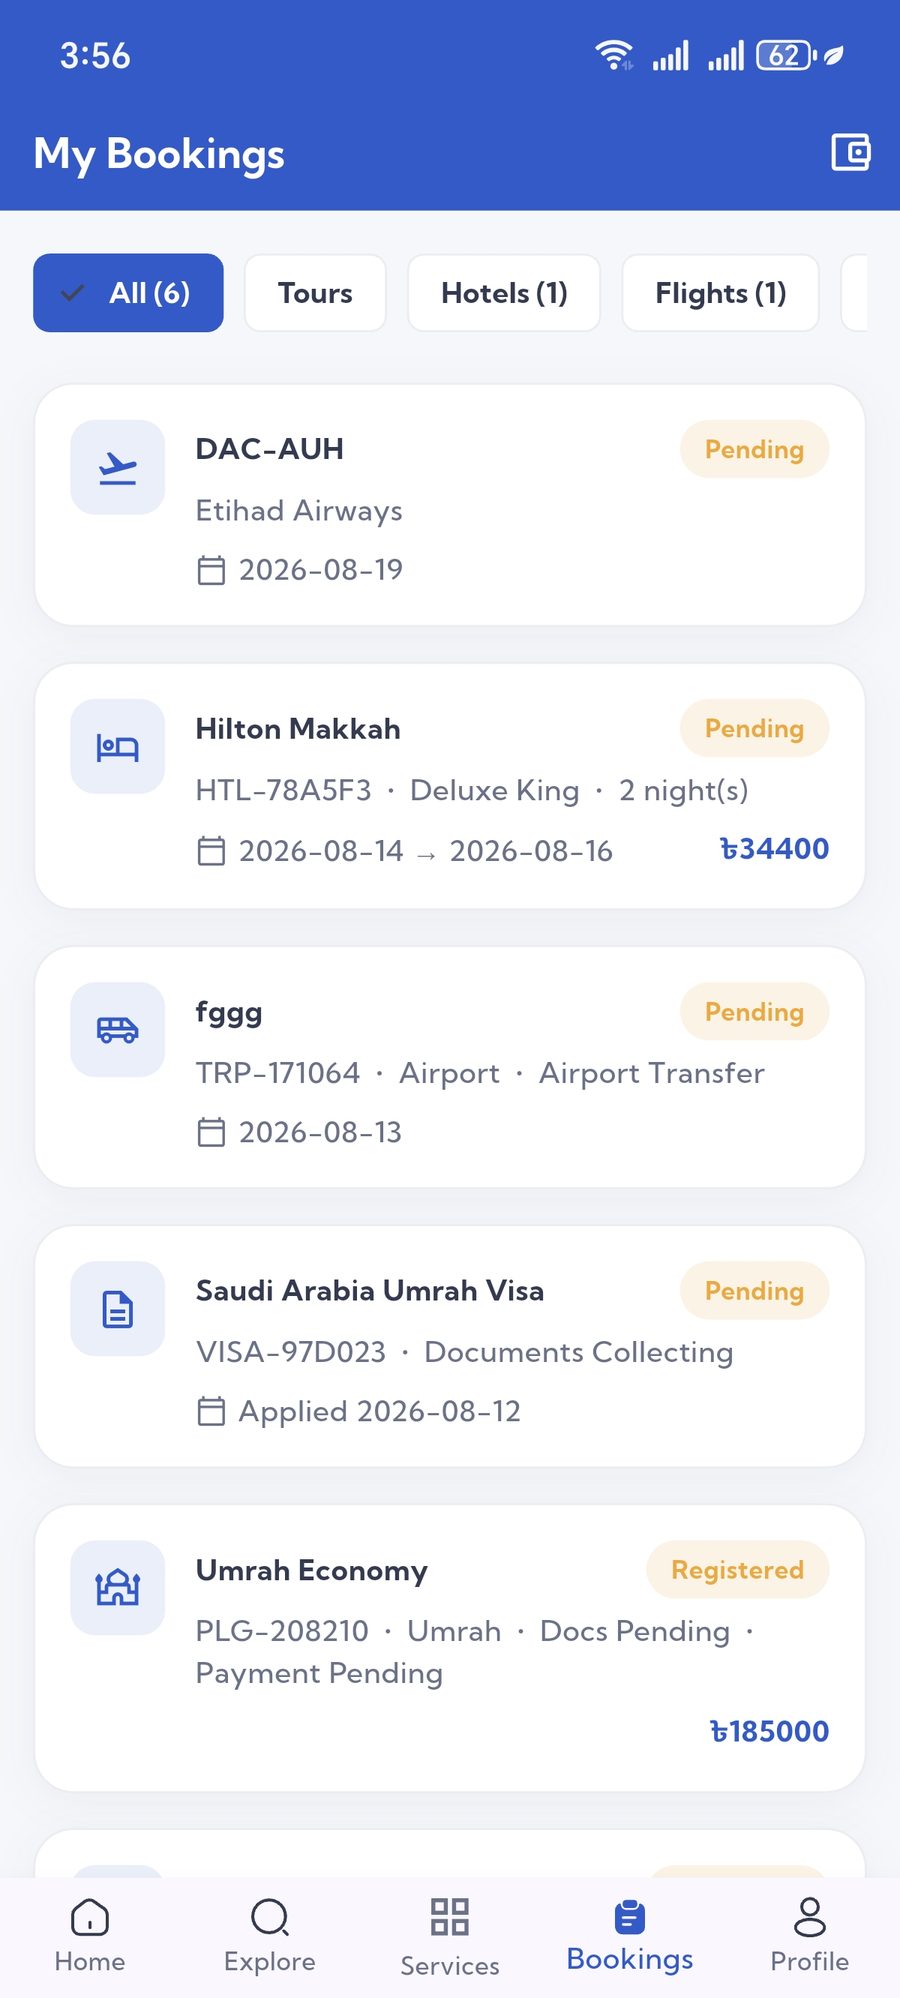
My Bookings
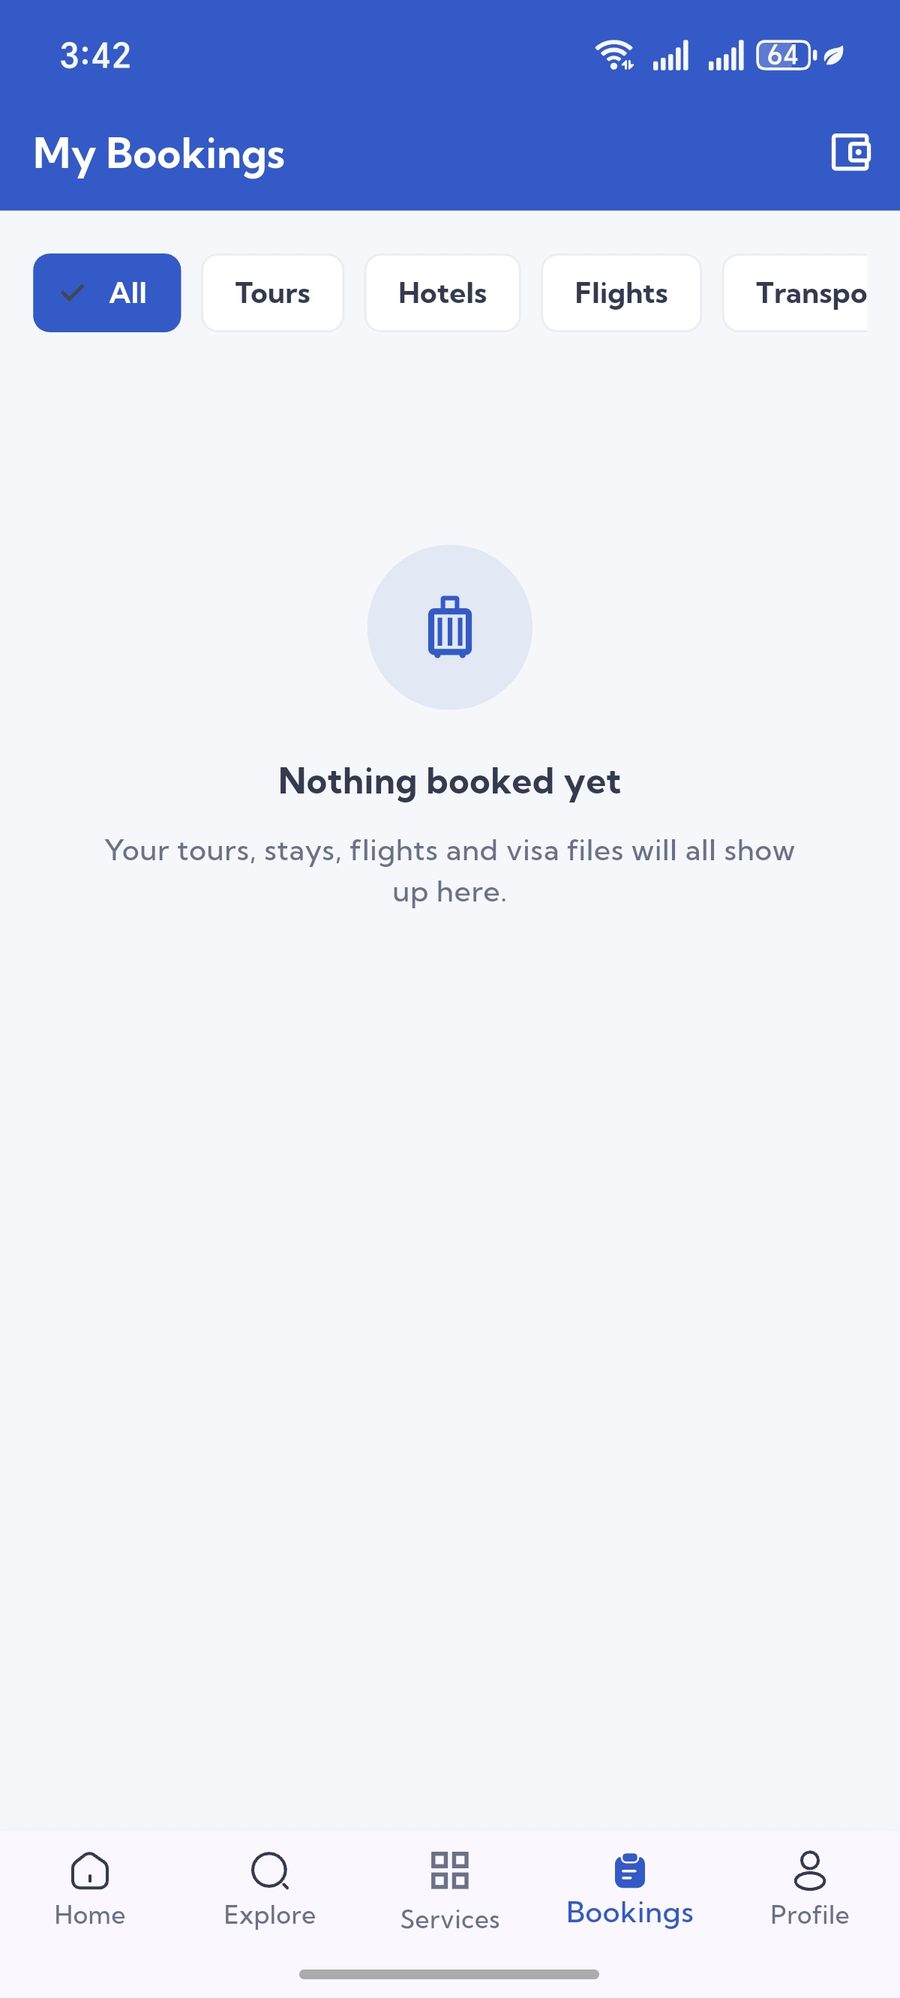
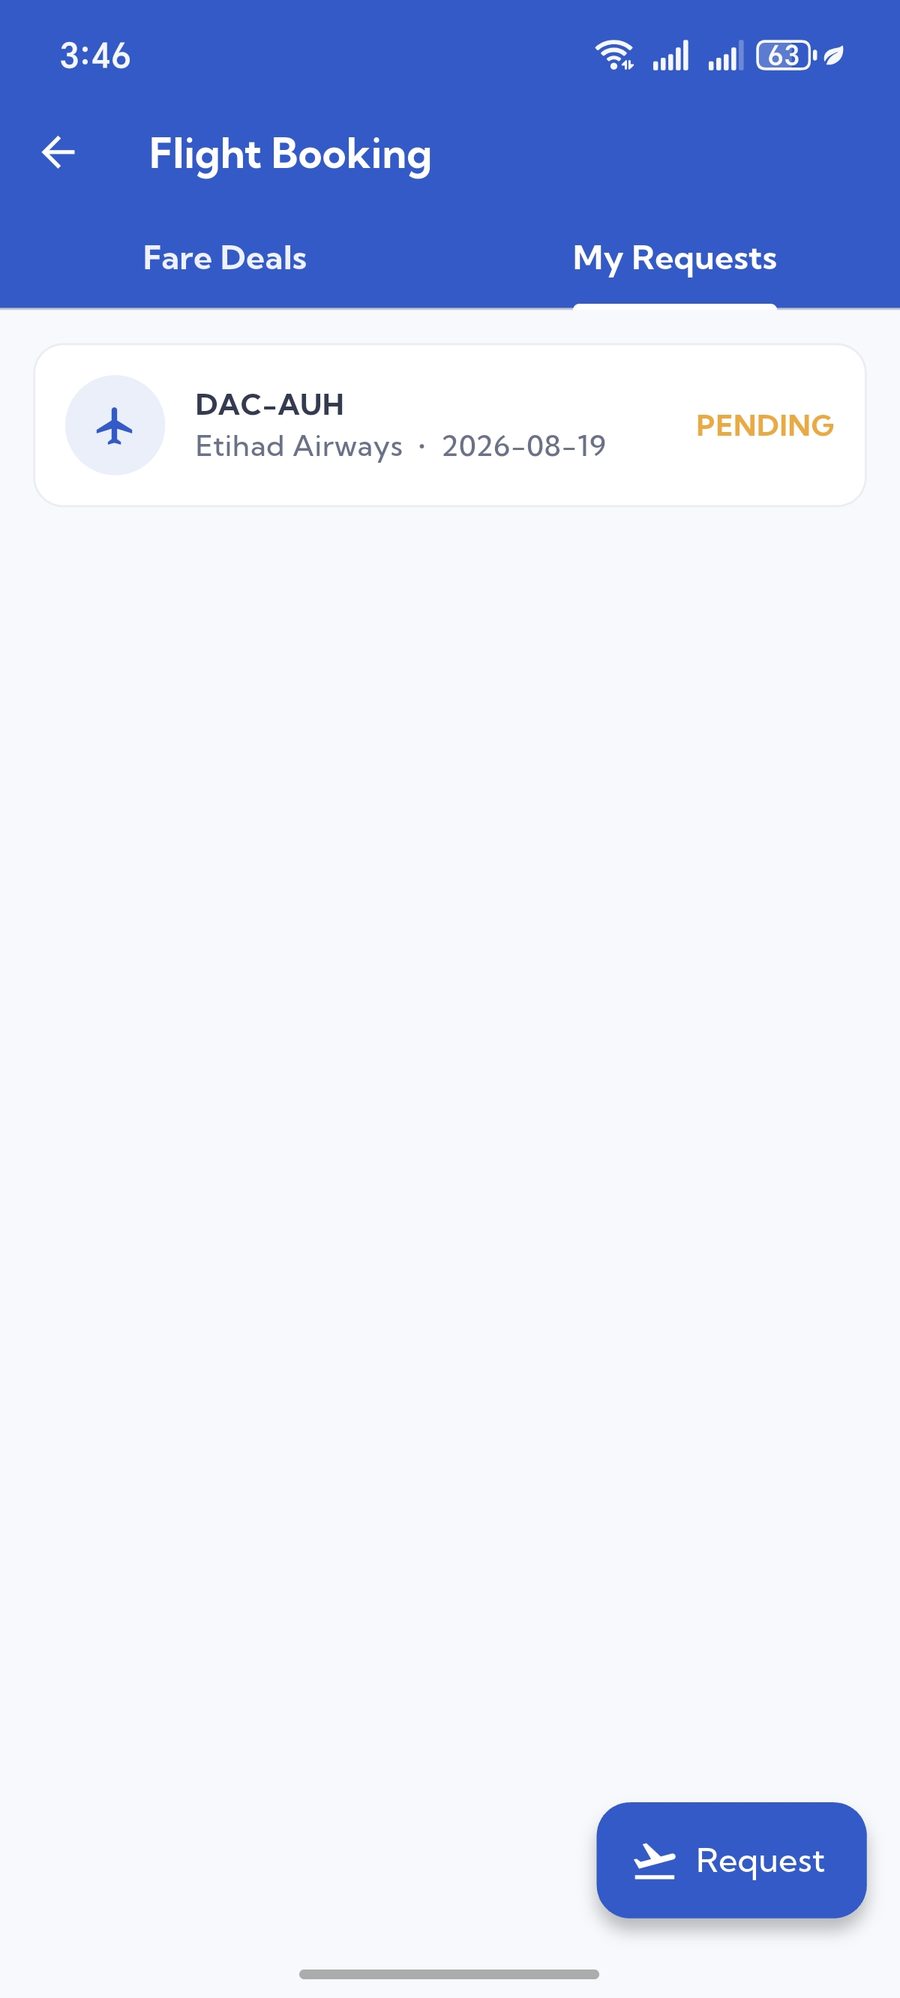
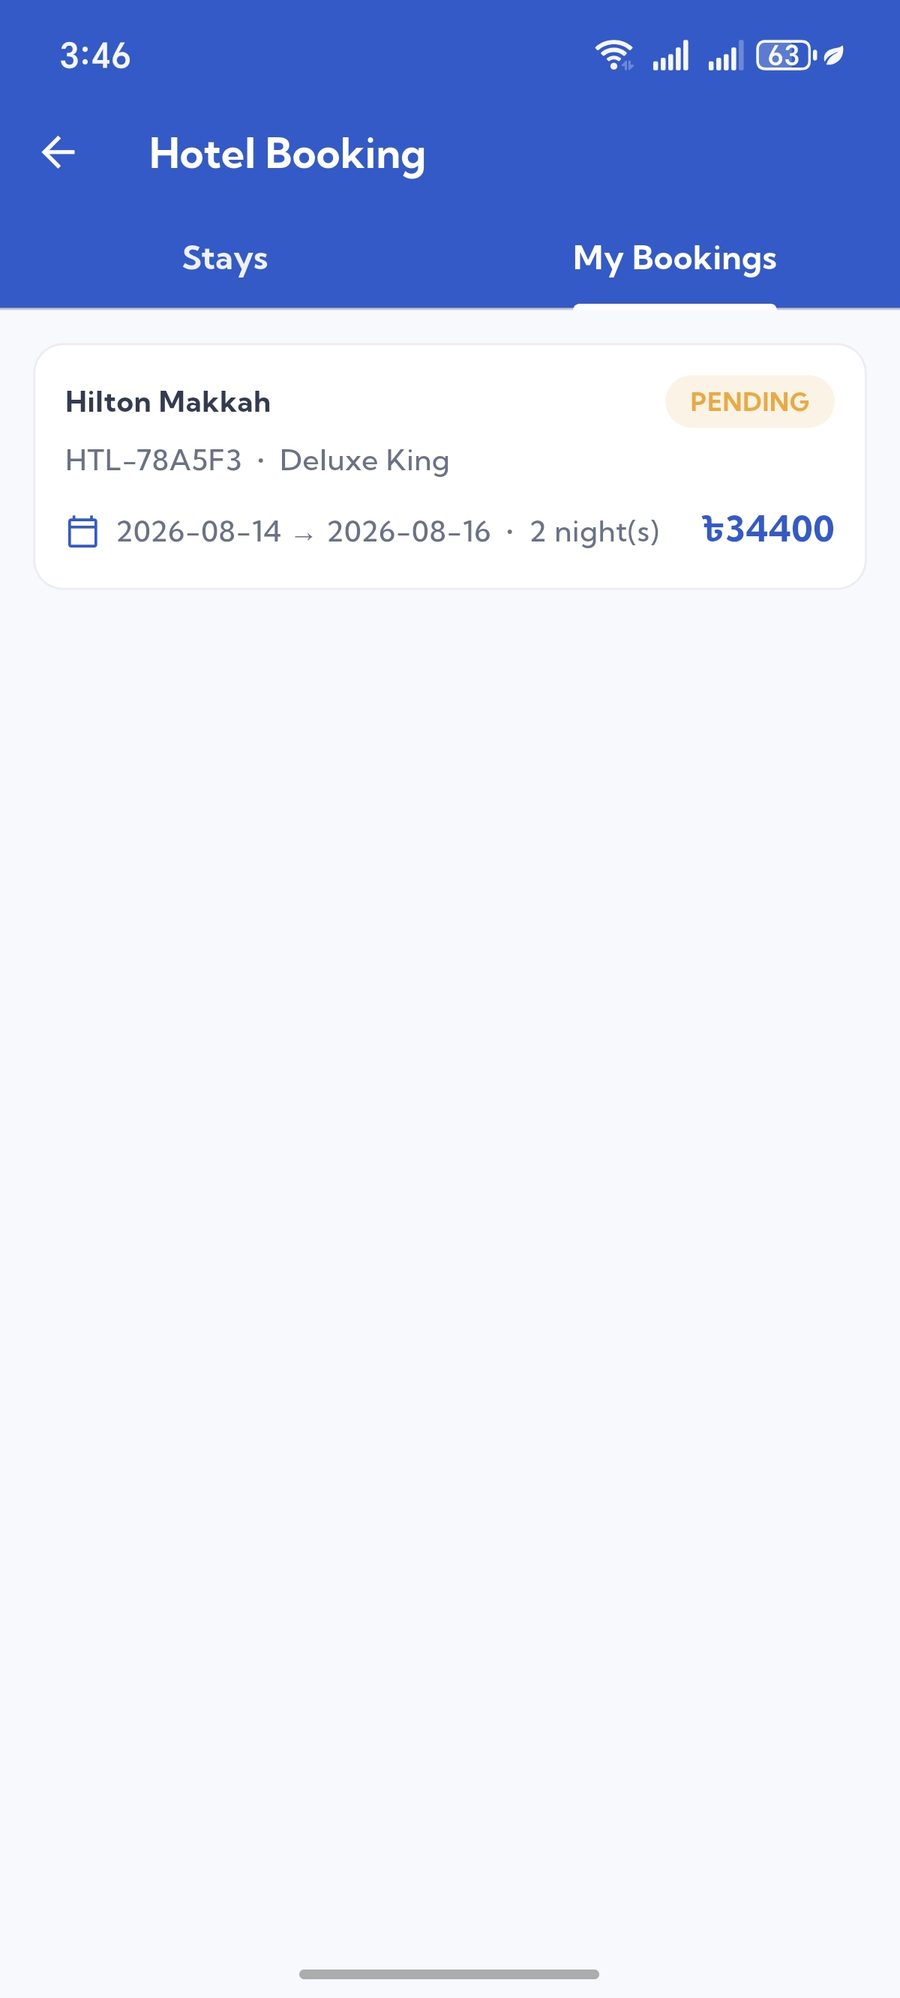
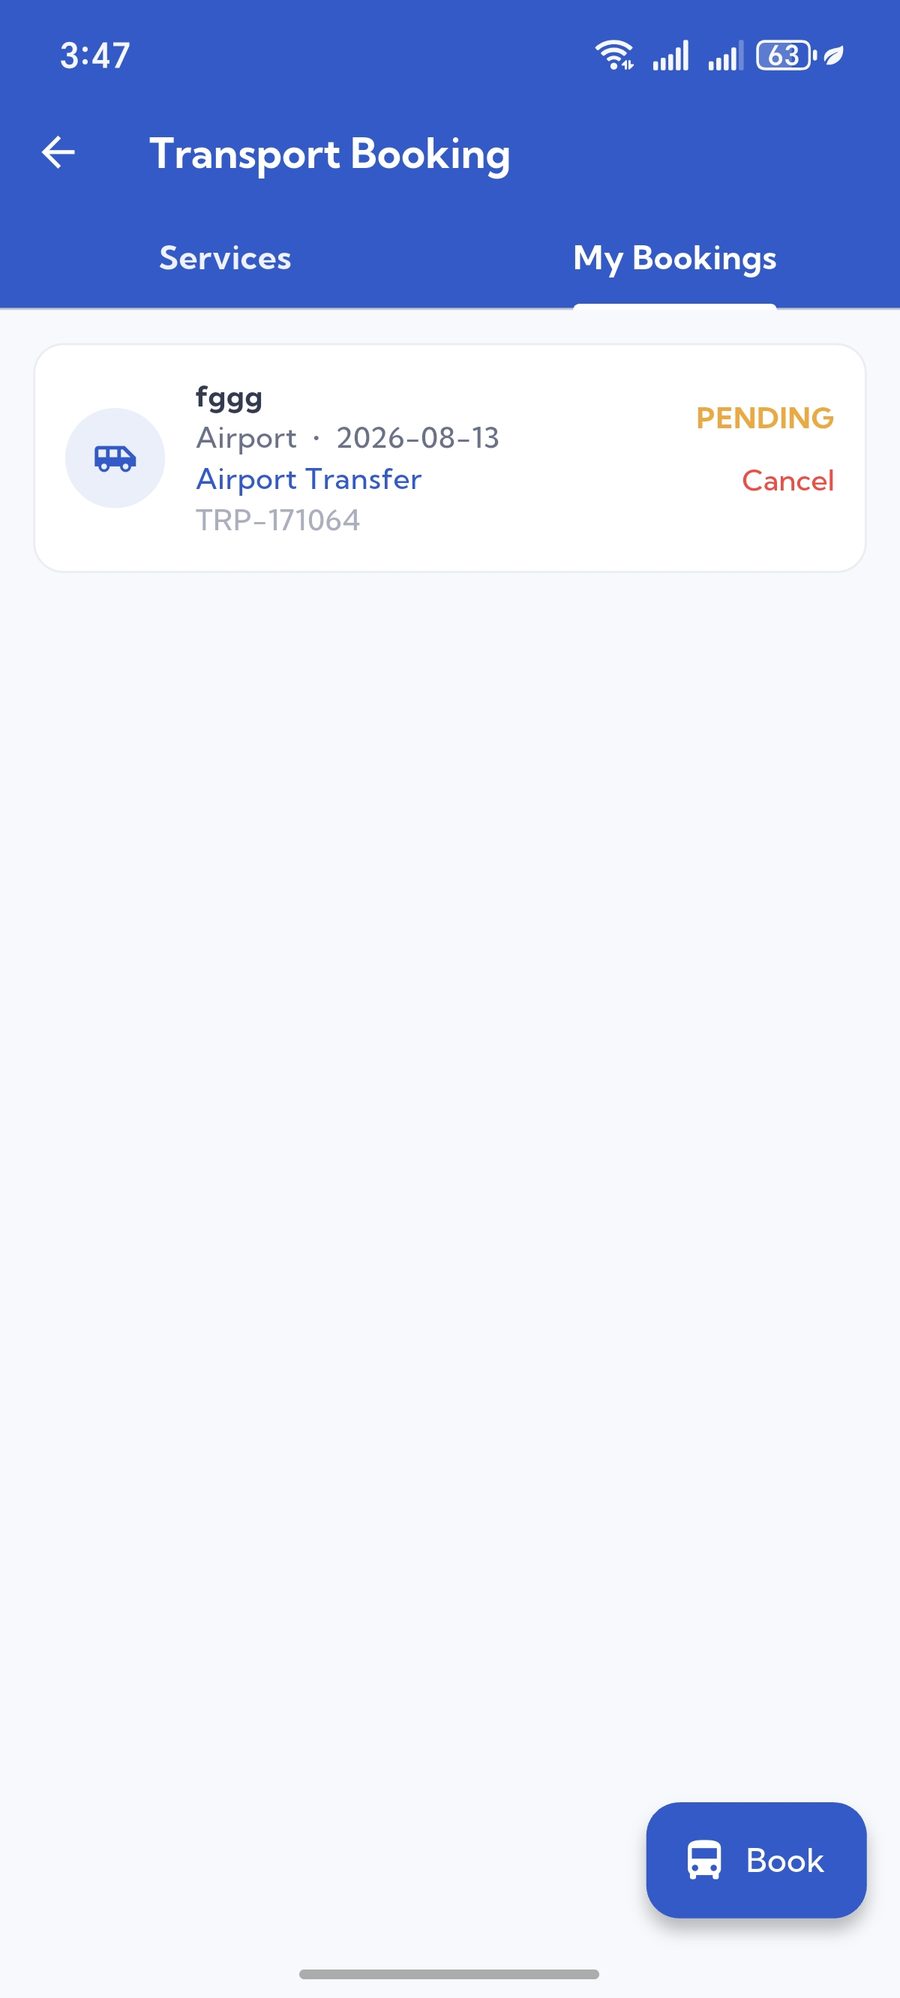
Everything the customer has booked, split by type, each with its status and documents.
- Bookings / My Bookings — the combined list with status and amount.
- Booked Flights — PNR, route, travel date and the issued ticket.
- Booked Hotels — property, room, check-in and check-out.
- Booked Transport — vehicle, route and pickup time.
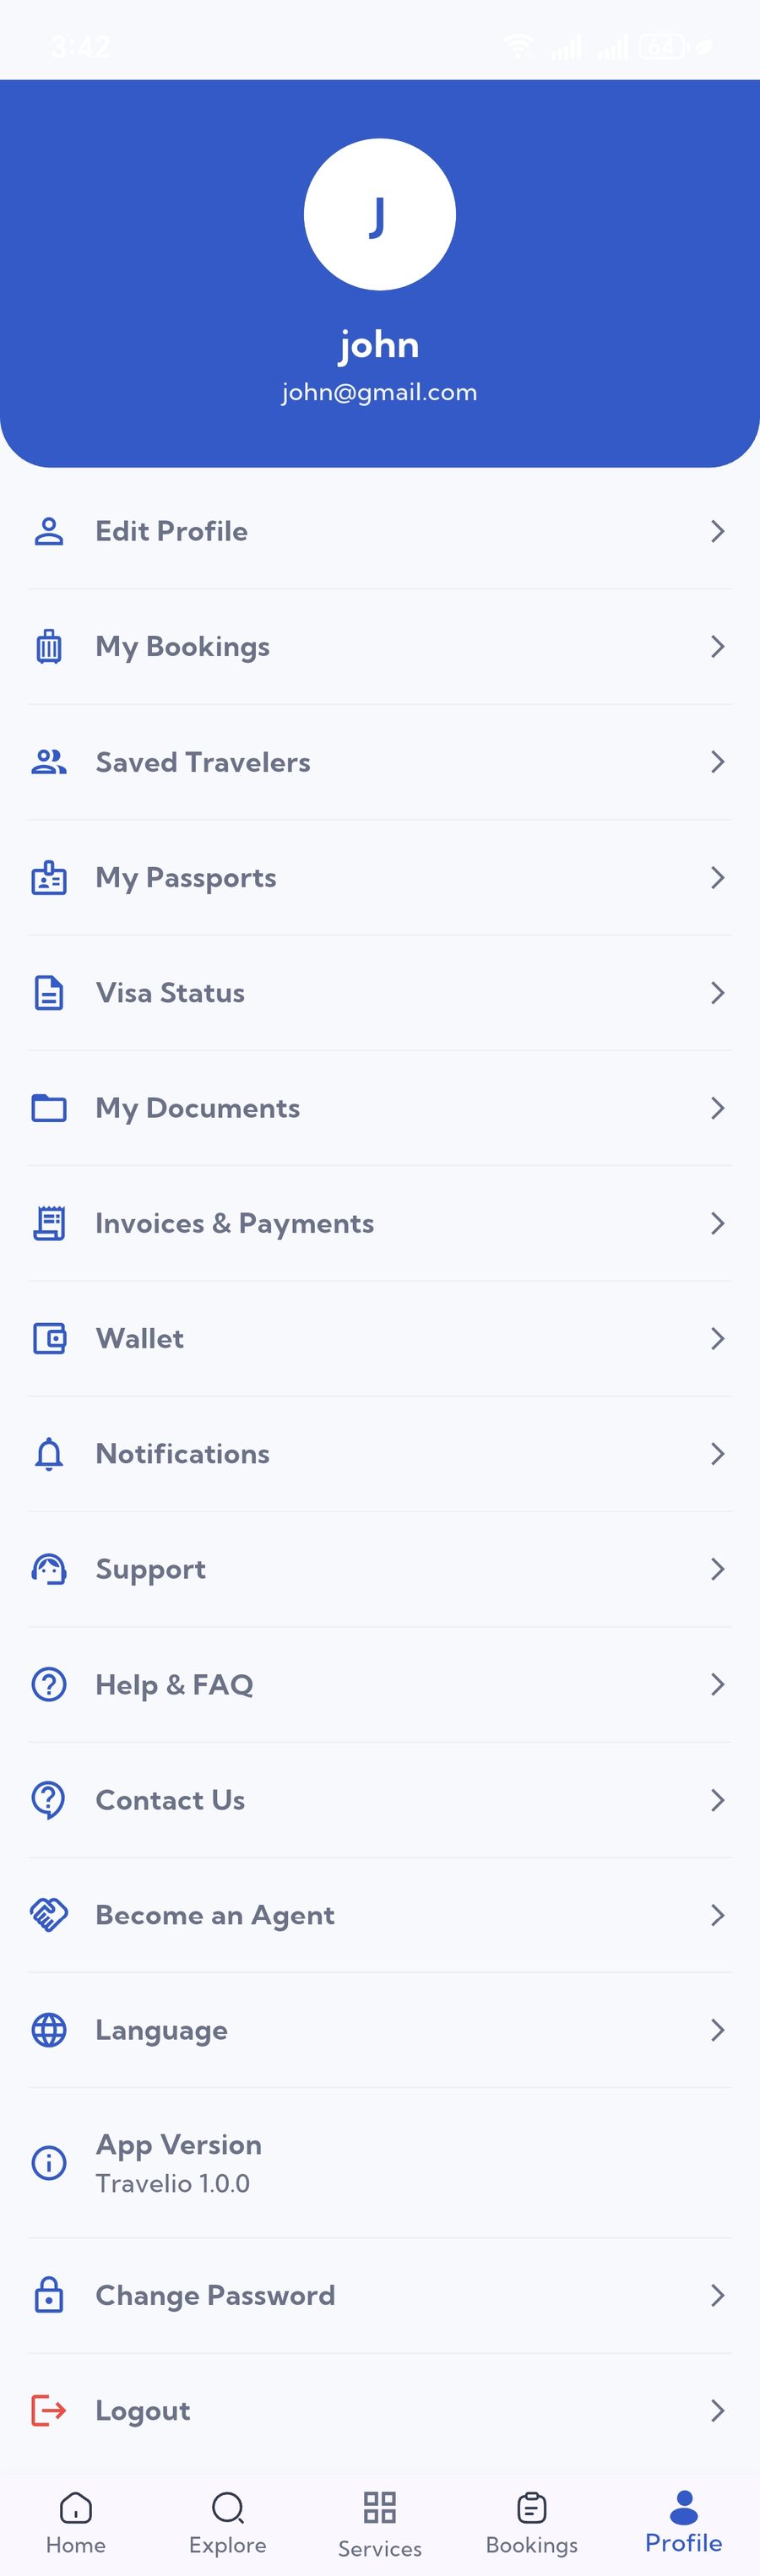
Profile, Notifications & Support
- Profile — personal details, travel documents and account settings.
- Notifications — booking confirmations, visa status changes and announcements published from the admin panel.
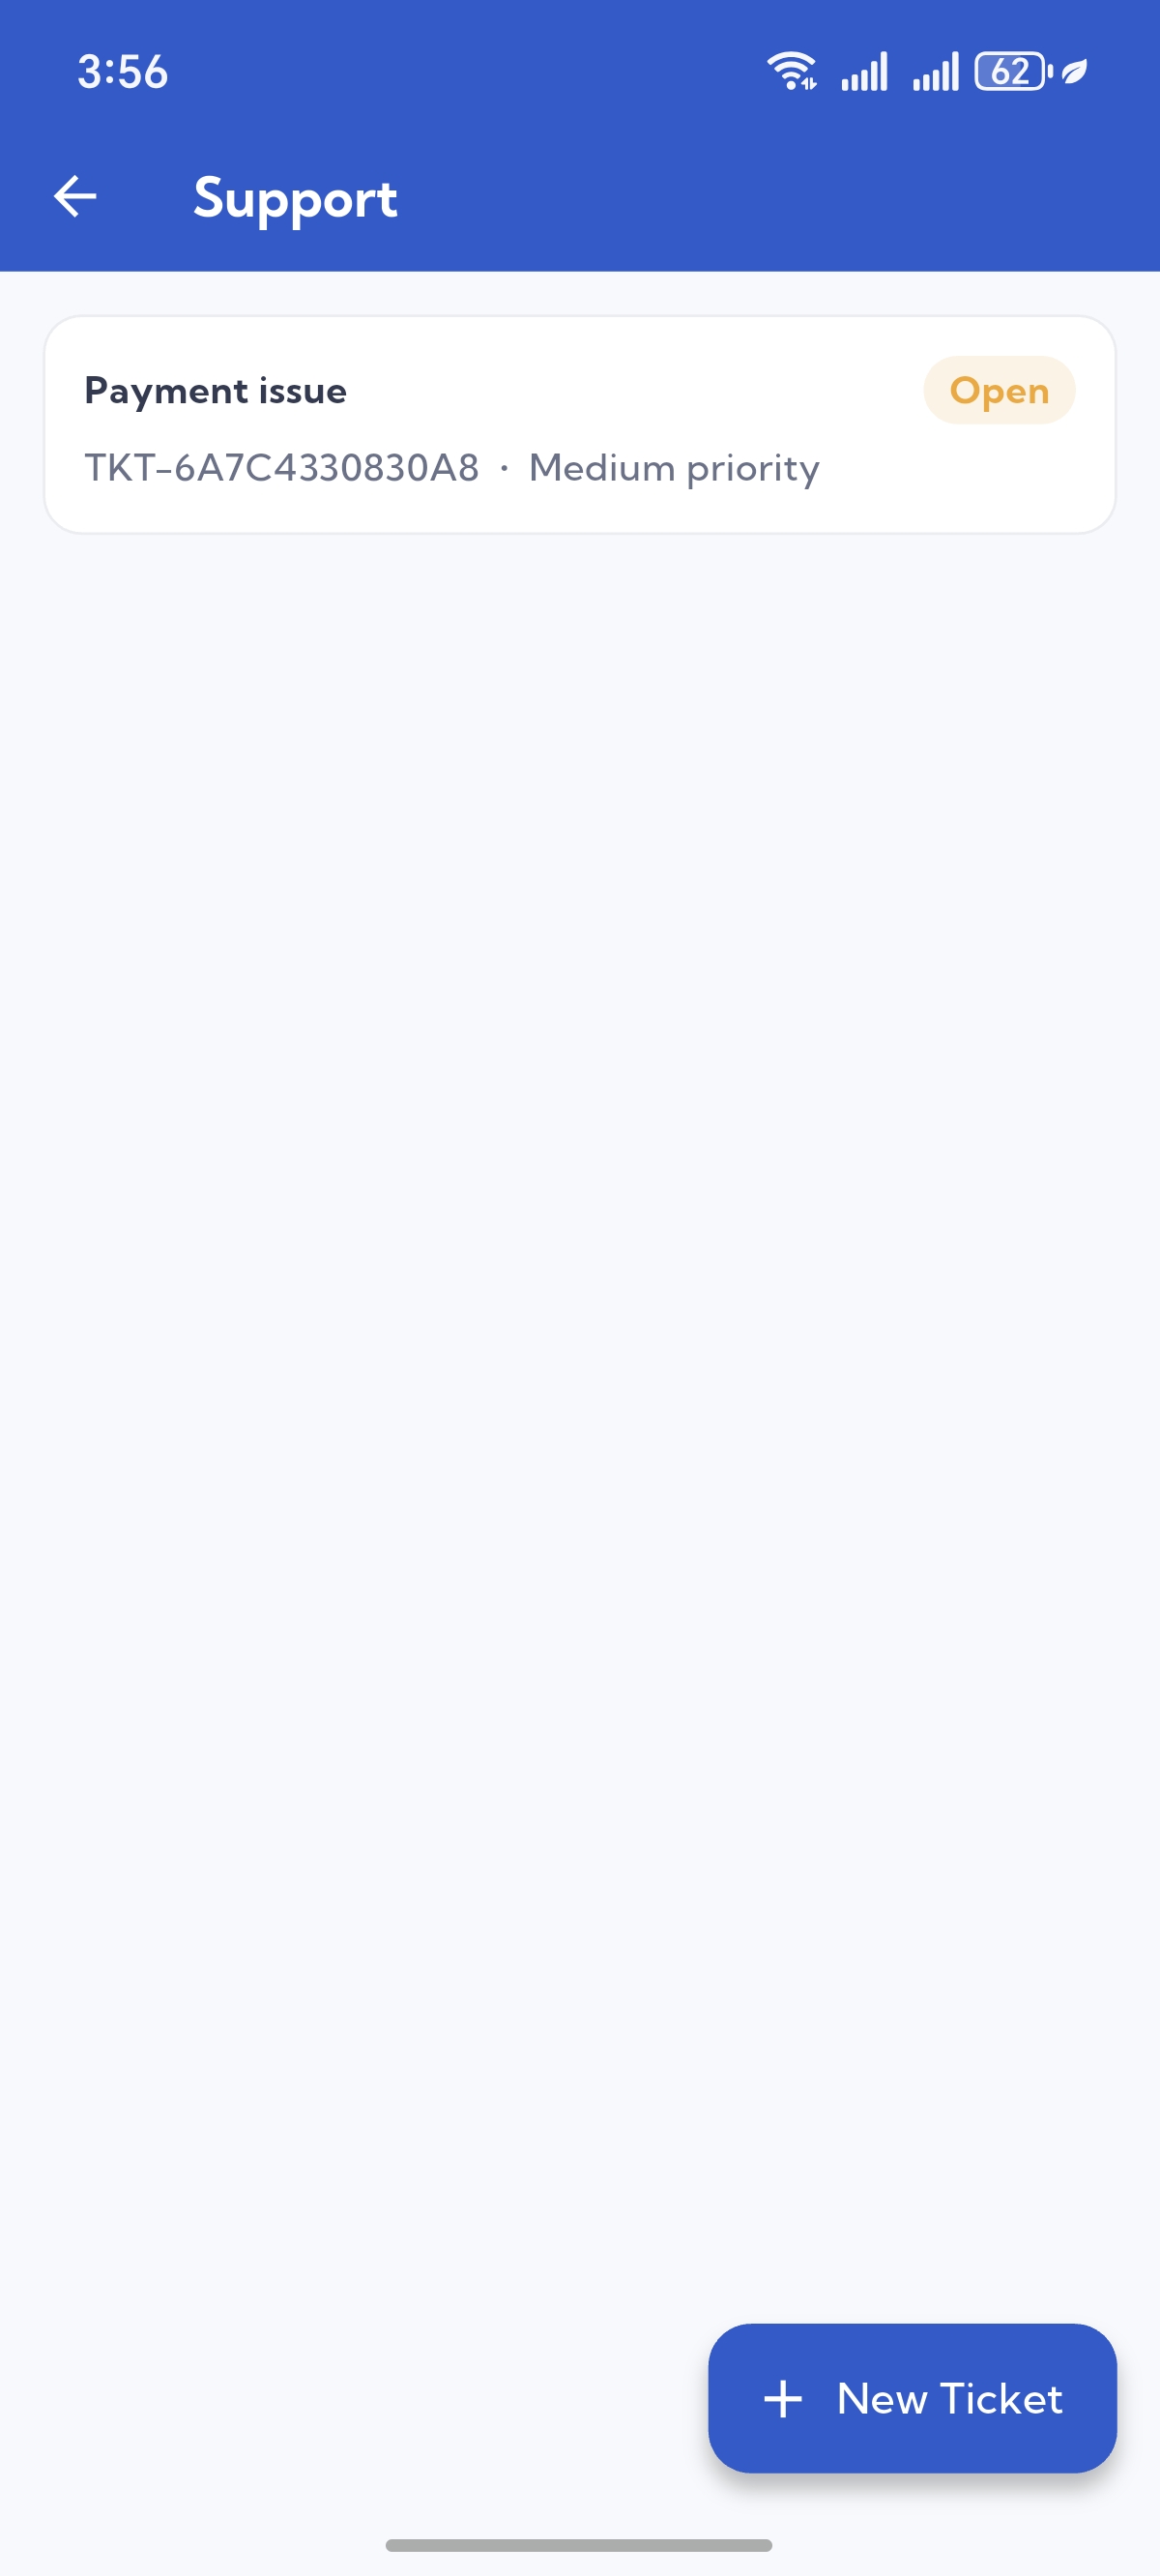
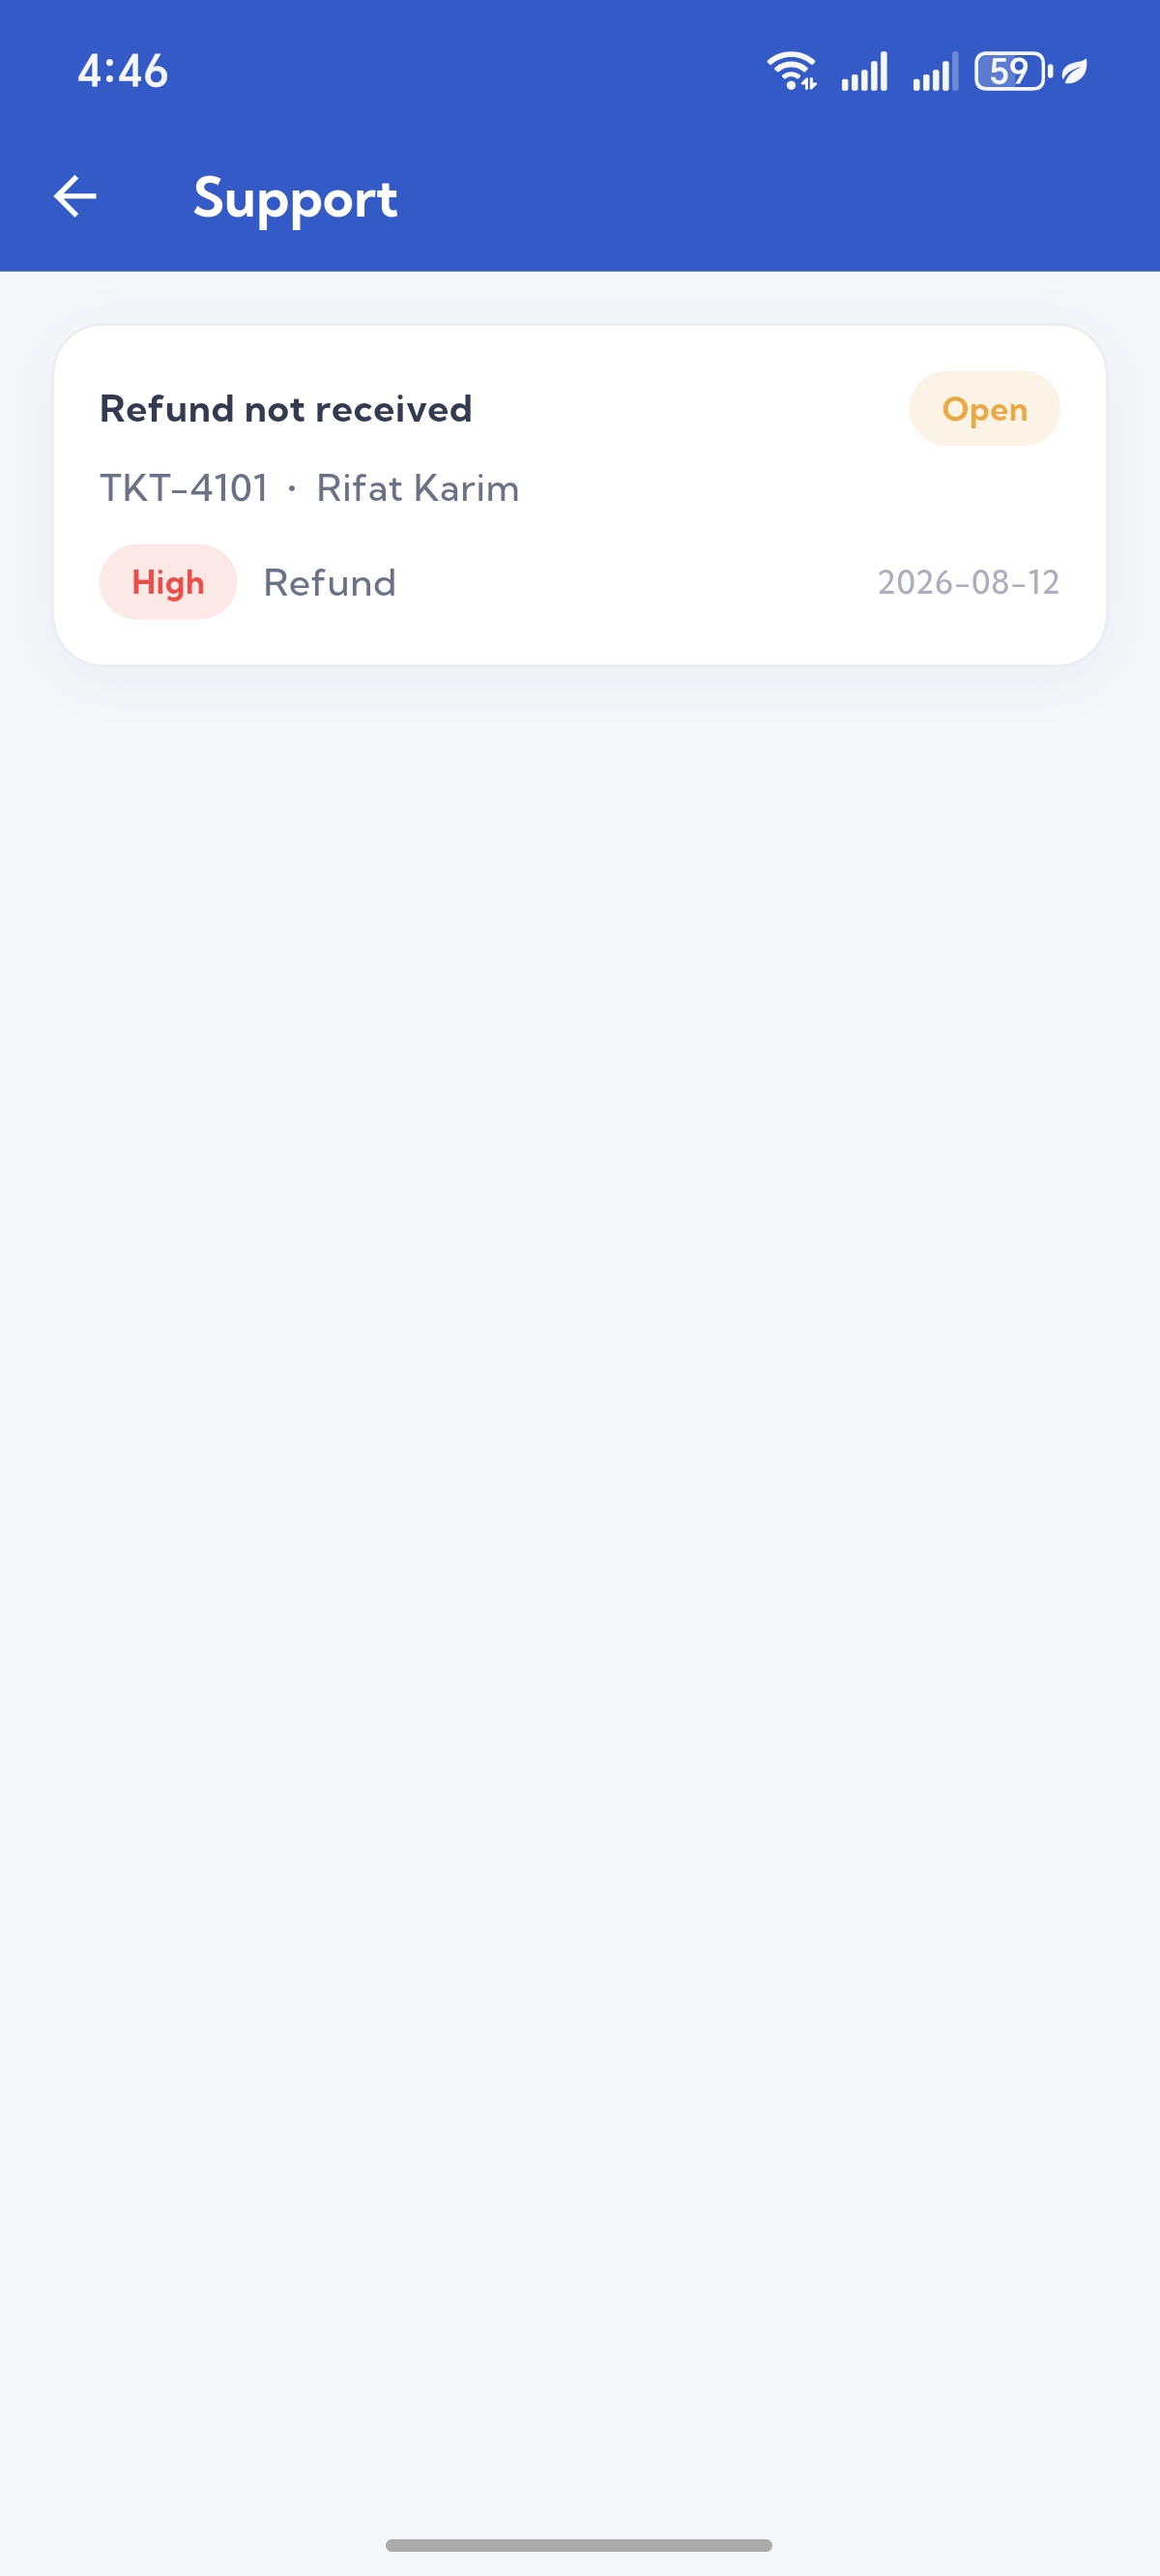
- Support — raise a ticket and follow the replies; the same thread your staff sees under Support Center.
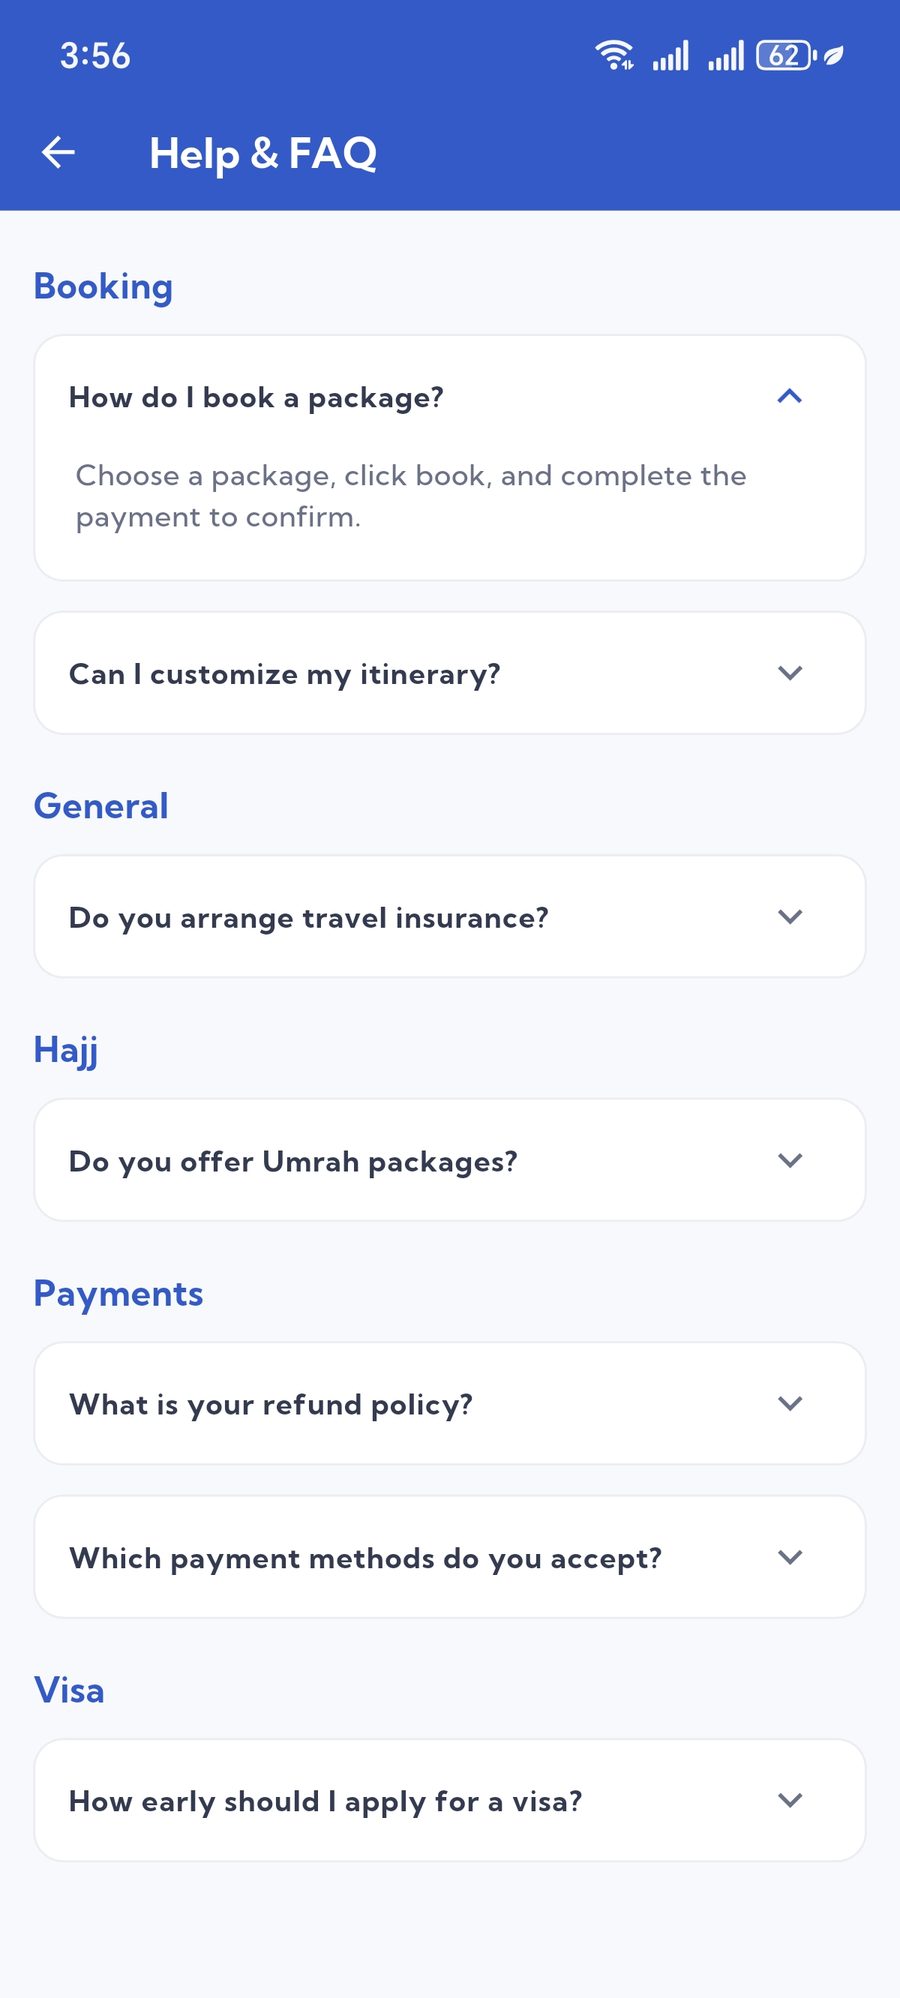
- Help & FAQ — the knowledge base and FAQs you publish from the CMS.
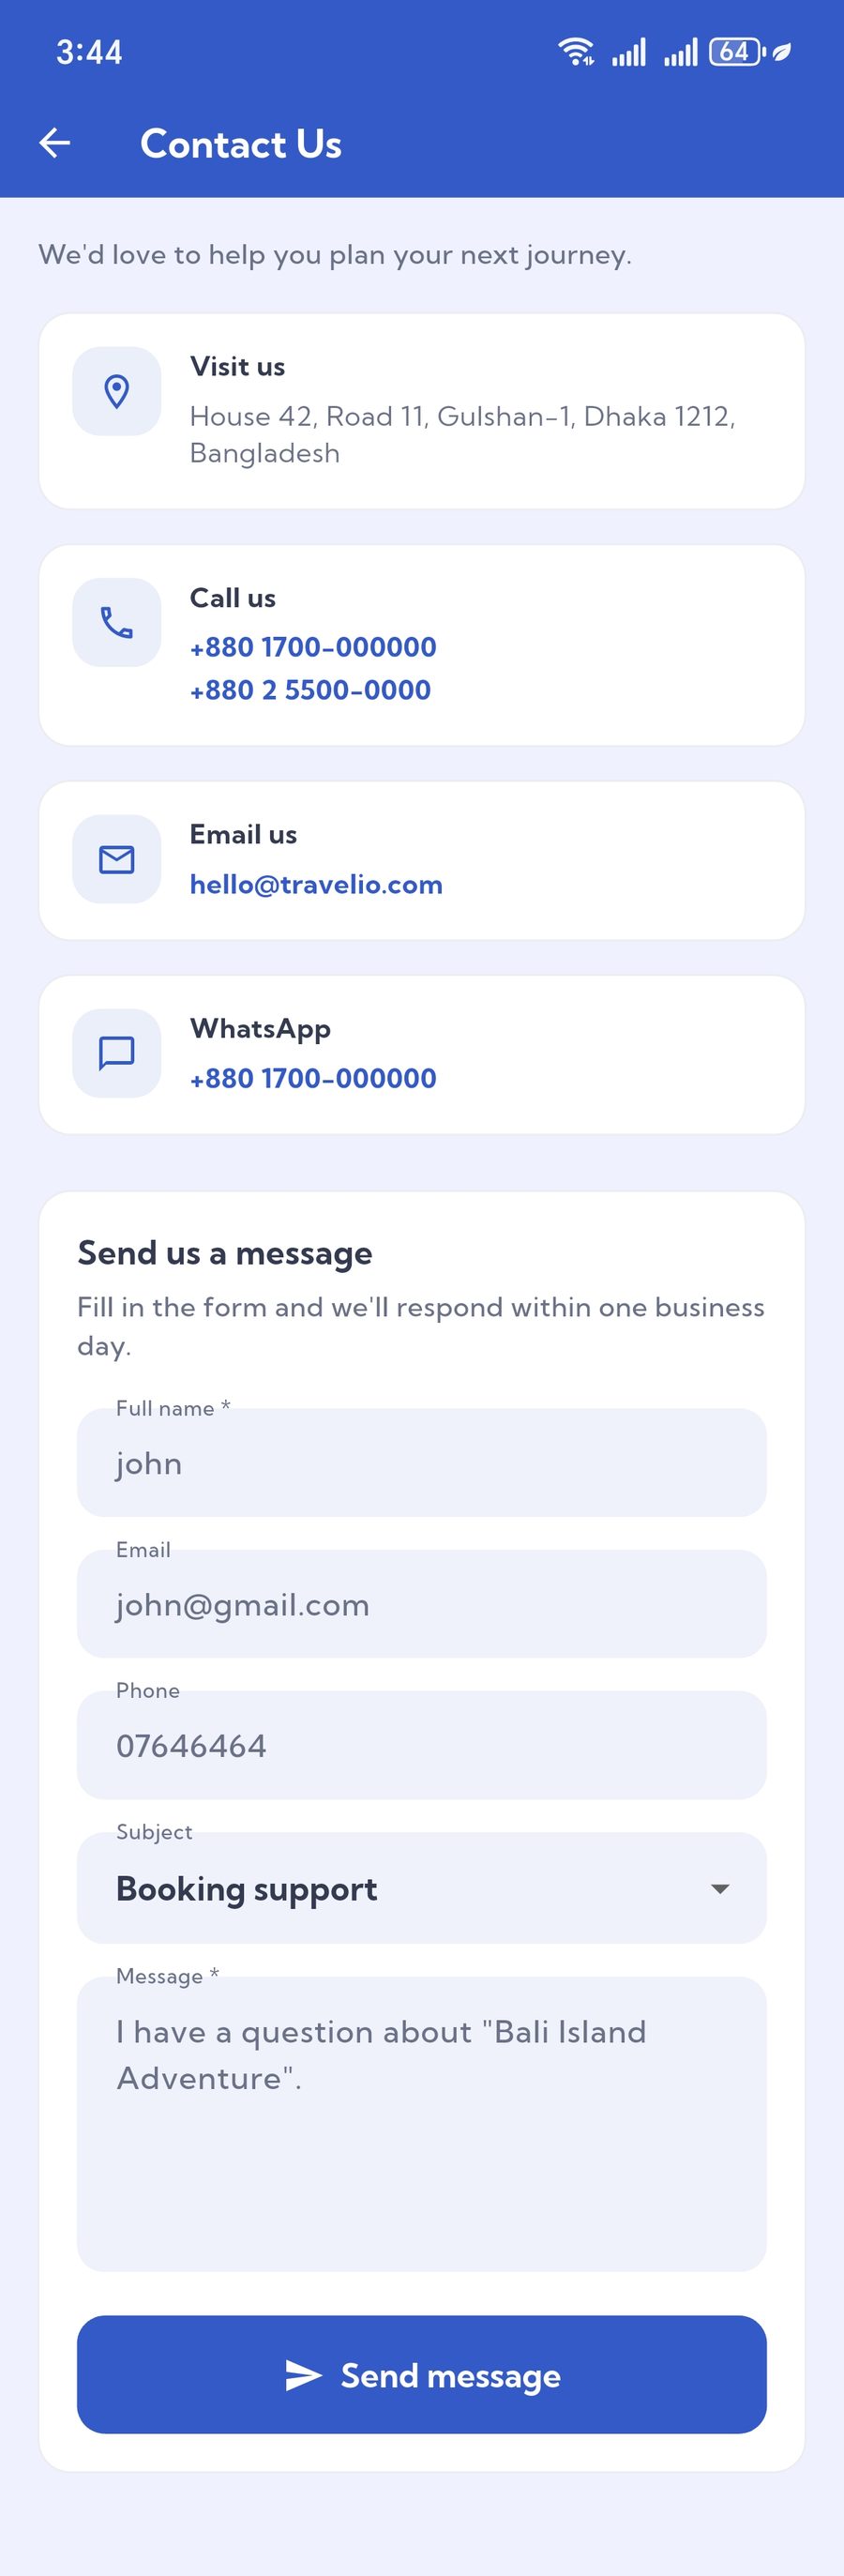
- Contact Us — agency address, phone and email, straight from your general settings.
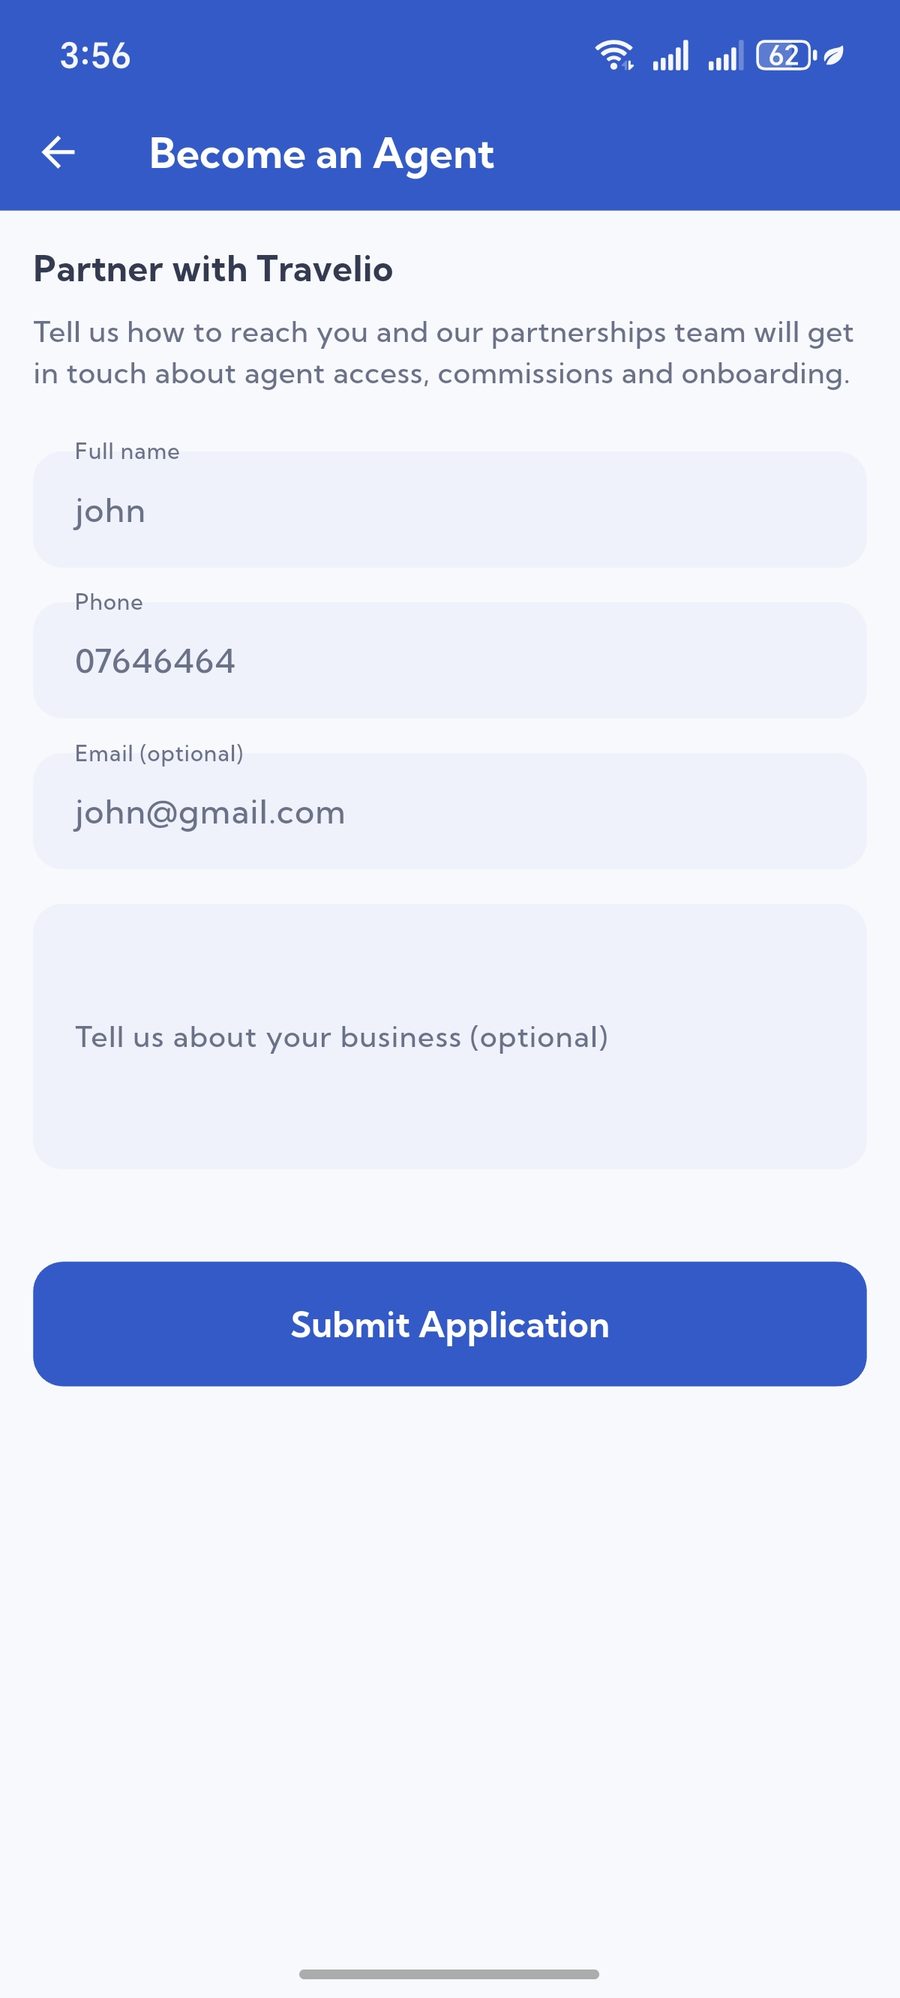
- Become an Agent — a customer can apply to become a travel agent; the application arrives in your admin panel.
Agent Role
What a signed-in agent sees in the very same app. Nothing extra to install, configure or publish — the role on the account decides which experience opens.
Agent Sign-in & Access
The agent signs in with the credentials created for them in the admin panel under Users (role: Agent) or approved from a Become an Agent application.
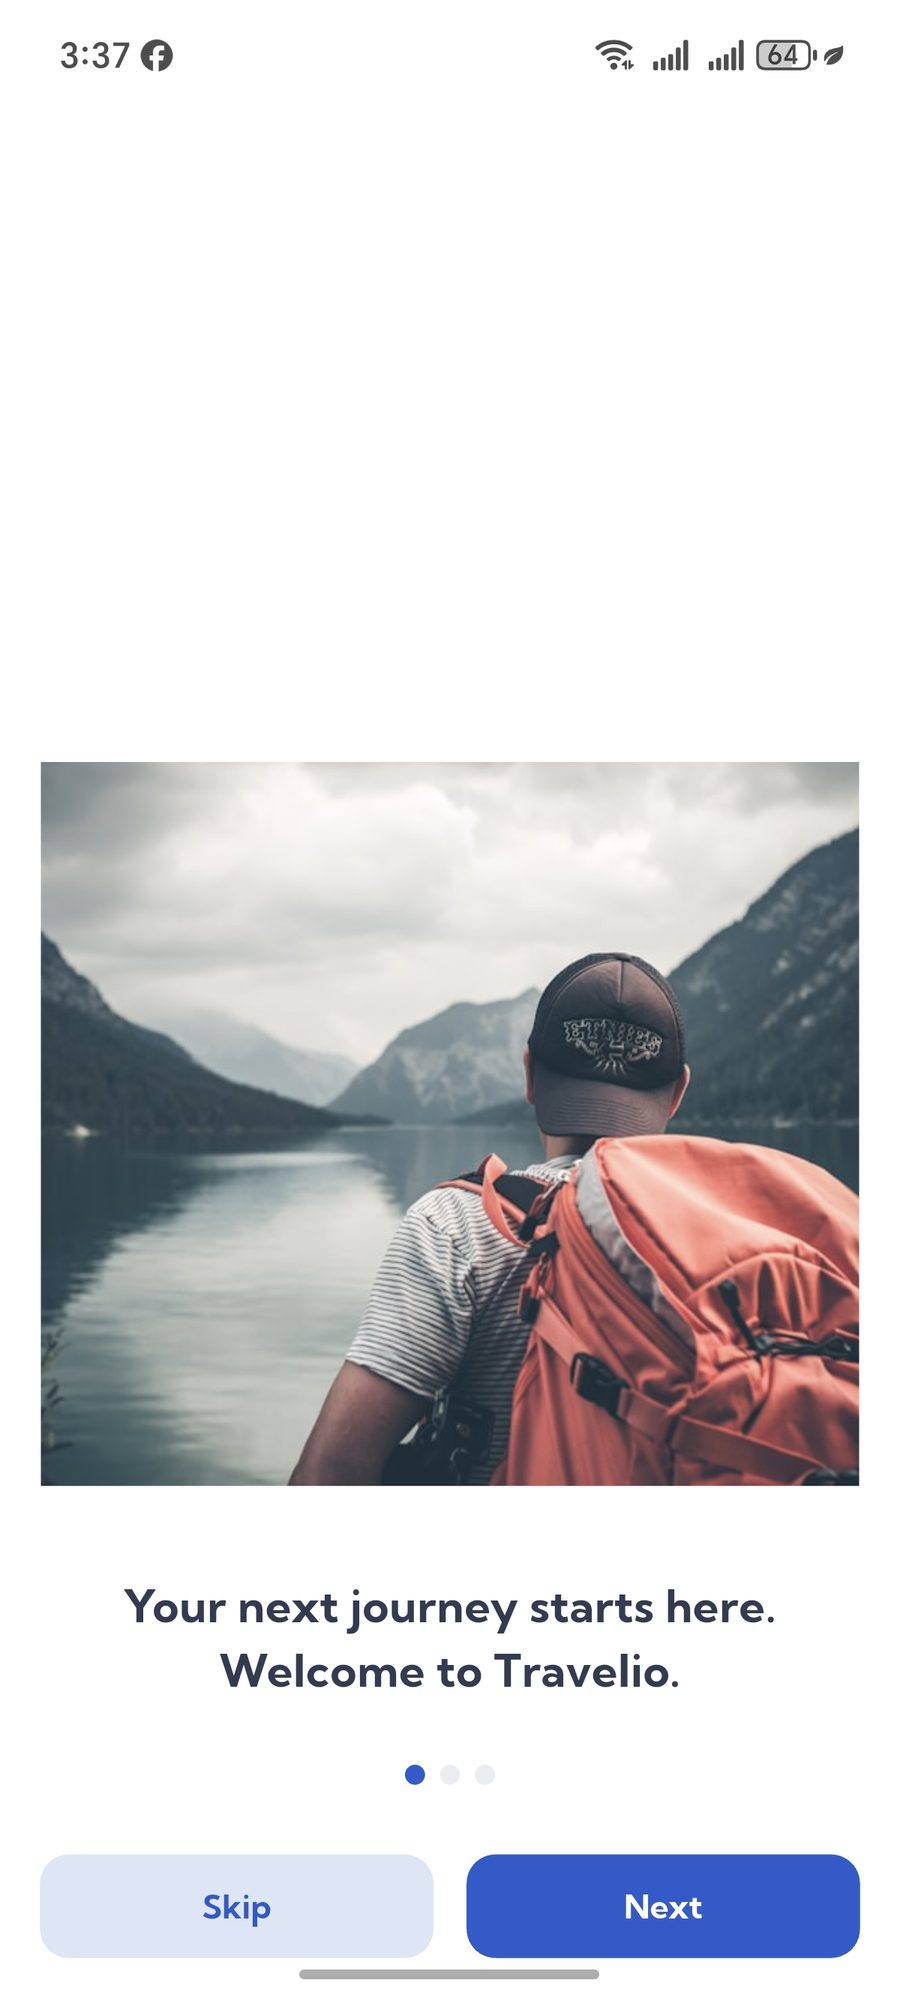
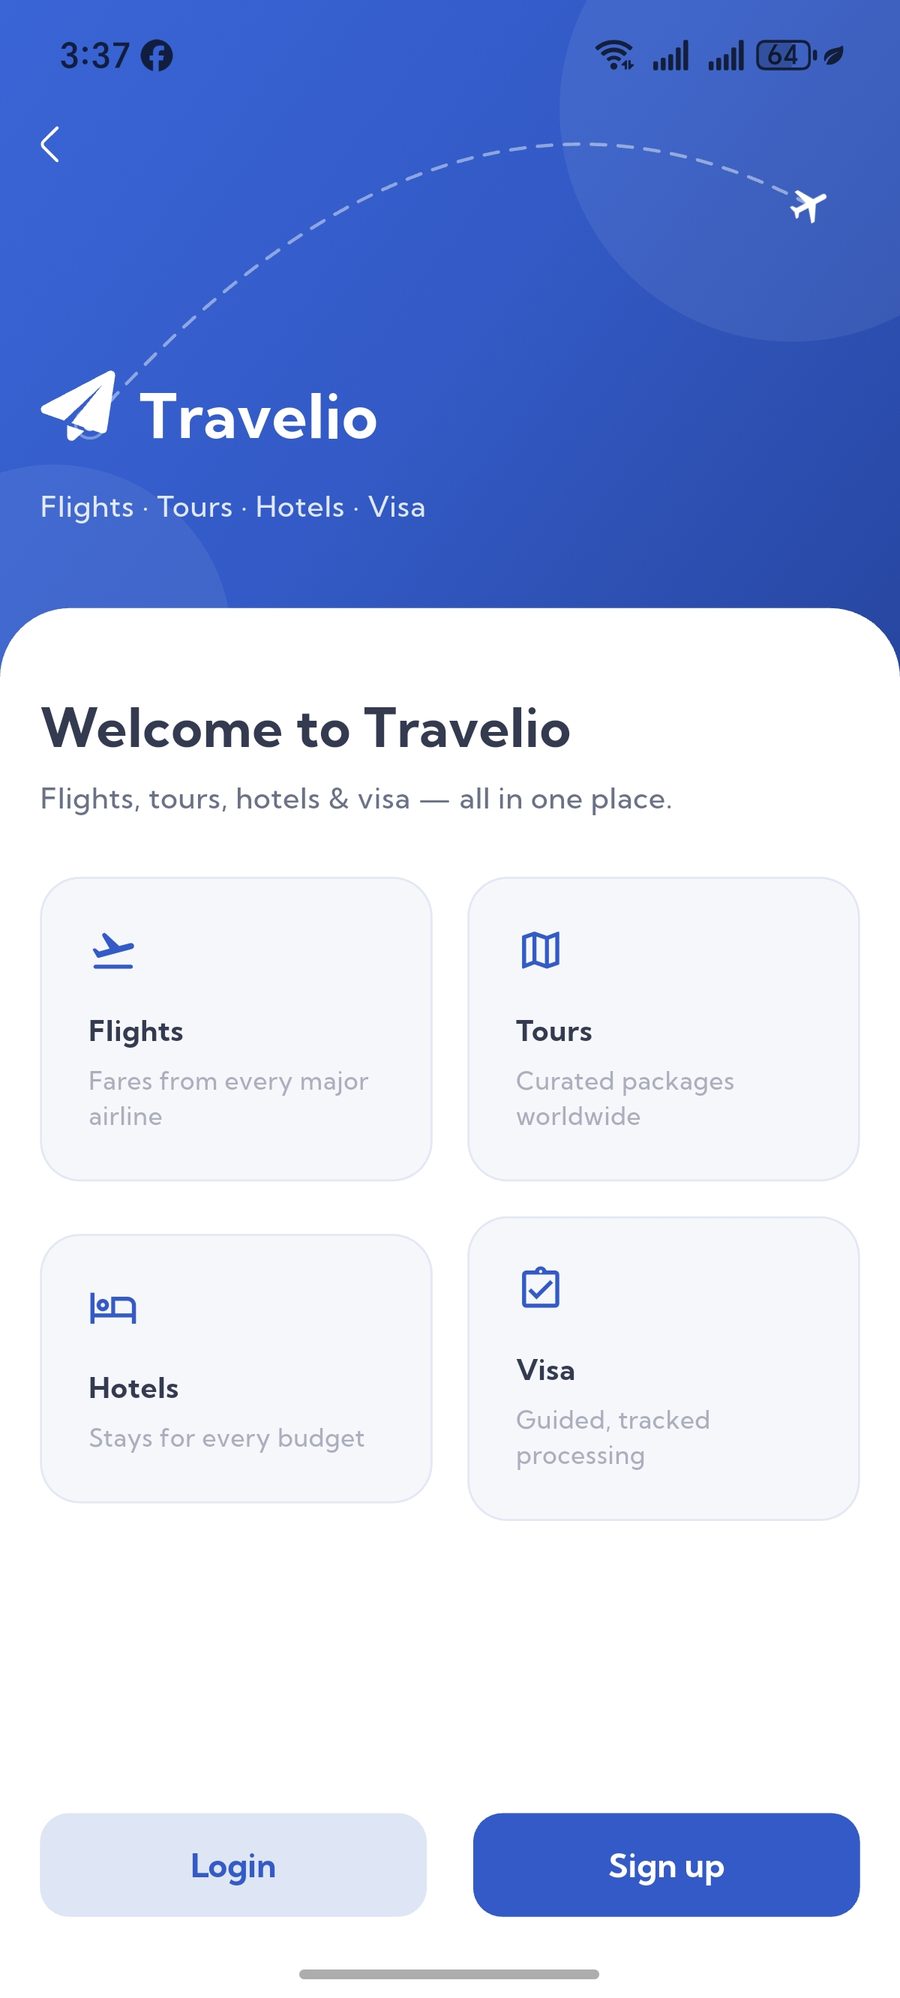
- Onboarding and Welcome — a short intro on first launch.
- Login — the API returns the agent role and opens the agent dashboard.
- Forgot Password — a one-time code by email, then a new password.
- Change Password — from inside settings.
Dashboard, Bookings & Customers
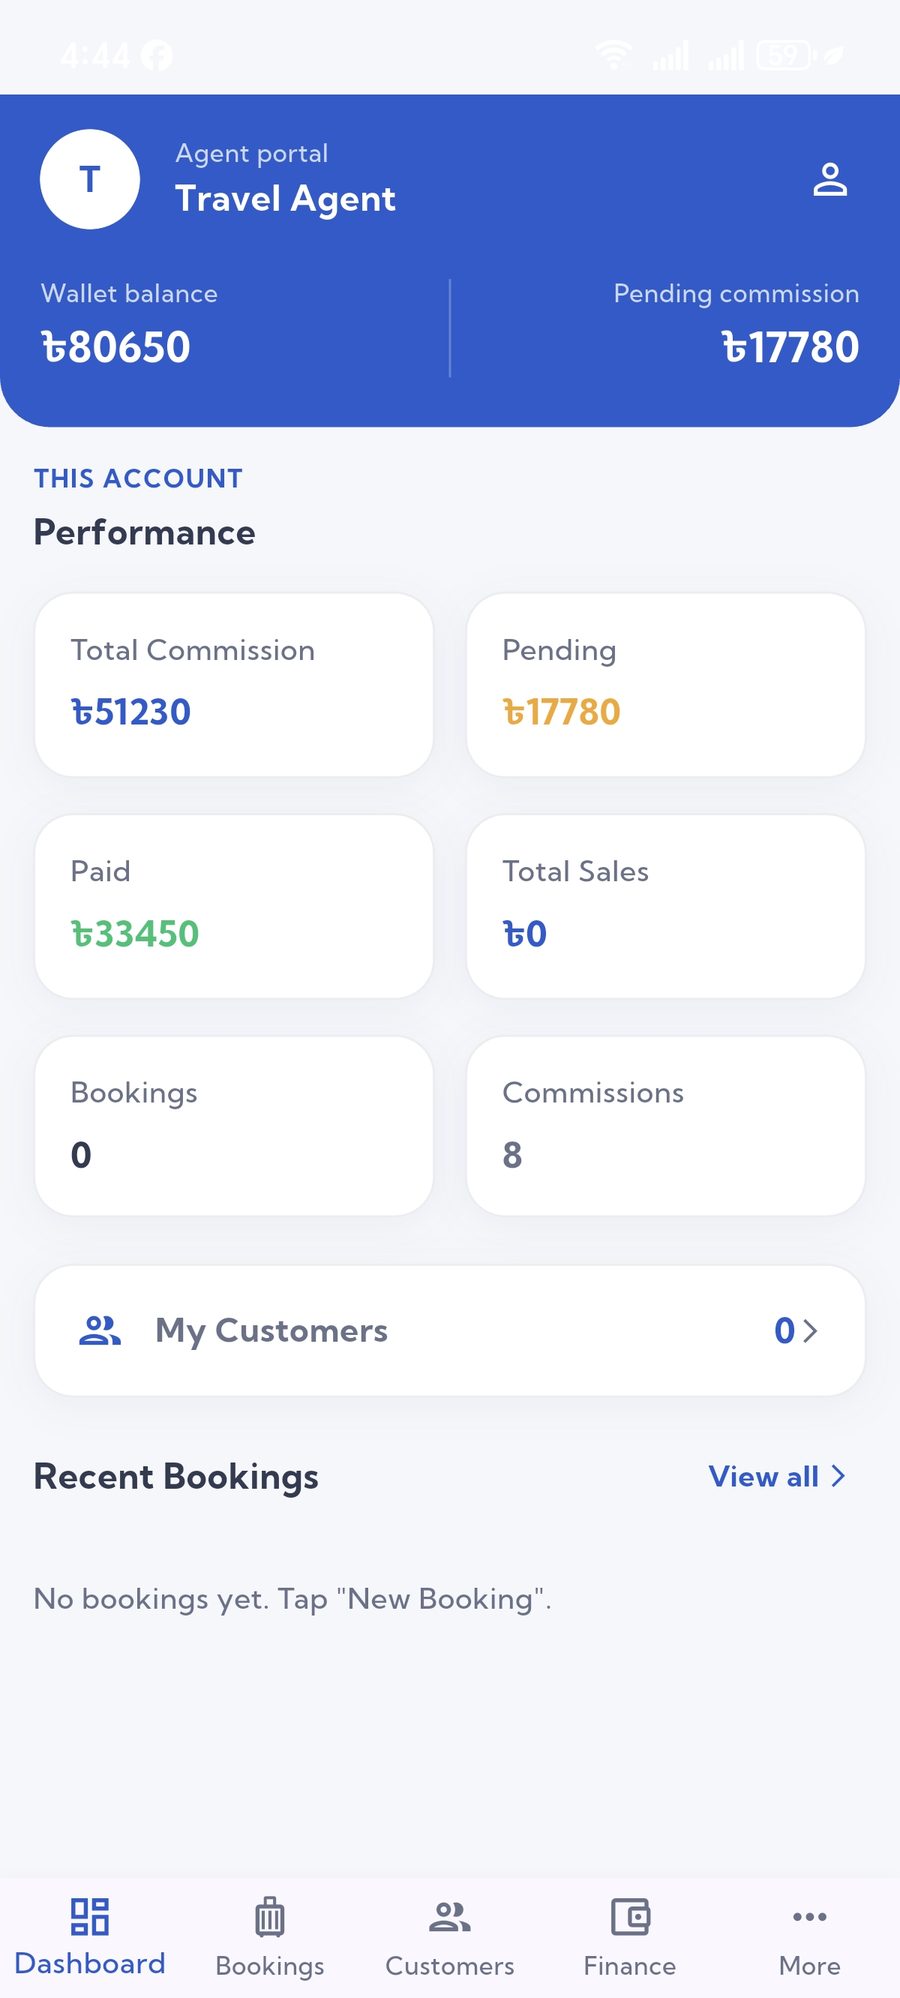
- Dashboard — sales, commission and wallet balance at a glance, with recent activity.
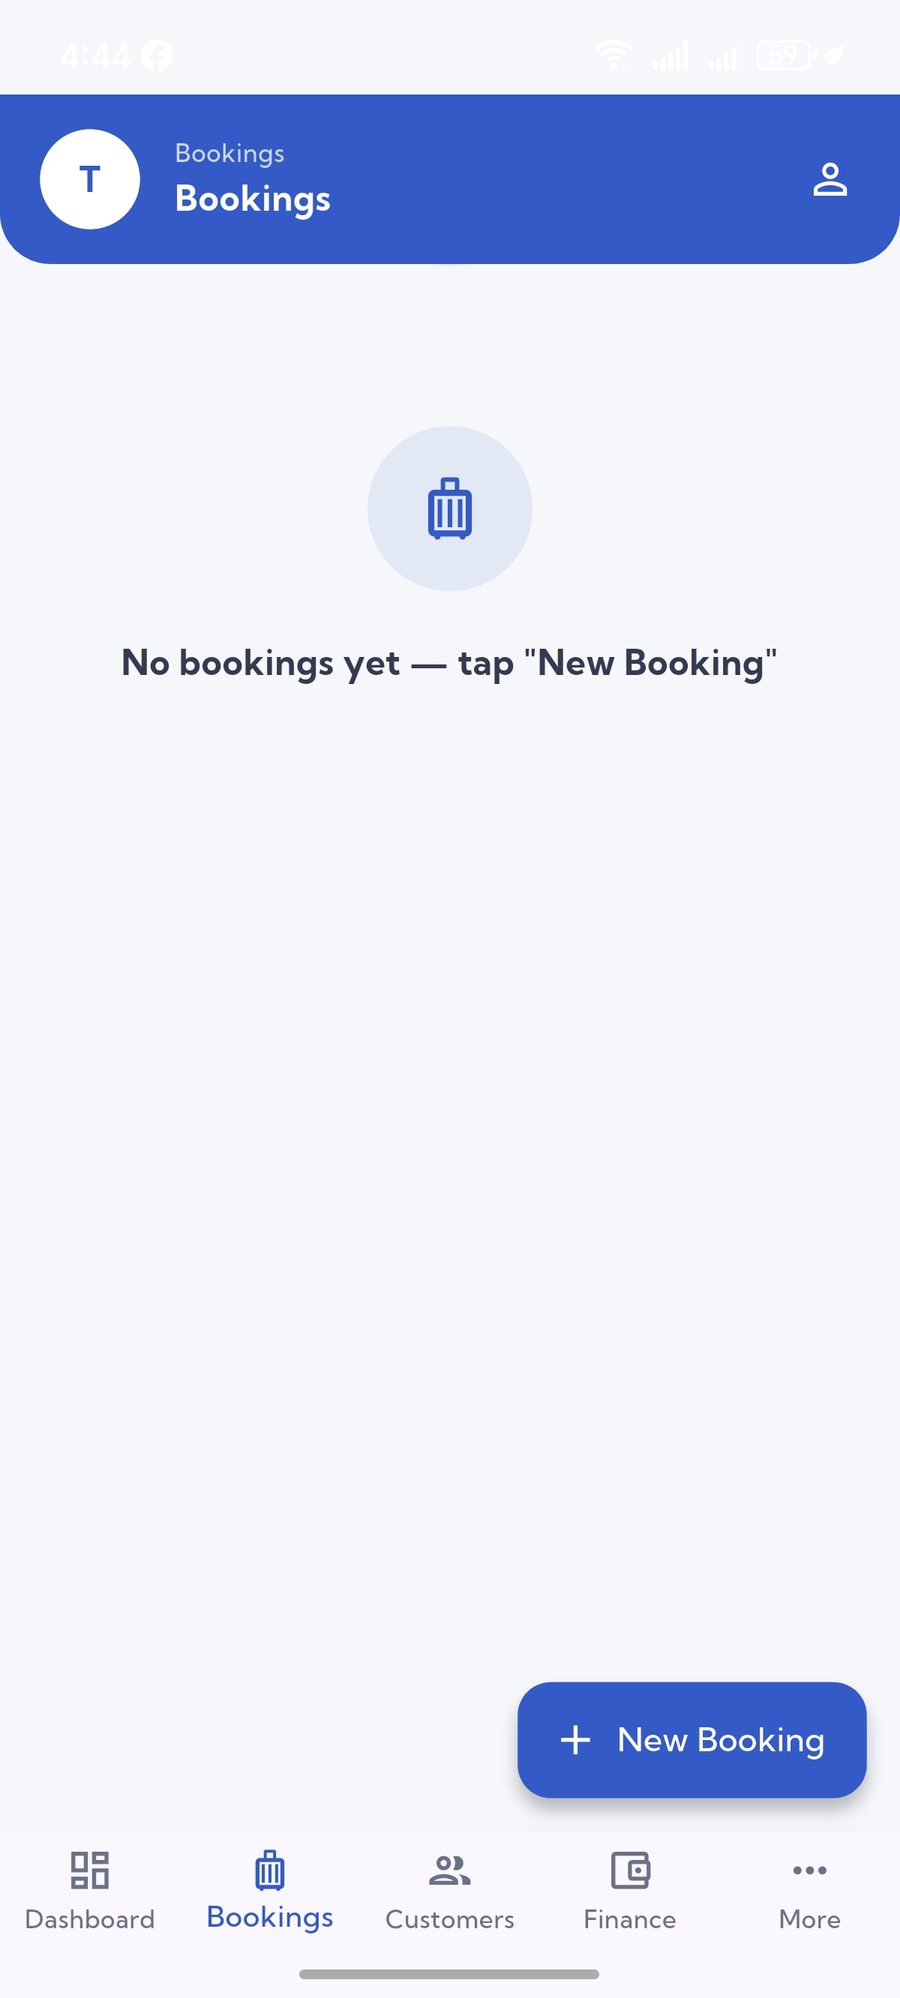
- Bookings — every booking the agent created, with customer, value and status.
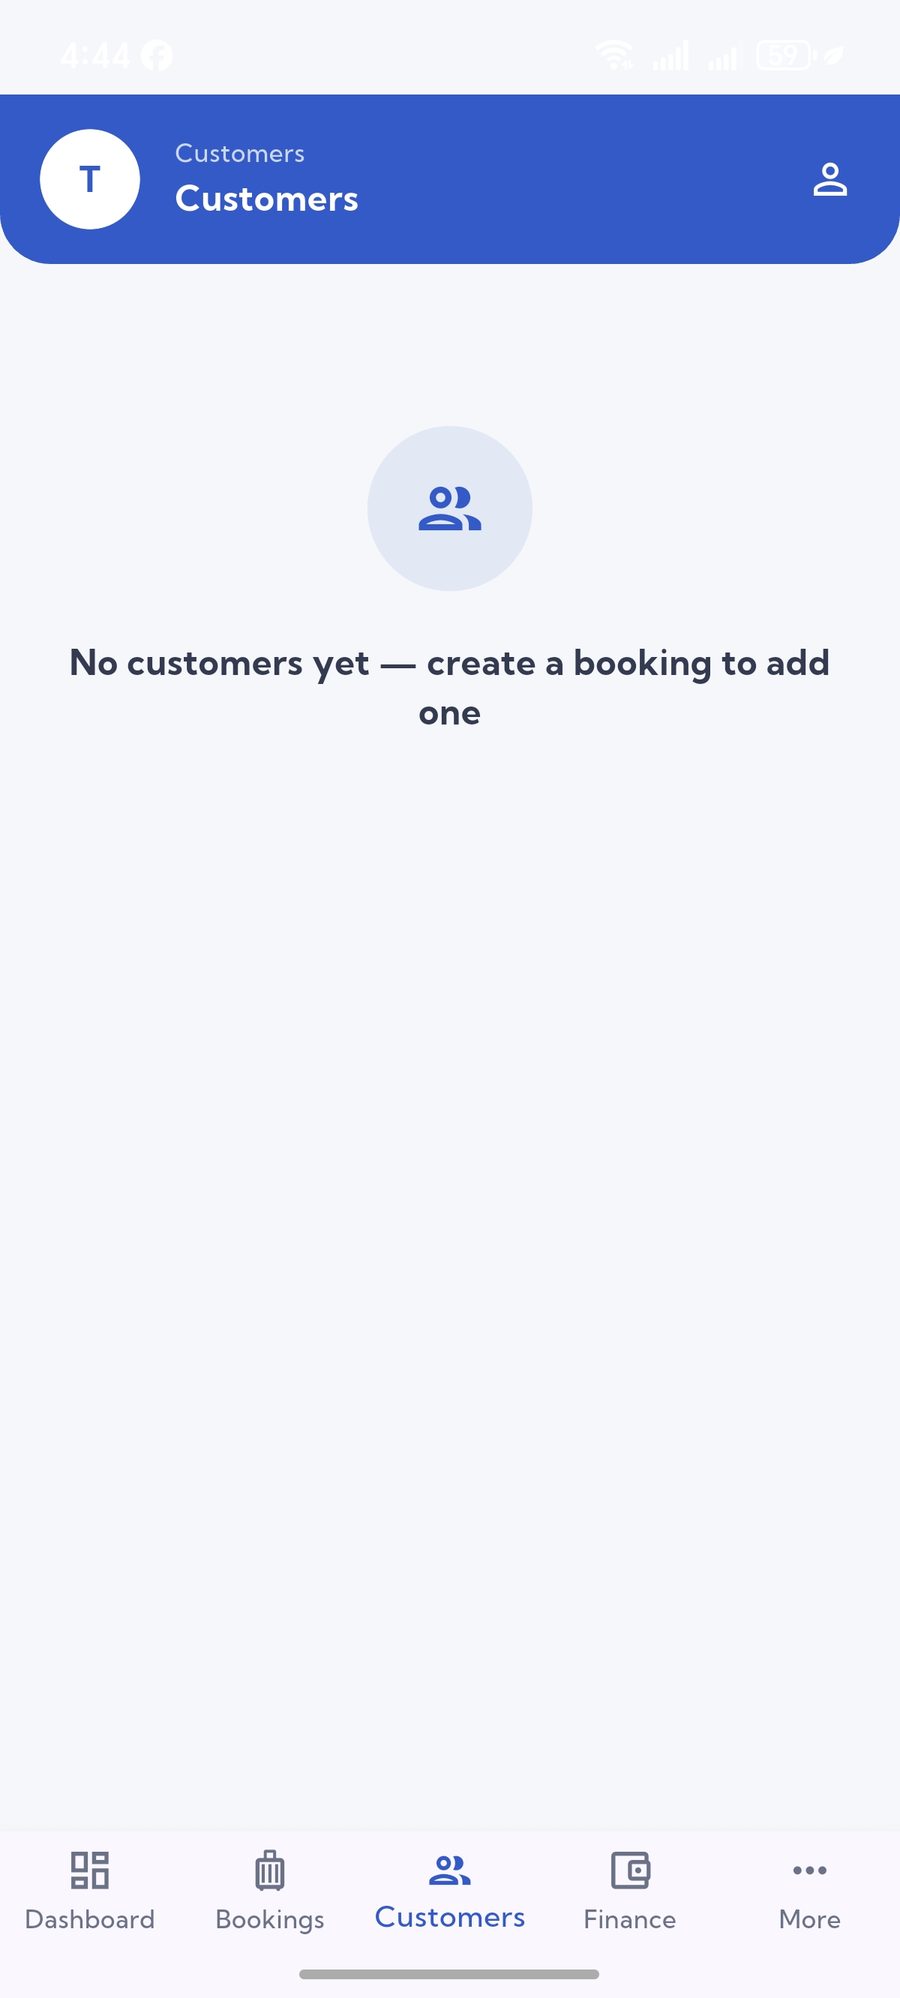
- Customers — the customers registered under this agent.
Finance — Wallet, Commission & Invoices
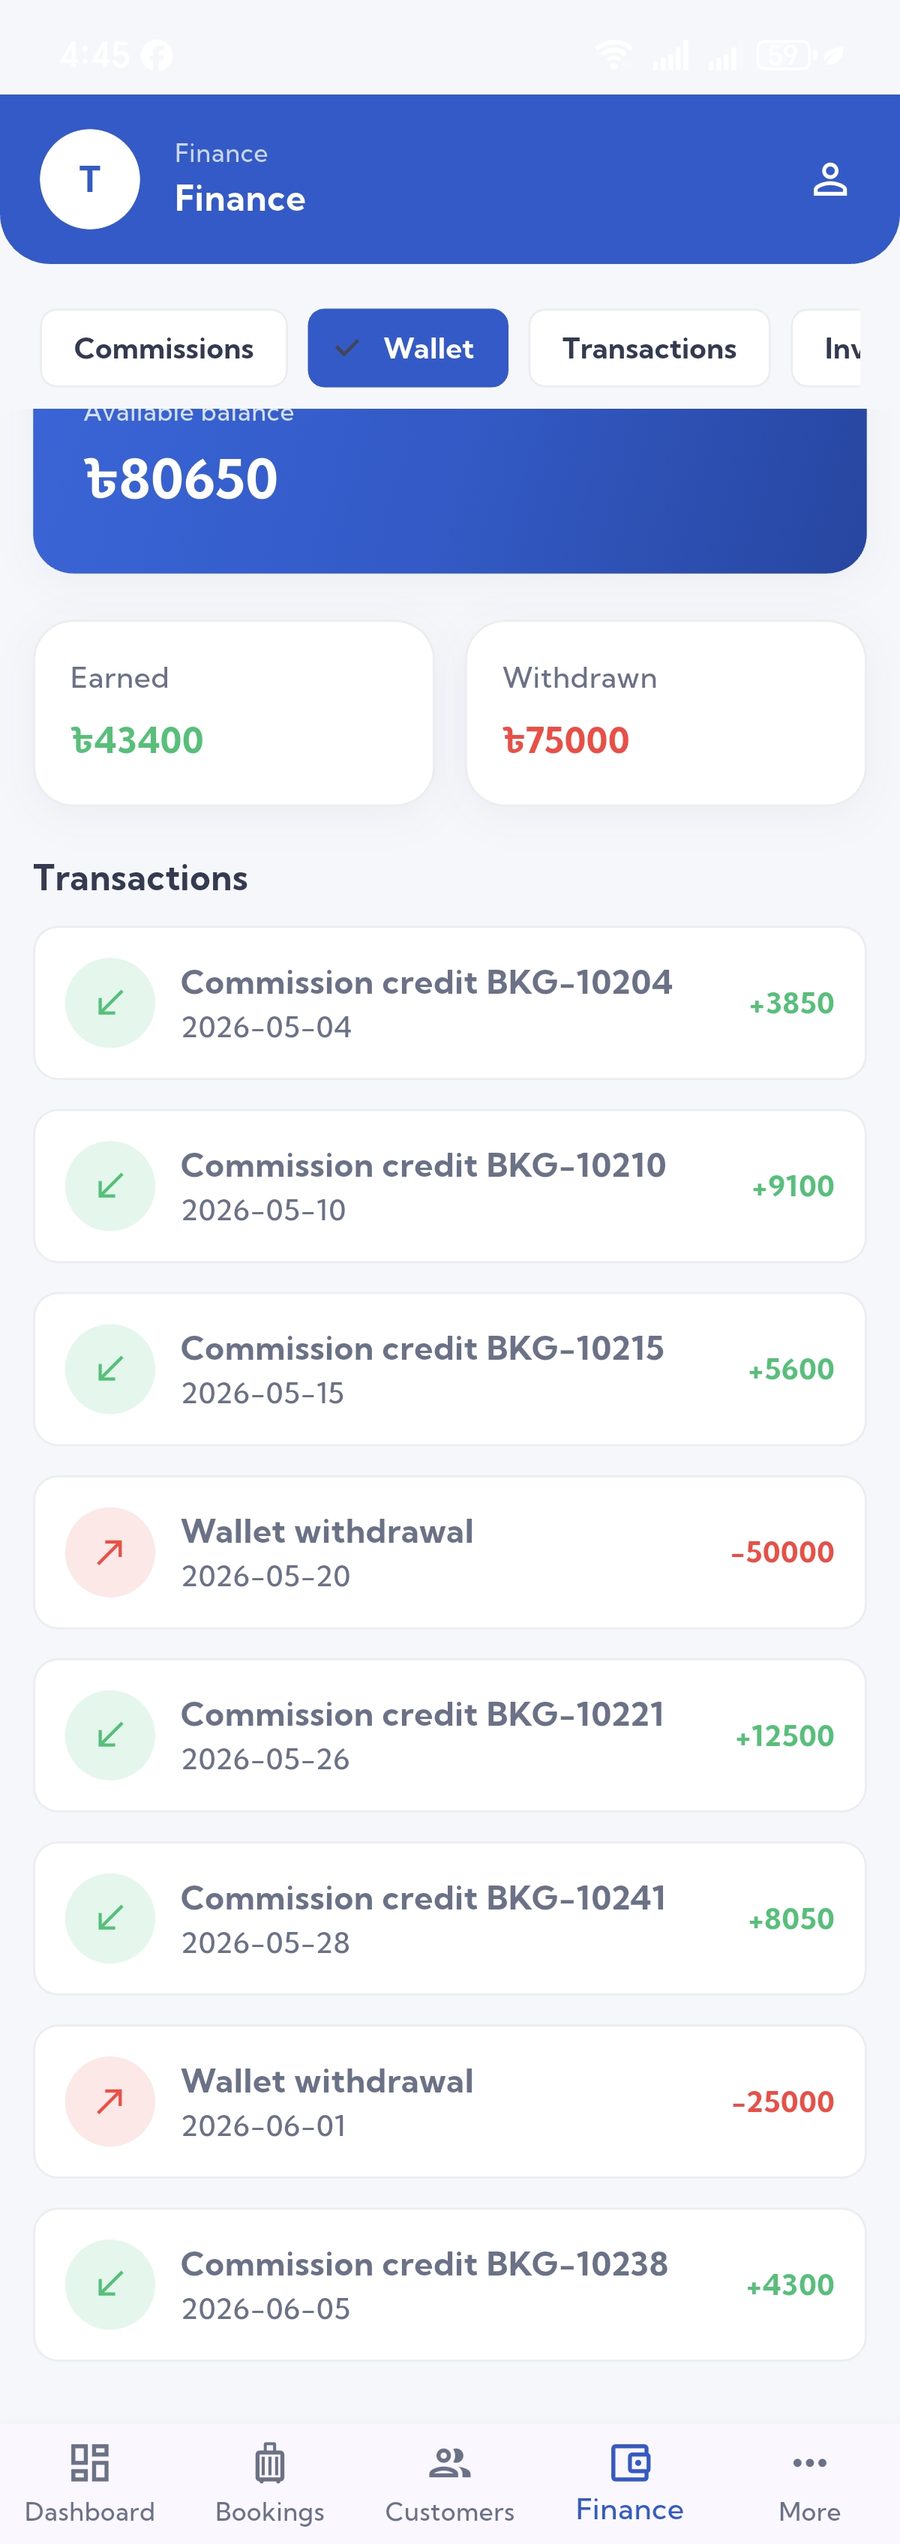
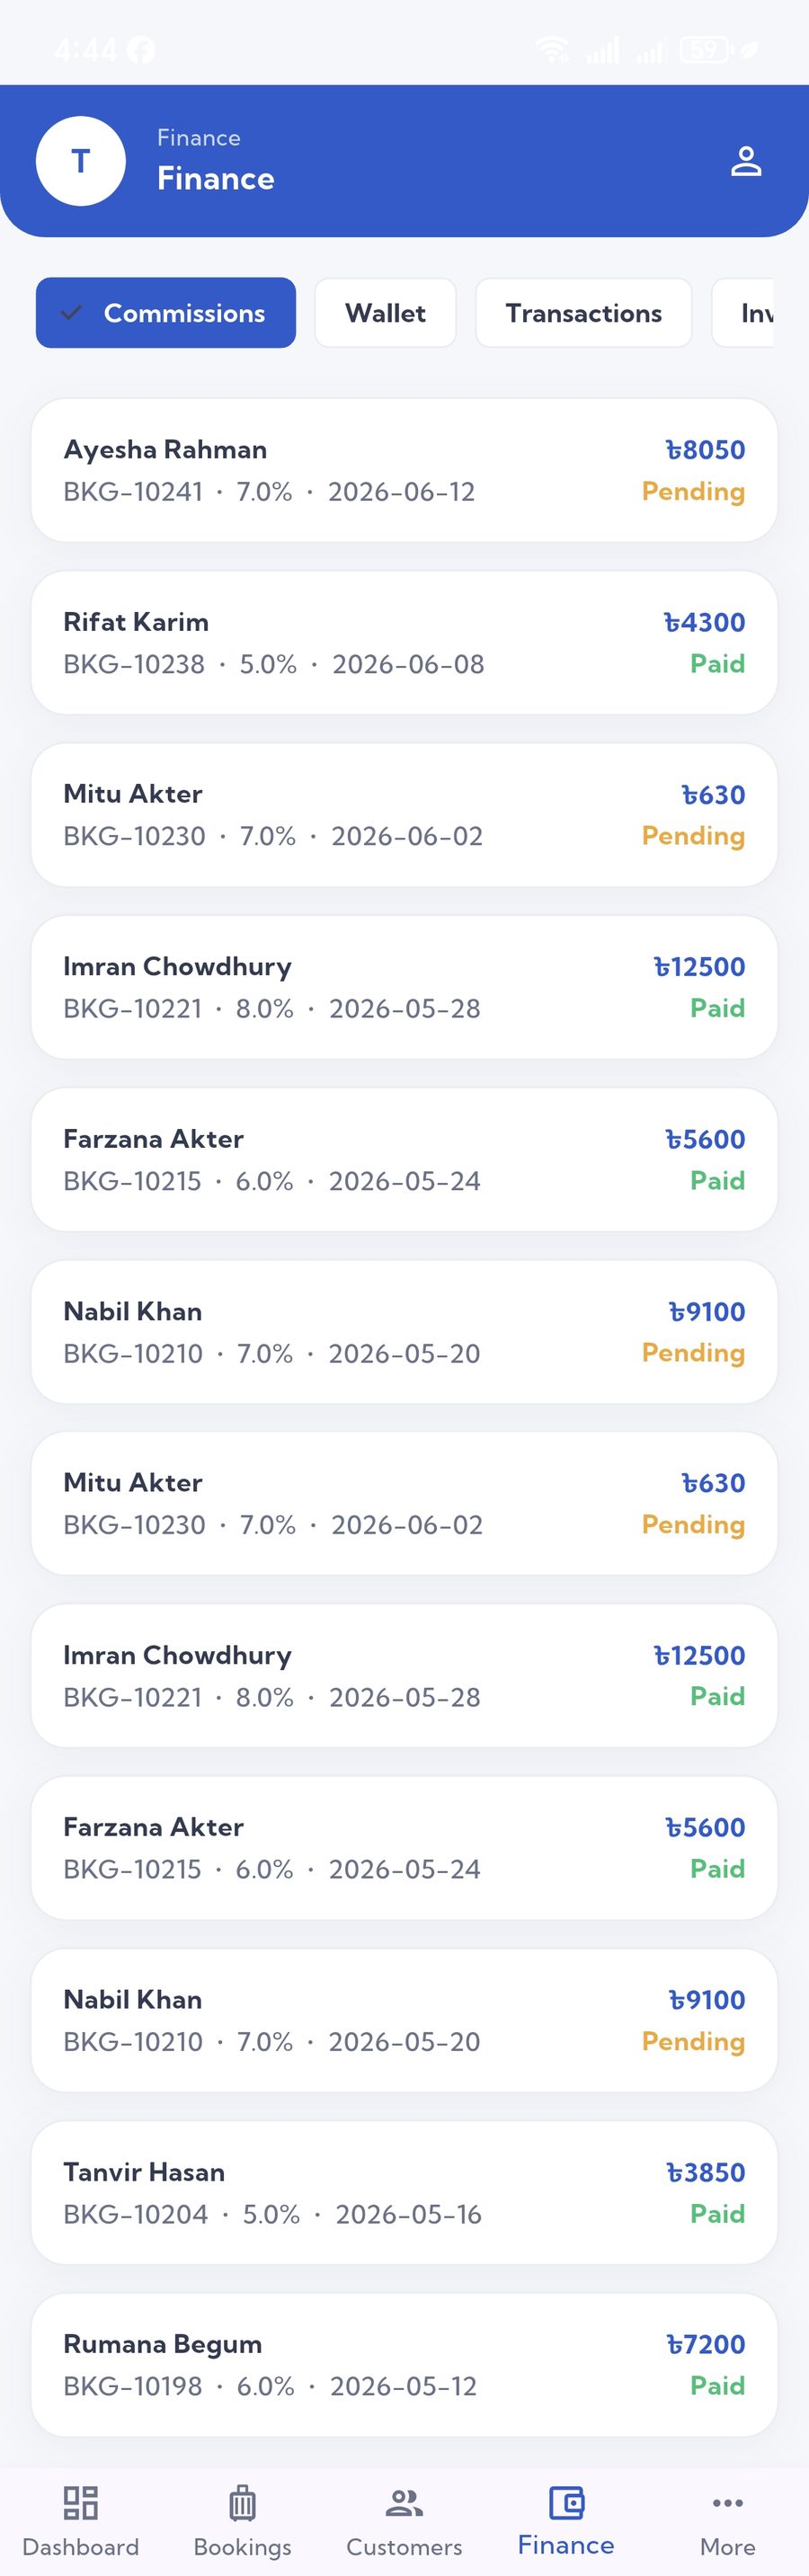
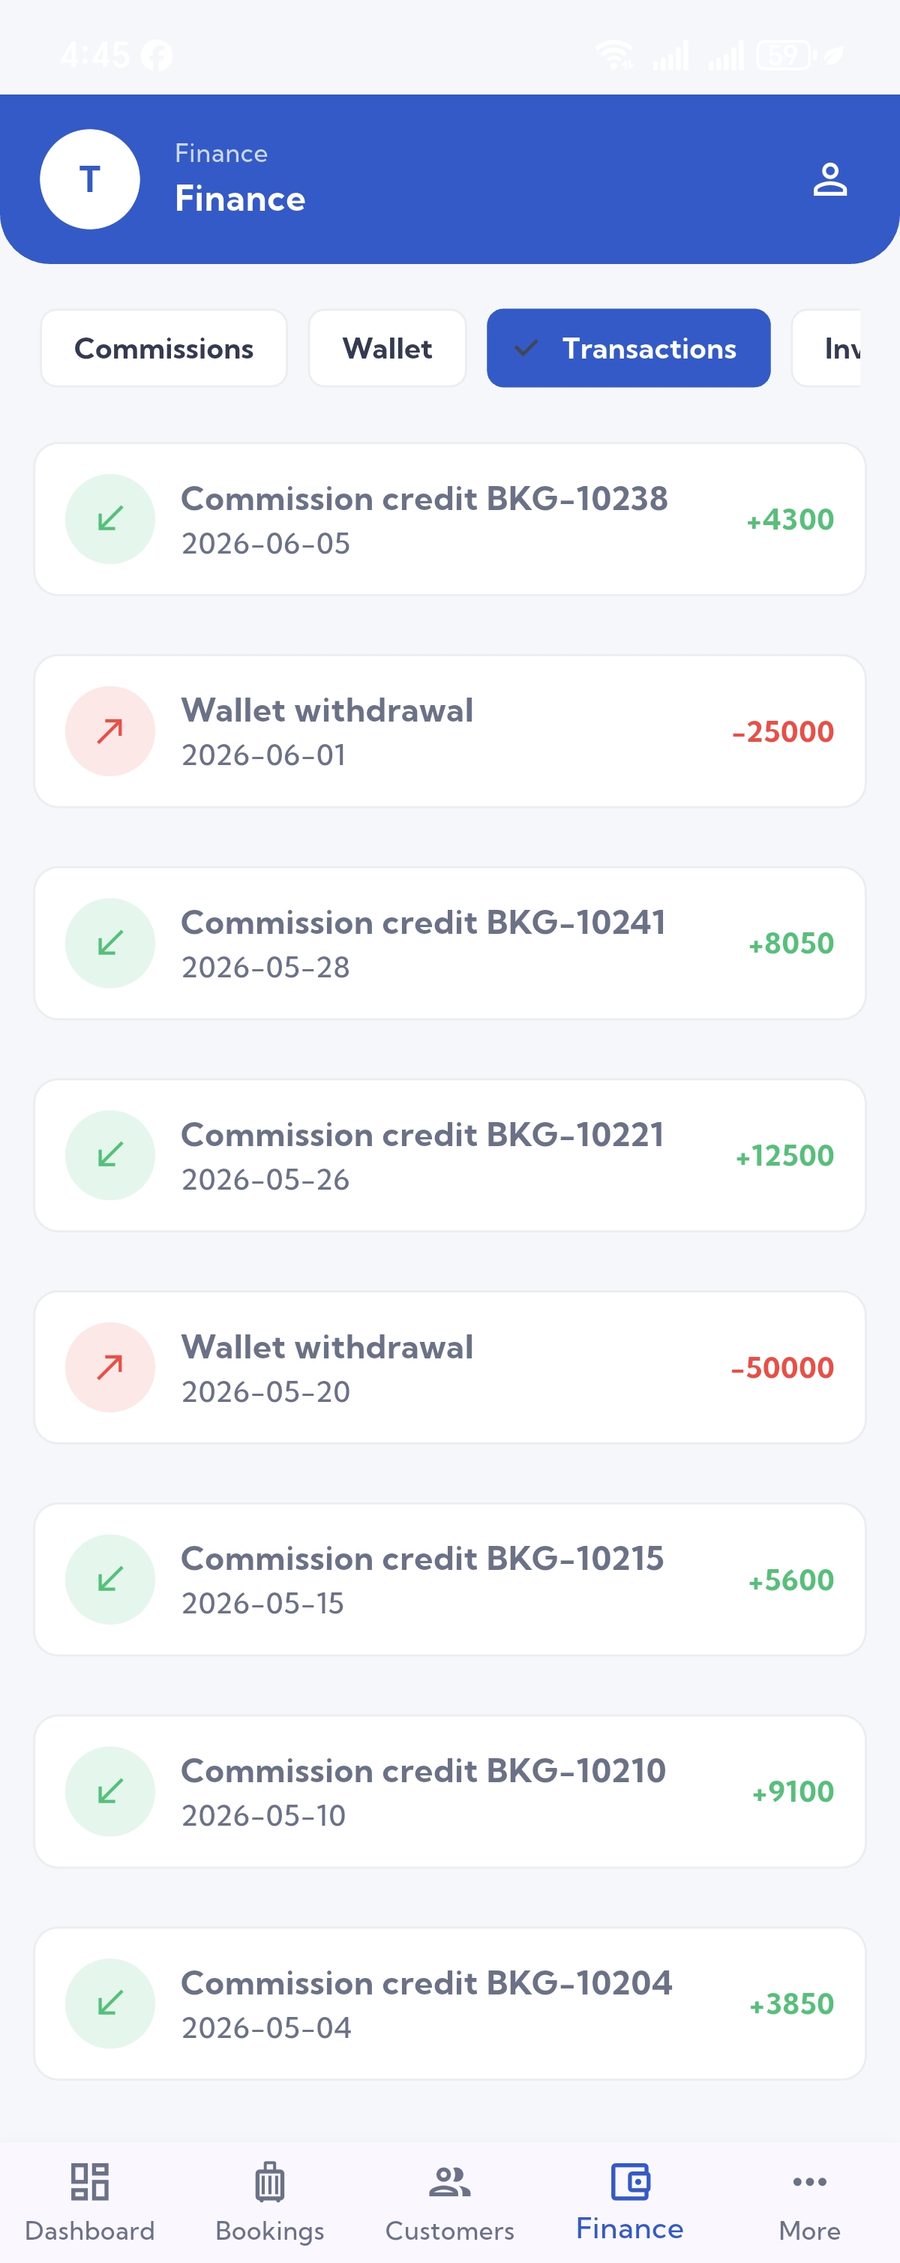
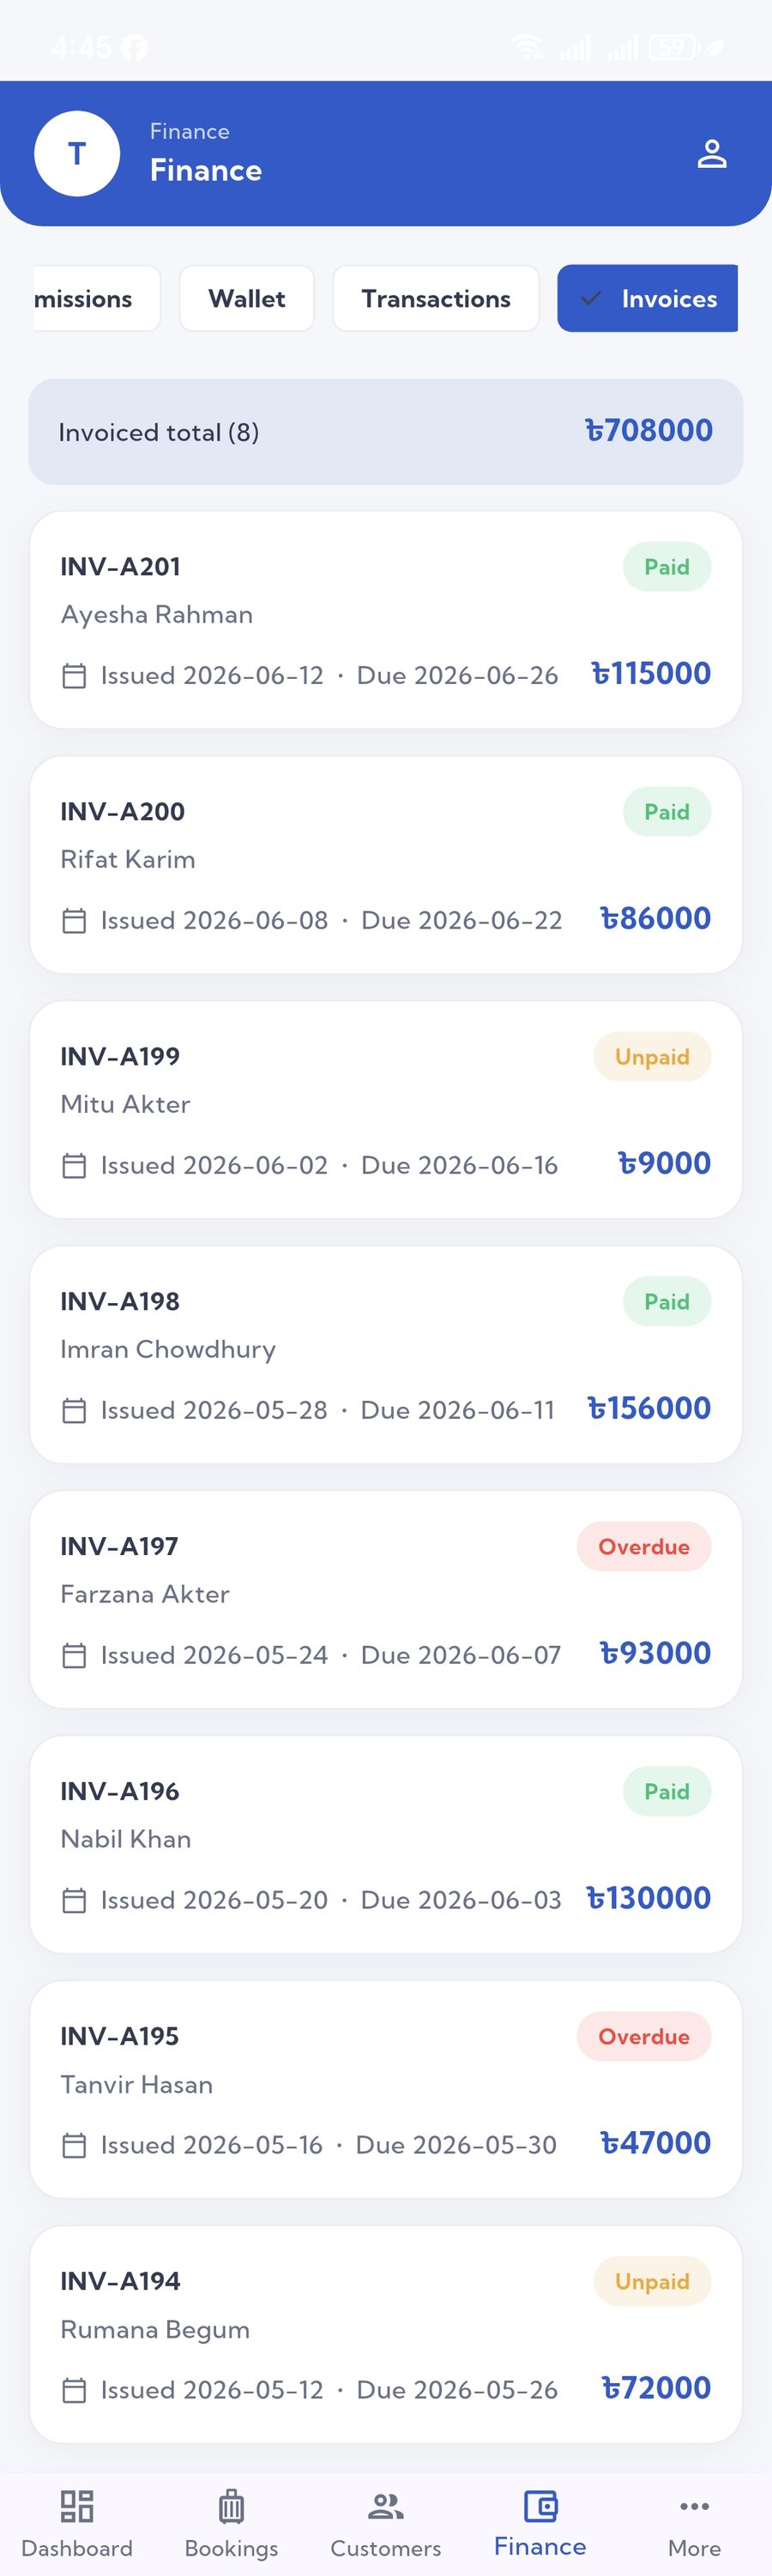
The Finance area carries four tabs, all matching what your accounts team sees under Finance → Agent Finance in the admin panel.
- Wallet — current balance and payout history.
- Commission — commission earned per booking, paid and pending.
- Transactions — the full money movement log.
- Invoices — invoices raised and their settlement status.
Reports, Profile & Support
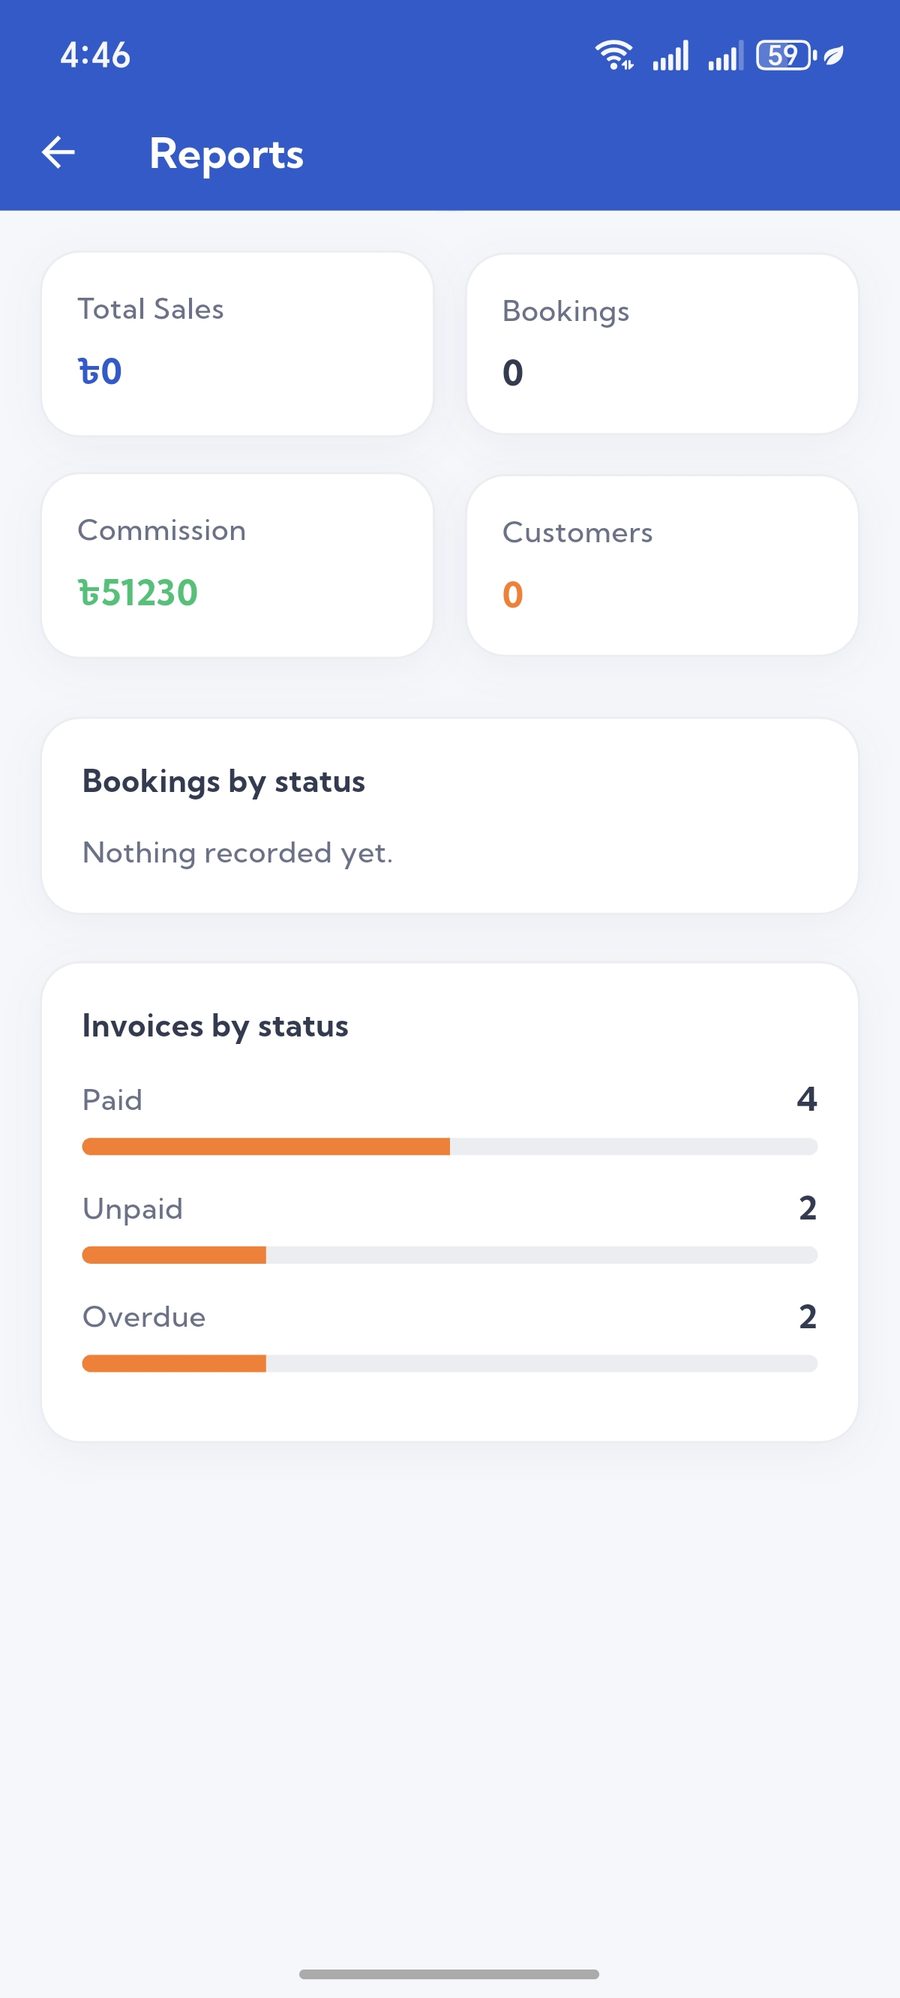
- Reports — the agent's own sales and commission figures over a period.
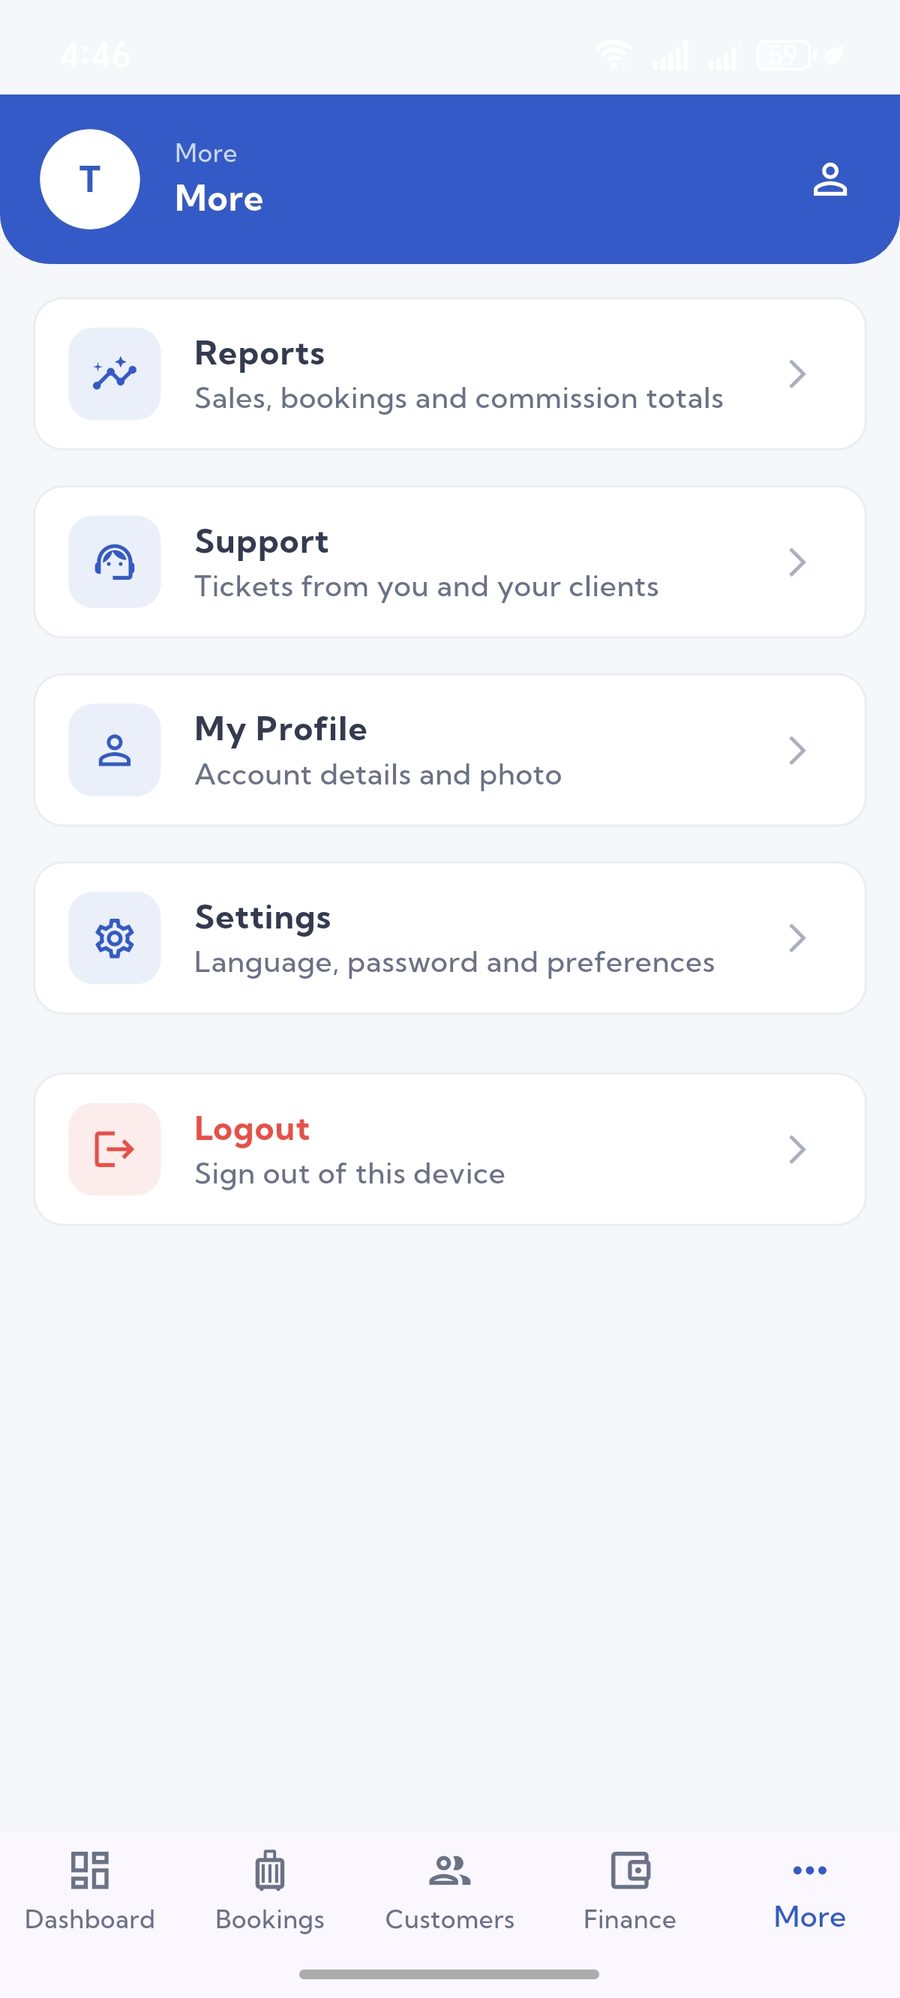
- More — the secondary menu holding everything outside the bottom navigation.
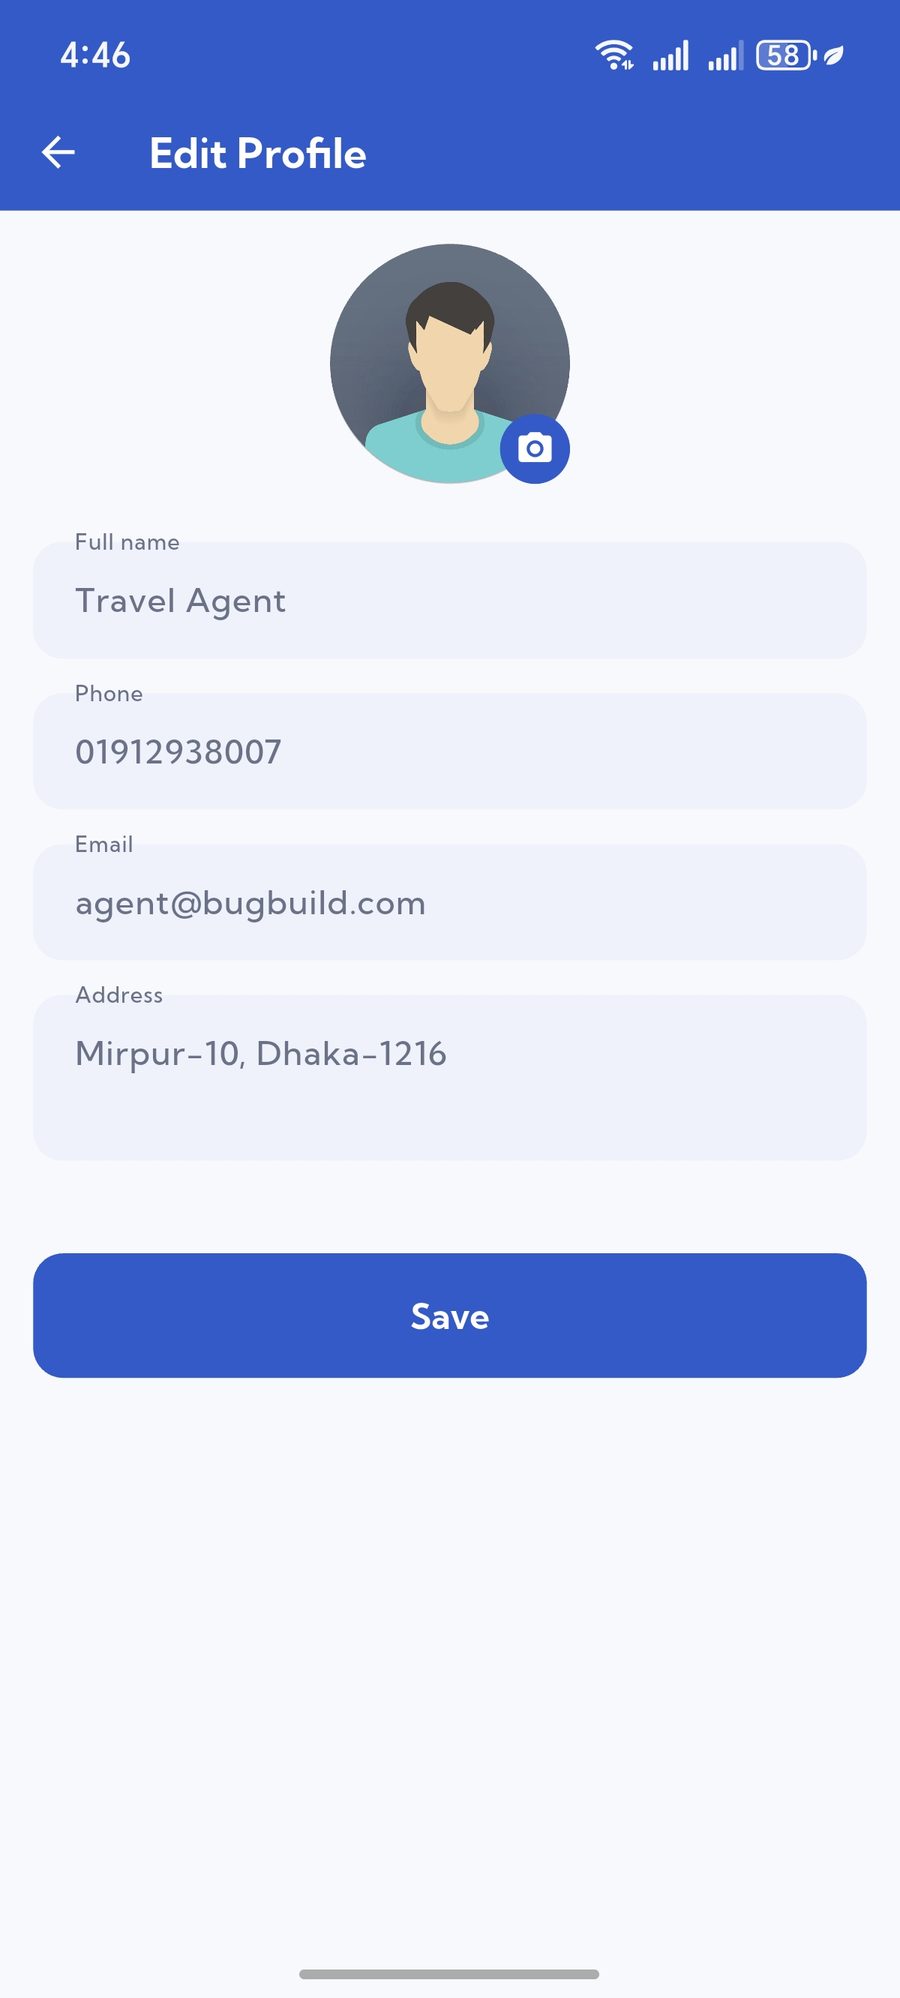
- Edit Profile — company and contact details.
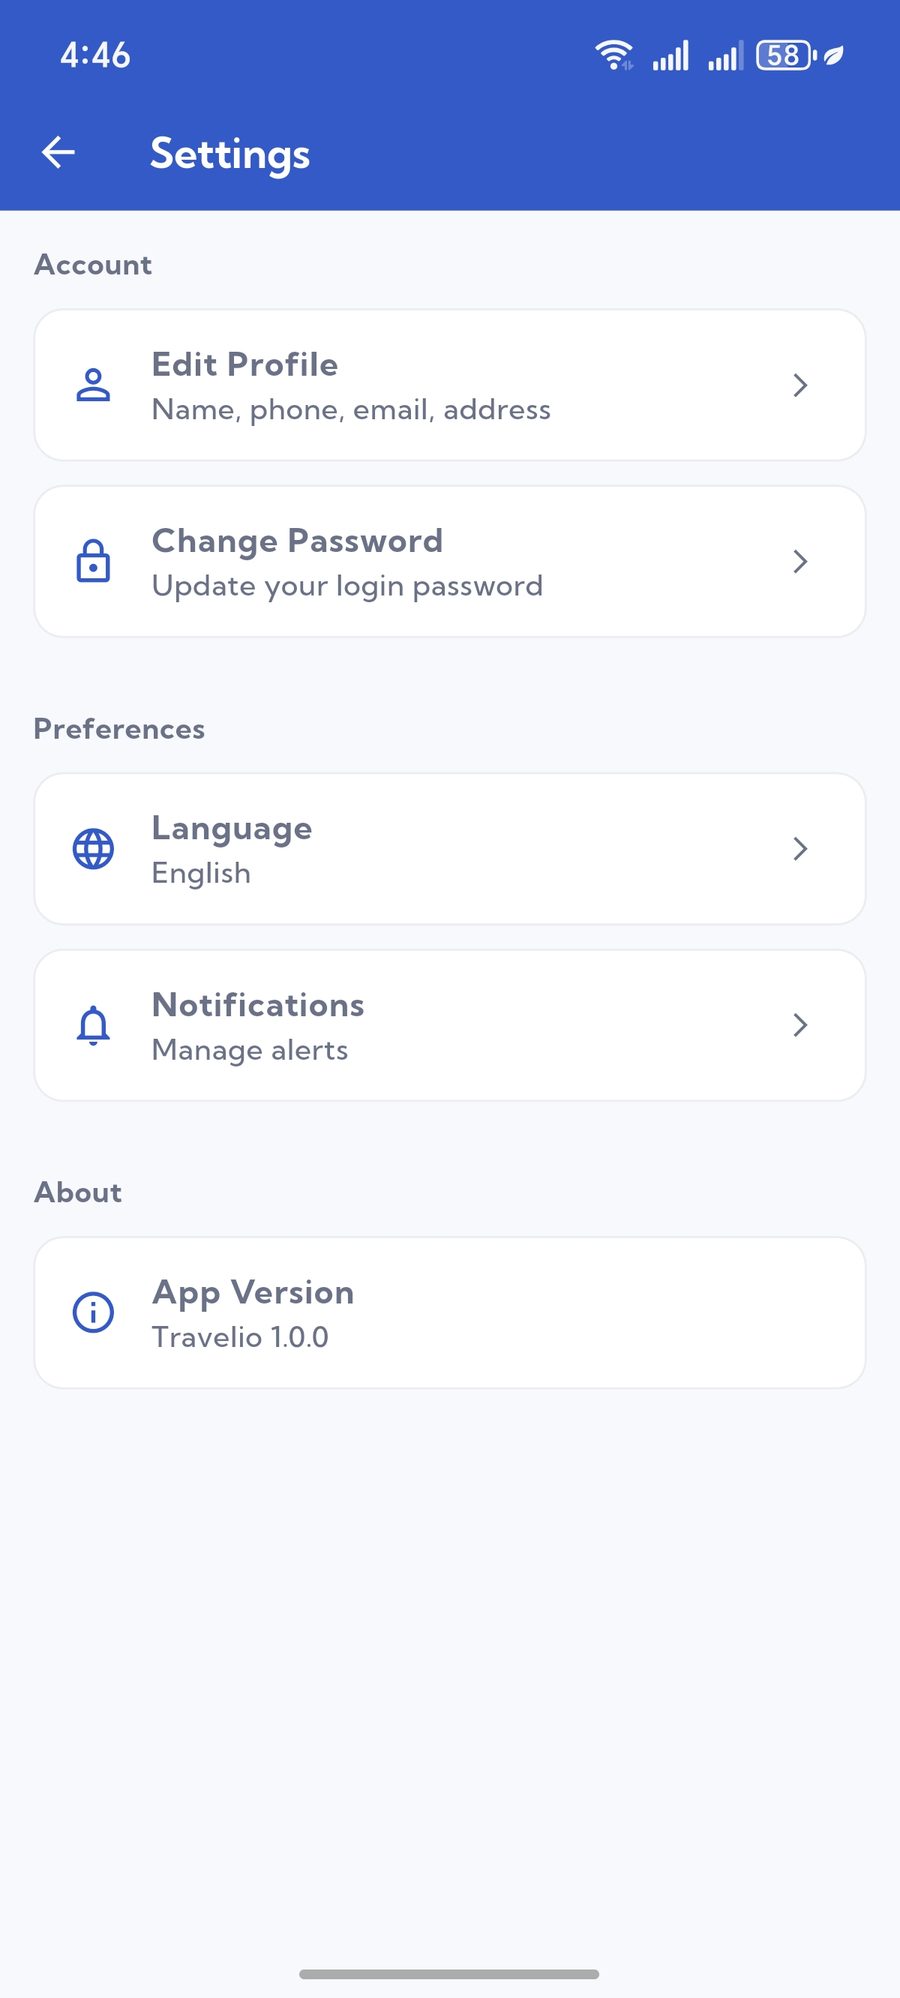
- Settings — language, theme and password.
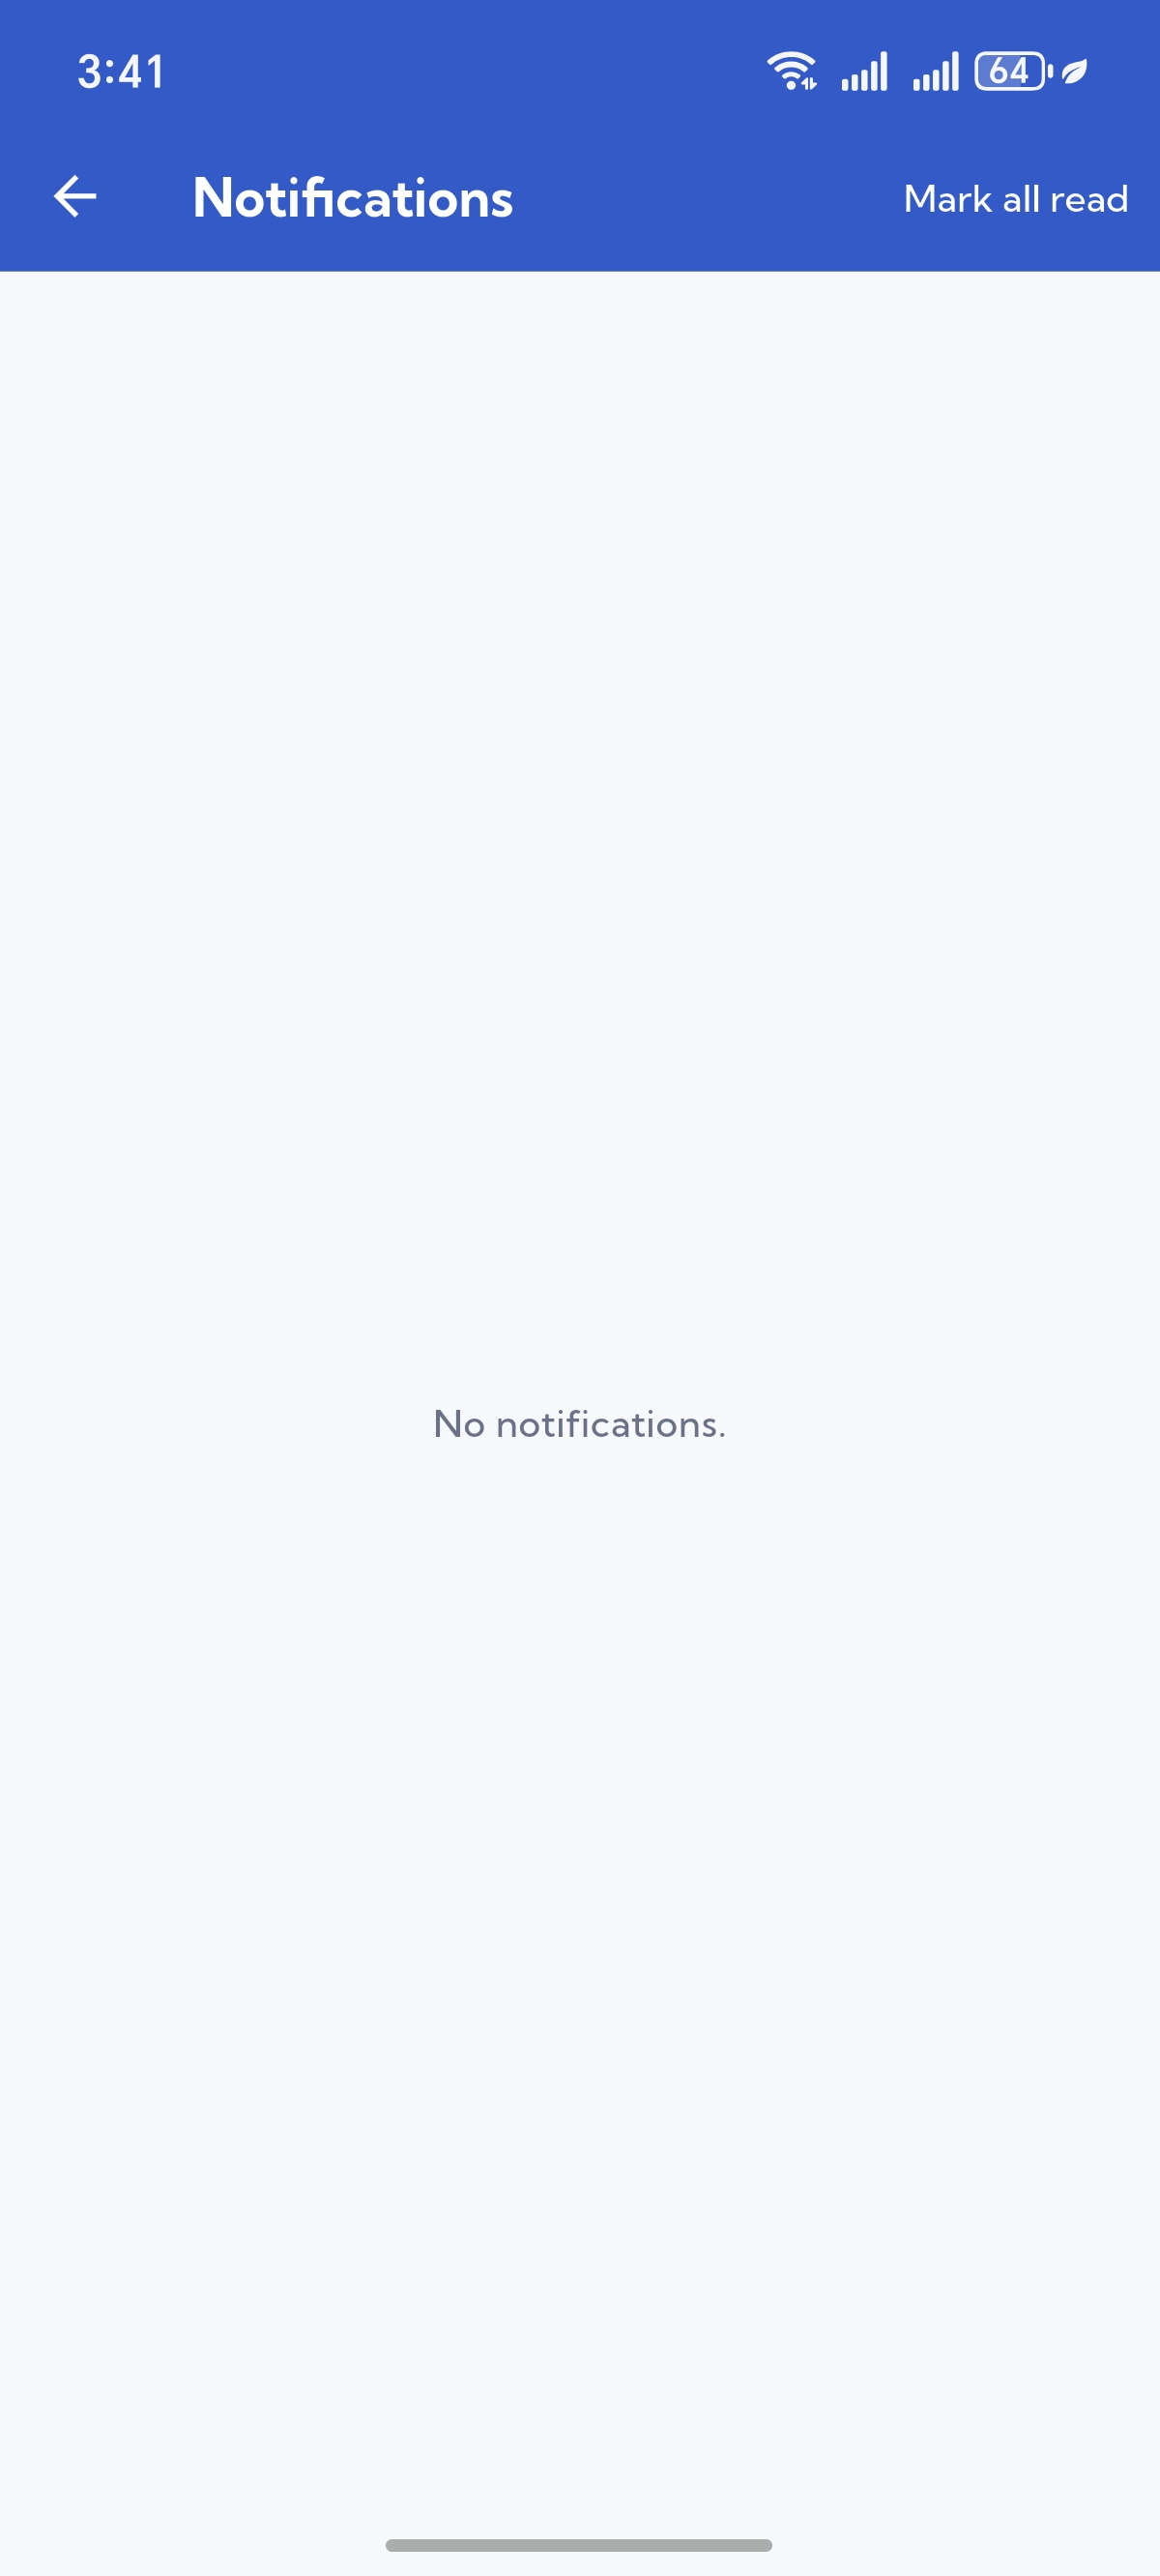
- Notifications — booking updates, commission approvals and announcements.
- Support — raise a ticket to the agency; it appears in your Support Center.
Troubleshooting
Covers every role — the first rows apply to any sign-in, the last few are agent-specific.
| Symptom | Cause and fix |
|---|---|
| Every list is empty | The app cannot reach the API. Check API_HOST / urls.dart, and confirm https://yourdomain.com/api/v1 answers in a browser. |
| Works on the emulator, not on a real phone | The emulator address 10.0.2.2 does not exist on a device. Use your LAN IP or the live domain. |
| Connection refused on the LAN | Laravel is bound to localhost. Start it with php artisan serve --host=0.0.0.0 and open the port in your firewall. |
| Login fails with a valid password | The account's role has no portal permission, or the account is suspended — check it under Users in the admin panel. |
| Images do not load | APP_URL in the backend .env does not match the real domain, or php artisan storage:link was never run. |
| Reset code never arrives | SMTP is not configured, or the queue worker / cron is not running. |
| Build fails after changing the package ID | Run flutter clean && flutter pub get, and make sure the ID matches in Gradle and in Xcode signing. |
| Agent logs in but sees the customer app | The account's role is not Agent. Fix it under Users in the admin panel. |
| Dashboard shows zeros | No bookings are attributed to this agent yet, or the bookings were created without selecting the agent. |
| Commission looks wrong | Check the agent's commission rate under Finance → Agent Finance → Agents. |
| Every screen is empty | The API host is wrong — see App Configuration. |
| Wallet balance does not match the panel | Pull to refresh; the app caches the last response until the next fetch. |